


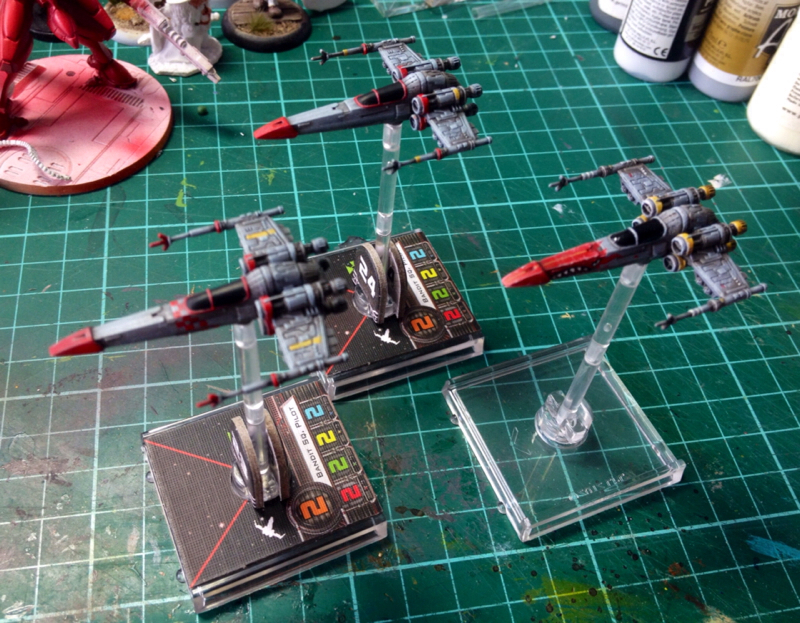
I started by painted the 3 Zeds in a light grey then did a wash all over of a mix of Airbrush thinner and Dark and Strong Tones from Army Painter, Then I drybrushed with the light grey again then a lighter grey to bring out all the detail. Then I went in with Strong Tone again to darken certain areas I wanted to emphasize as being darker on the engines and the wing joints to them.
For N'dru I started his fancy paintwork by painting the mouth shape and eyes white, I also painted the engine rings and exhausts white so the gold yellow would be brighter when I applied it later. Giving it over night to dry I went in the next day with a Pigma Micron pen and outlined the eyes and mouth and then drew in the teeth. After that I painted the inside of the mouth with a dark crimson the got out a nice bright red and started painting flames before filling in the area around the mouth and nose. That was then darkened a bit on the underside and around the nose cone to bring out the detail. I painted in the engine details in the same very very old Citadel Sulfur Desert Yellow that I used on the X-wing markings. I was then hijacked to make terrain with friends for the rest of the day (the Mantic building kits turn out quite nice, love the Mars Attacks ruined brick stuff) Today I came back and added edge highlights and chips and scratches plus some extra stripes on the guns for some extra detail then glossed the canopy.
Now the pirates, you can see I from the pirate that doesn't have checkers yet I painted the canopy frames, the guns a bit, the nose cone. Then painted the canopy black again, that will get a gloss coat later. For the checkers I thinned the red a lot and using a very light touch I painted lines vertically down the fuselage to get the spacing worked out 1st, then I painted the horizontal lines and filled in the squares. The artwork on the card having a diagonal checker pattern is a headache, I think I'll paint a few more checkers at the top of the pattern then have to start on the other one. i'll get around to hlghlights and scratches after the patterns are done.
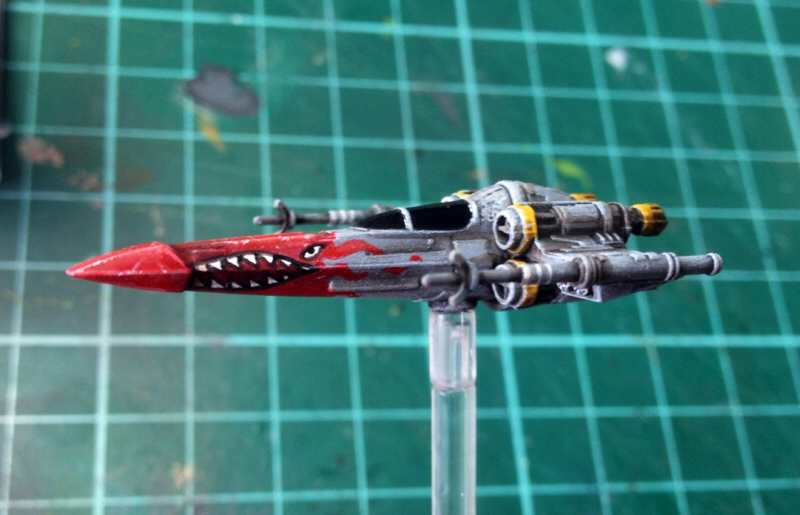
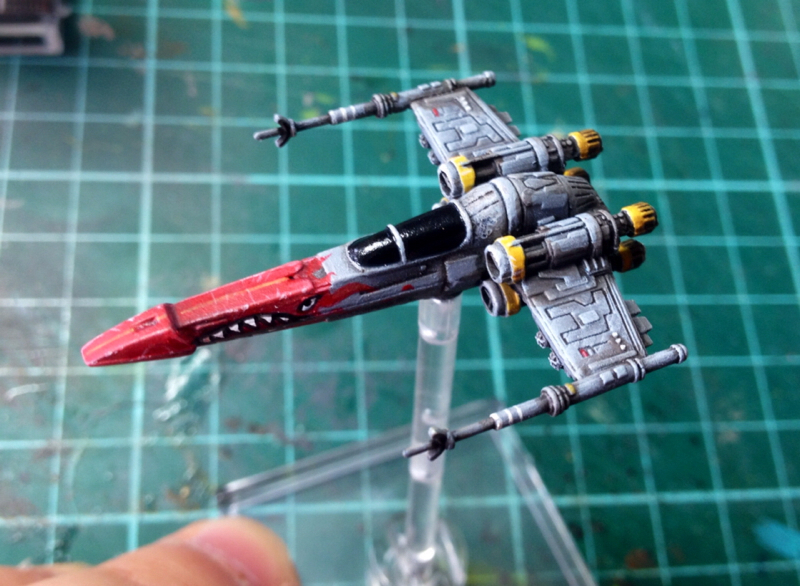

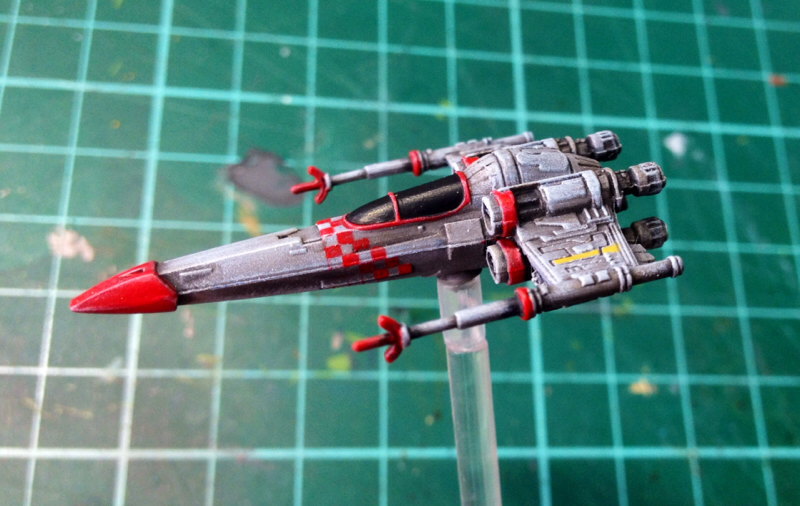
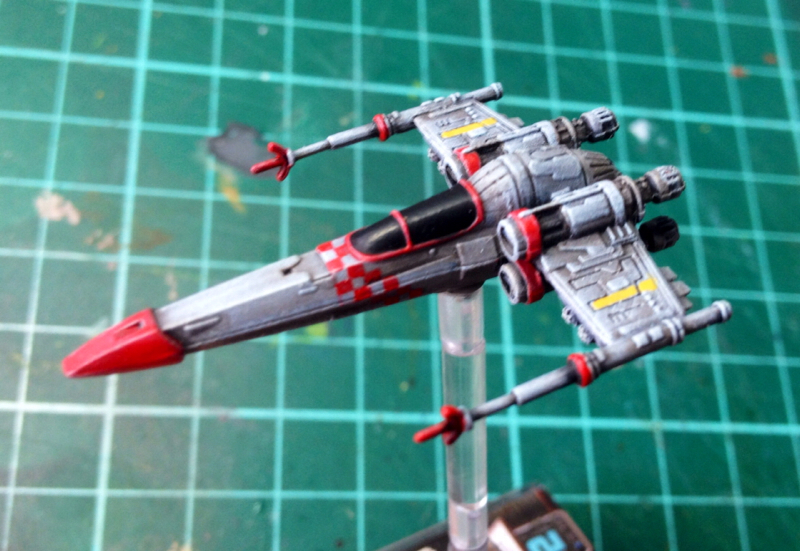
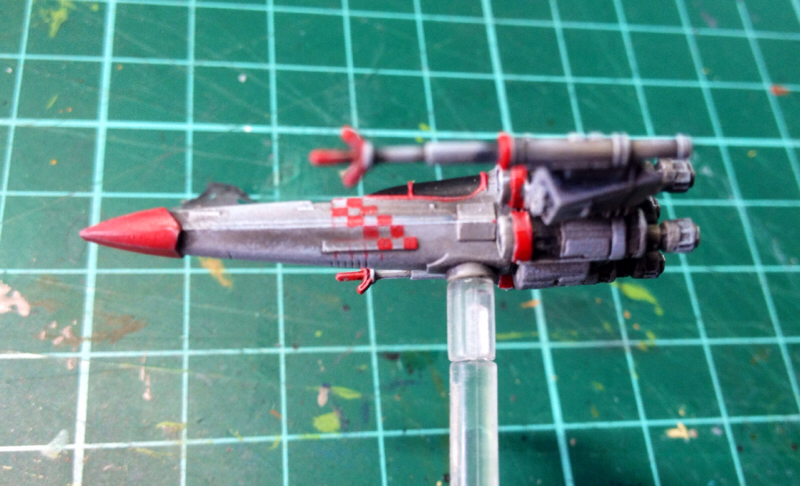
you can see in the last shot I was thinking of just keeping it simpler and making the checker band vertical down the fuselage instead of the angle, I can clean those left over lines in grey but they're barely visible.