April 29, 2009

Bling Dreadnought, Part 9

New updates:


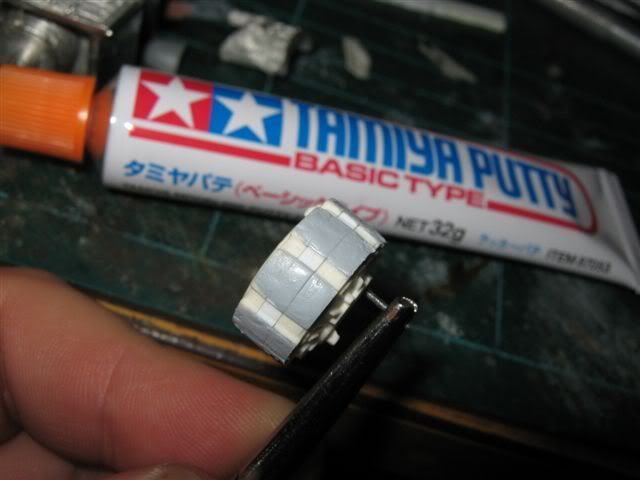
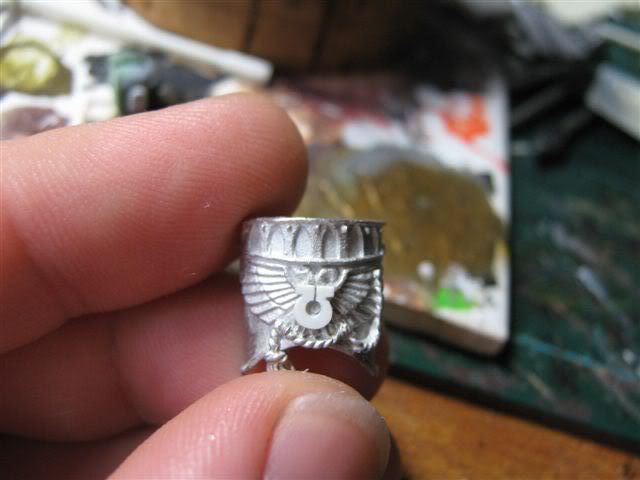
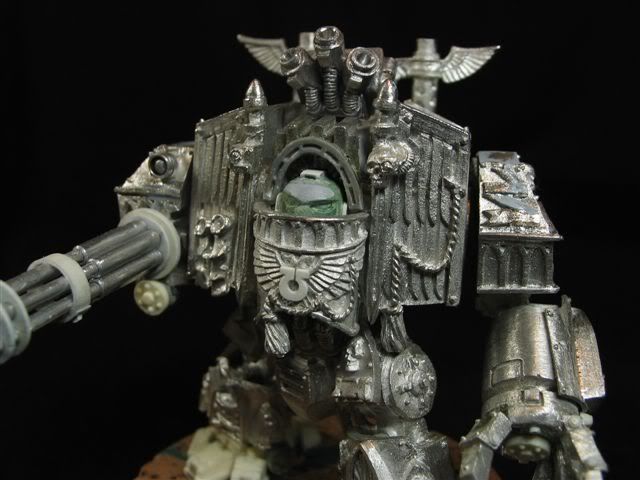
Making an Ultramarines U for his chest from plasticard. Start from the hole and work your way out.


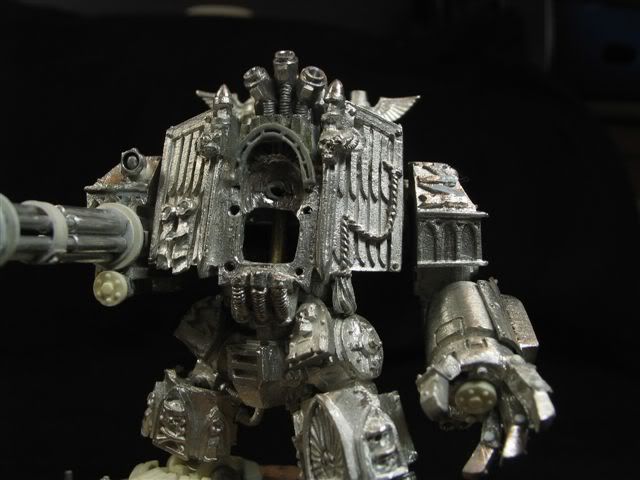
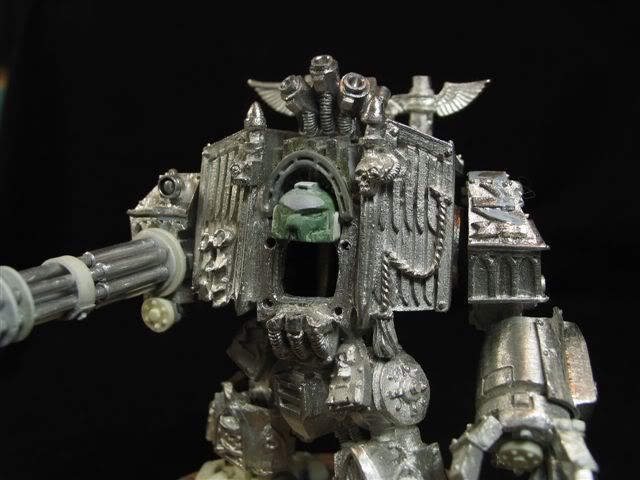
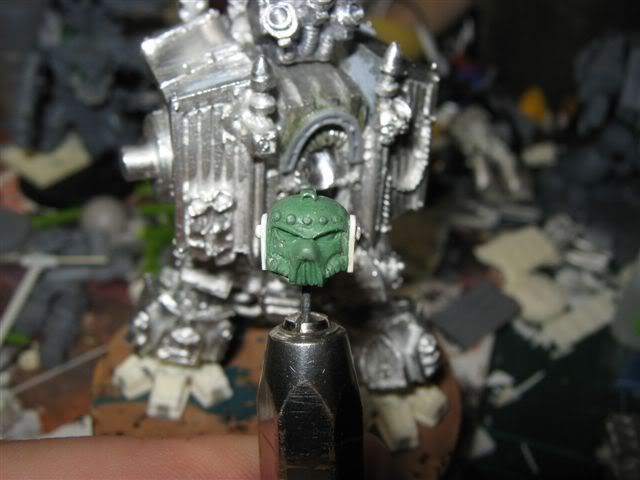
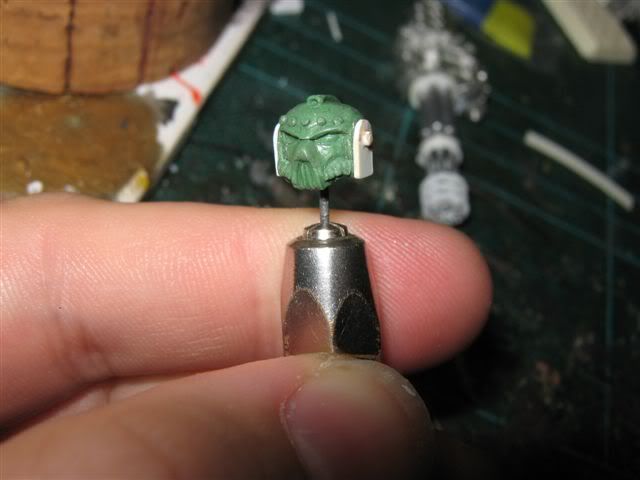
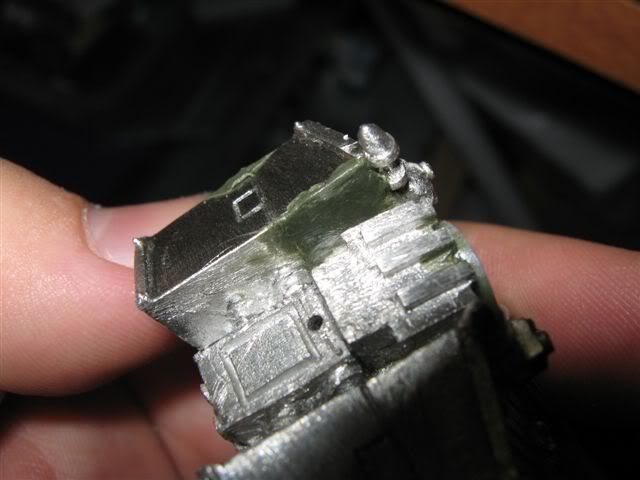
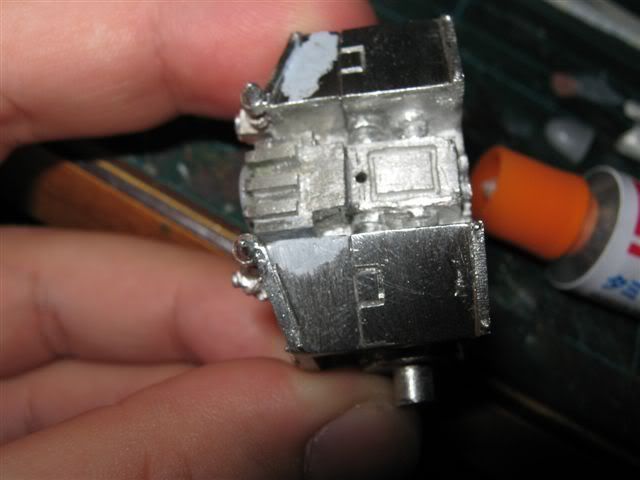
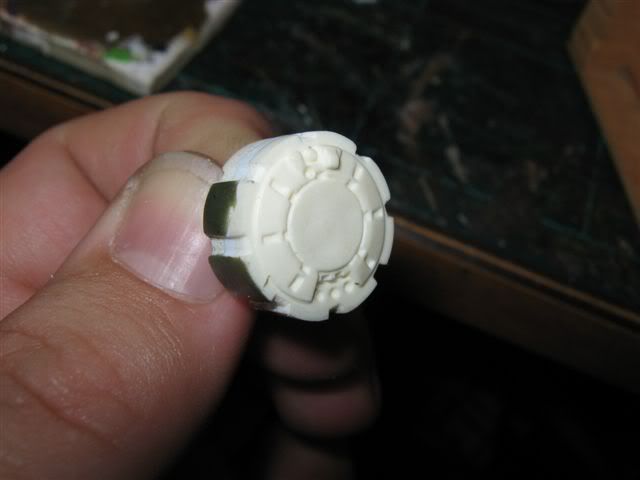
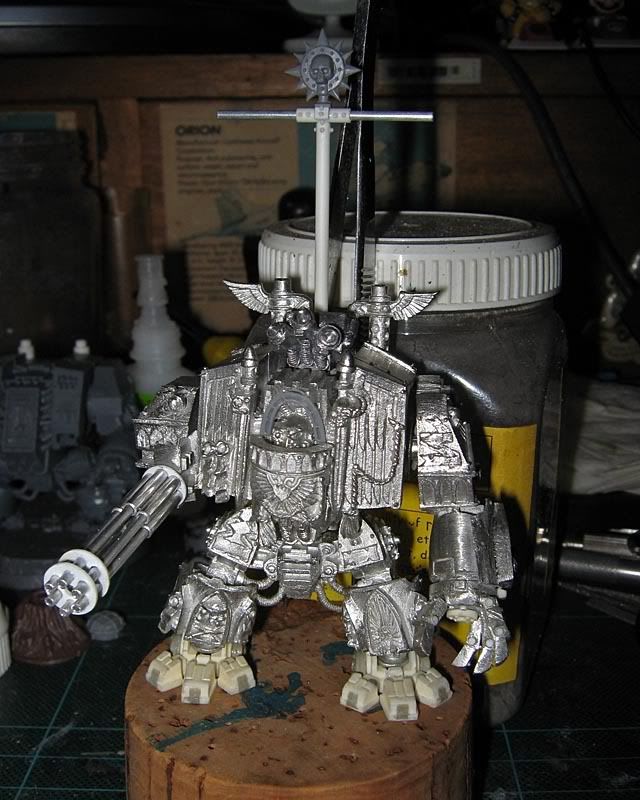
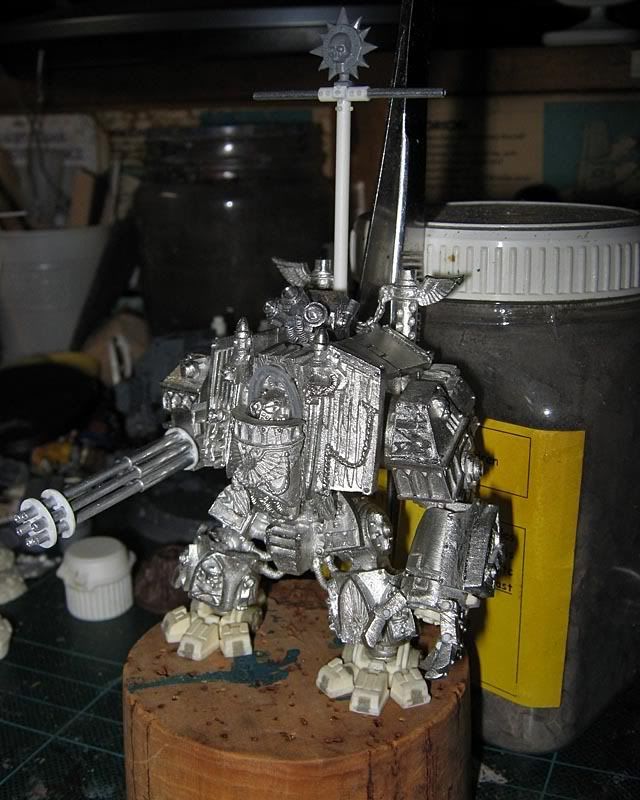
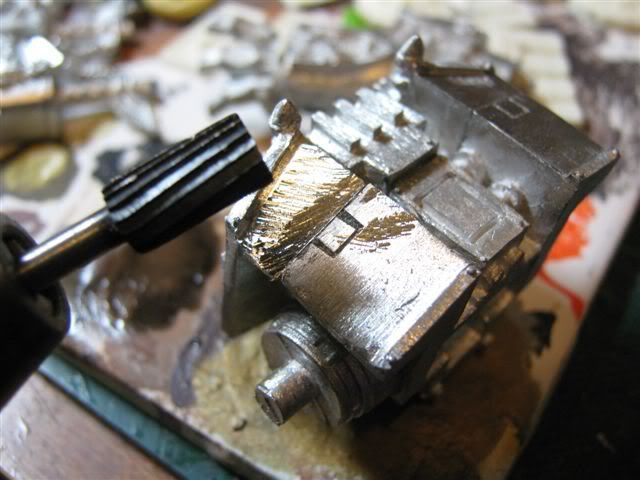
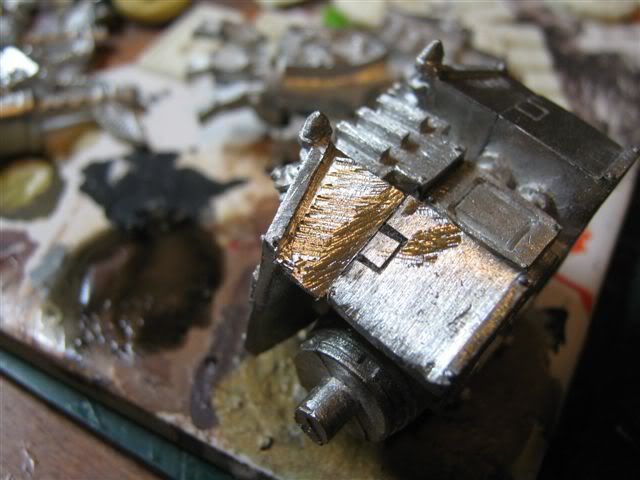
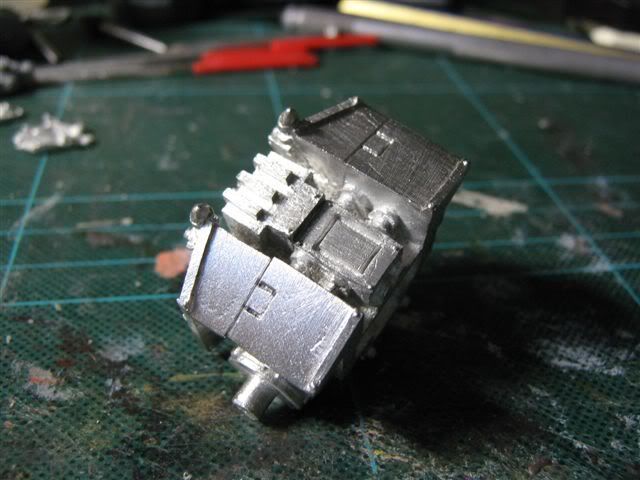
Andrew brought over his Forgeworld dread, so I did some comparing. My head needed to be rounder and a bit smaller and the hood area needed to be a bit wider and a lot deaper. This took a lot of grinding and fileing but it all fits together now. He needs new rivets on his forehead though.


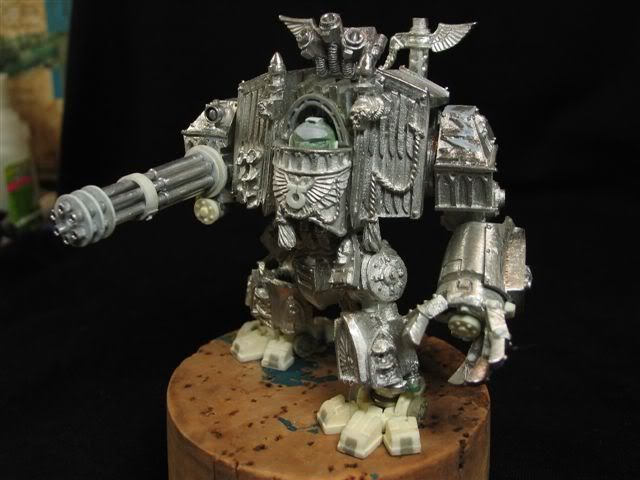
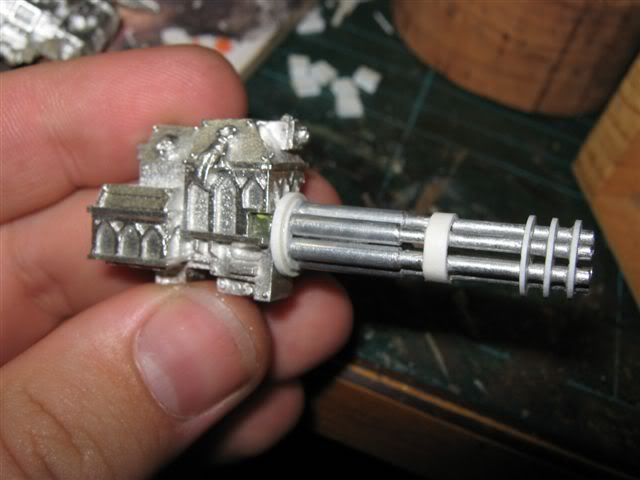
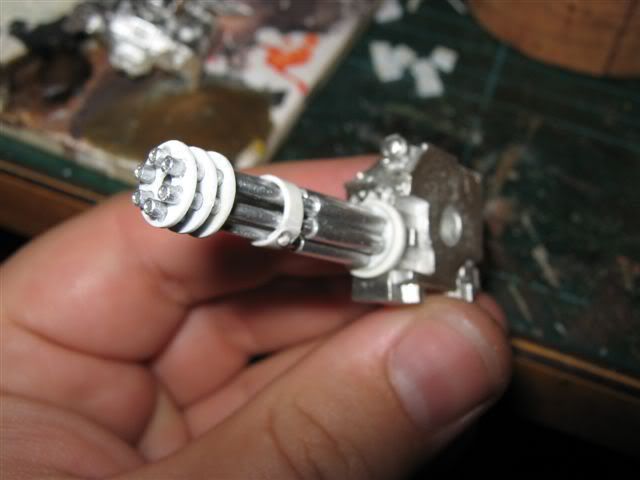
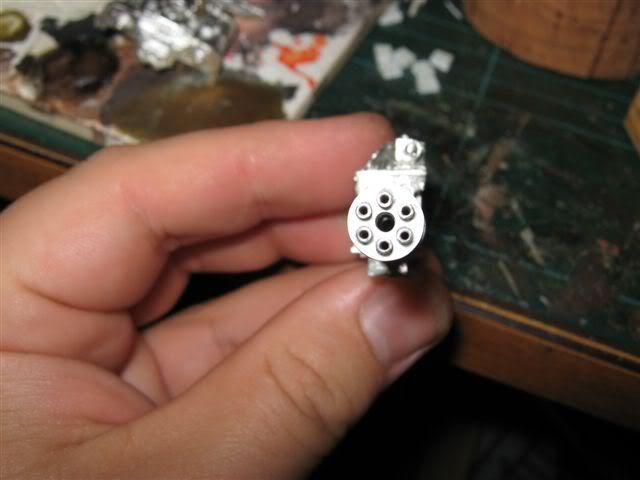
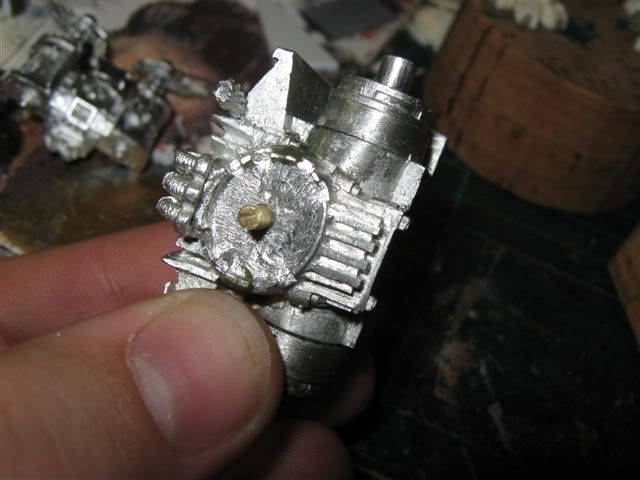
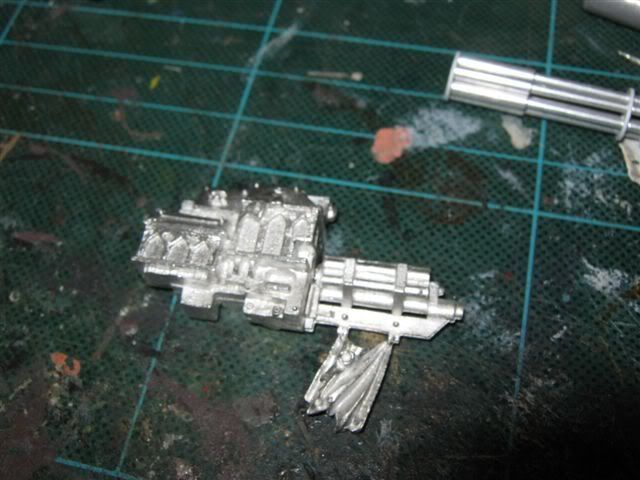
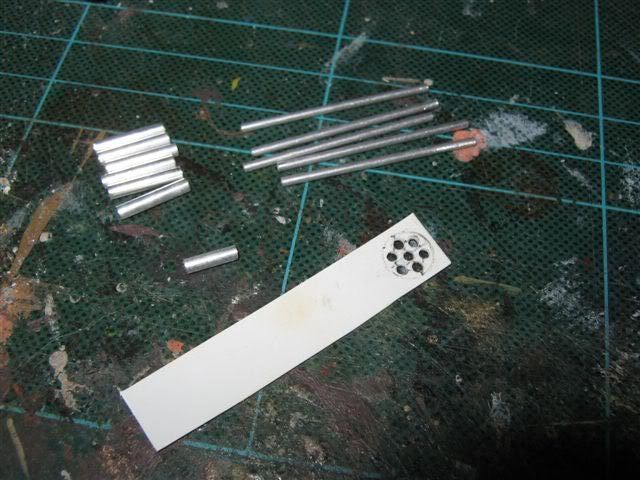
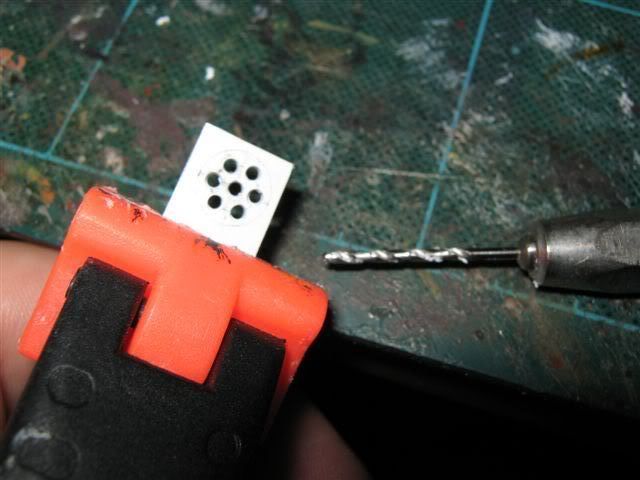
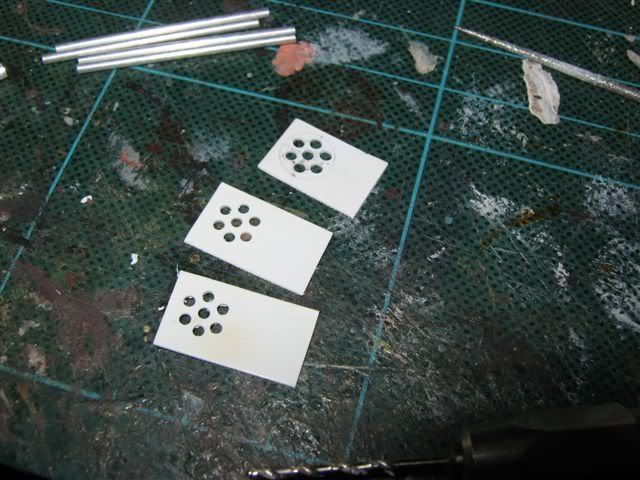
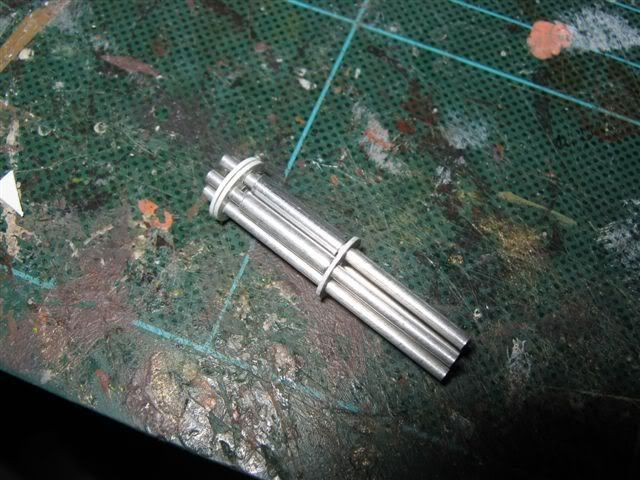
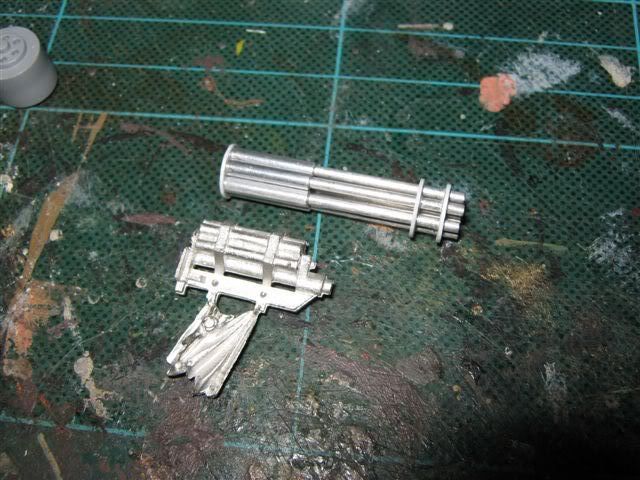
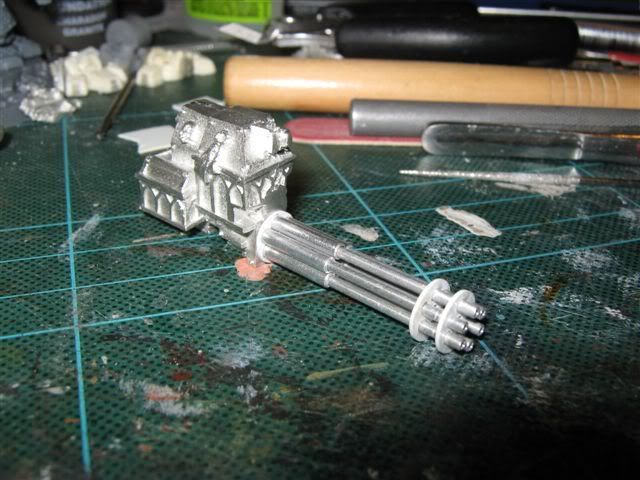
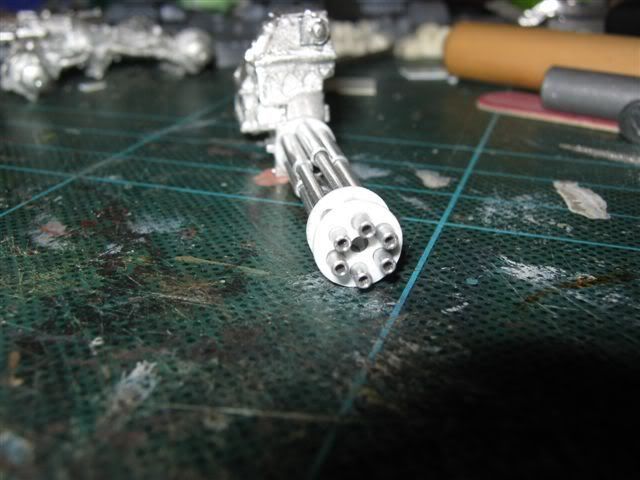
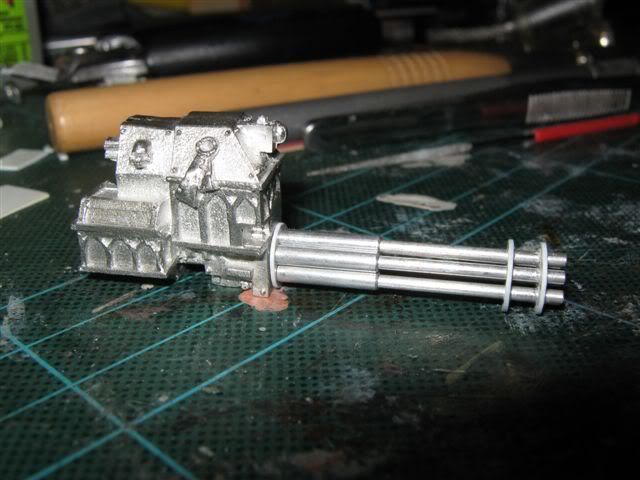
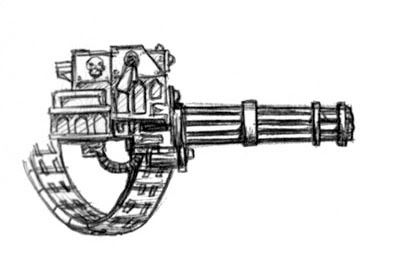
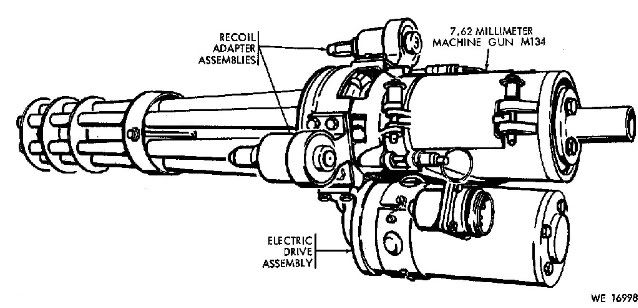
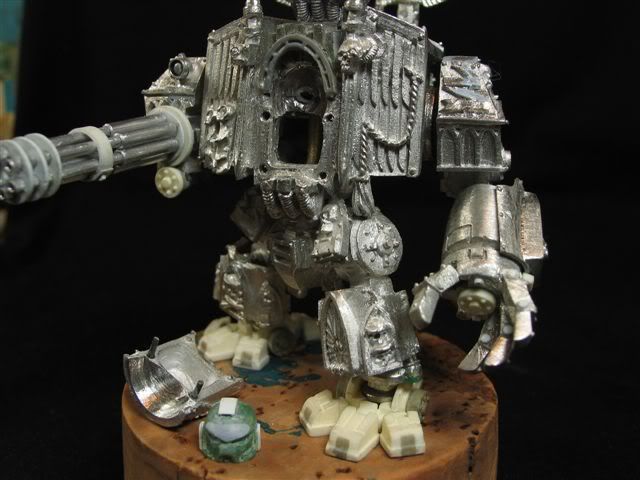
He's got a bit more detail on the gun, ammo feed still needs putting together though. I'm working on the banner as well.


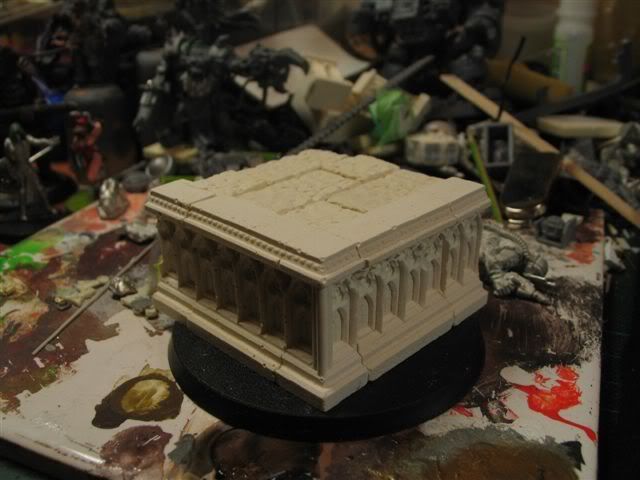
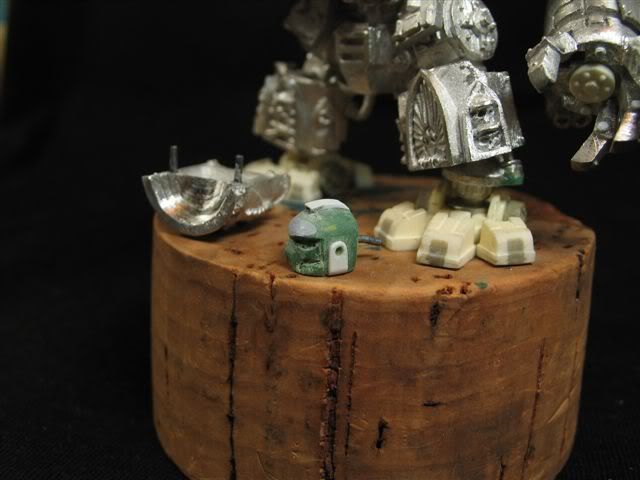
This will be his display base. I'm considering what else to put on there. He may have a blood pack hiding in the corner.

April 24, 2009

Bling Dreadnought, Part 8

Sculpted a big marine head for the dread while watching Heroes, now I either have to hack the back off it or grind into the dread body to make room for it.


Bling Dreadnought, Part 7

I worked on cleaning up the numerous gaps. 1st I tried green stuff with a bit of brown stuff mixed in for the big areas and to try and get sharp edges, it mostly worked


oh I took off his head too, I'm working on sculpting up a new one bigger like the forgeworld ones.

Today I bought some Tamiya basic putty for an easier time getting smooth surfaces


Lastly I've started on the ammo feed, this is going to be complicated


Bling Dreadnought, Part 6

I decided after the initial feedback to try shortening the gun, which went kinda awry and started to come apart so I went what the hell and pulled the entire thing apart and rebuilt it a little different. I moved the spacer rings back a bit, added a 3rd ring. Added a thicker back plate at the back of the barrels and then added a band around the middle of the barrels. Lastly I cut the tips of the barrels down a tiny bit to get them looking snubby.


Next up on the to do list was pinning the body to the legs properly and grinding down the waist joint a bit to take away that too thin middle feeling the stock build gives. I only took off a few mm but it made a difference.


Next up I made an ammo hopper


April 23, 2009

Blood Bowl Coin

Forgot to take pics of the coin, I finished it a while ago, wish I could say the same about the team


I hacked the hell out of the edge to make it more coin like.

April 21, 2009

Bling Dreadnought, Part 5

More progress on the dread, got all the parts cleaned up and a bit more of it glued together. Also found an old auto launcher in the bits box, not really sure if it's too chunky a detail or I should make a simpler one of just 3 tubes. Also started building a banner pole. Andrew suggested that an arch was needed over the head like the forgeworld ones so I cut the rim off a plastic shoulder pad, it looks the same as the hood detail on a terminator.

I still think the head looks too small though so may resculpt a new one.


April 19, 2009

Bling Dreadnought, Part 4

Back, I put in a late nighter and built the new barrels for the gun.

Here was the start point


I cut at the very base of the barrels.

For the new barrels I cut 6 barrels from thin aluminium tubing then some shorter sections to go over the base of the barrels and to also space the barrels apart at the front. I very much wanted the look of spaced barrels at the front like a modern gatling gun rather than have the barrels touching.

To acheive this I needed spacer rings at the front to hold the barrels. I scratched a circle onto a sheet of plastic and then worked out the barrel placement by drilling the center then working out the rest while test fitting the barrels.


I then cut the plastic sheet into 3 parts and layered them together with a clamp so I could use the 1st one as a jig to drill the next 2 rings.


After that I clipped the sheets down to circles and filed them smooth.

Next was the very fiddly process of getting the barrels into place, and more importantly get them even and showing just the right amount of barrel at the front.


Eventually I got it all glued together (after prying the 1st 2 rings apart that accidently got glued together Rolling Eyes )


And here it is bluetacked into place. Kinda wondering if I made it a little too big but it should look right once I've added the detail of the motors and a new chain feed or ammo belt, I'm still trying to work out how to make that. I've sculpted ammo belts before but never had to do 5-6cm of it. A chain feed may be easier to make. I'm going to make a new ammo hopper on the back of the powerplant rather than use the dinky box at the back of the arm. I'll make the current box look like a battery box instead.


April 18, 2009

Bling Dreadnought, Part 3

Next up is what has been the biggest hassle of this kit. (Sorry I didn't take before shots, my bad.) The torso halves joins horribly, I'm not talking gaps but gross misalignment. I think the molds distorted the original pieces or something because every painted version of the dread I have seen has this problem.

The solutions were fairly drastic to try and get this sorted out. 1st I had to remove all the locating stubs then file the joining faces smooth. Then on the shoulder tops since I knew I would be doing a LOT of filing to smooth out the plates I had to clip off the raised edges detail along the sides only leaving the front and back edges. Then I eyeballed I could at least get one shoulder to match up, so glued the parts together using zap a gap. I probably should have pinned them but hopefully I won't drop this fella sometime down the track Rolling Eyes

Now the left shoulder had about 1-1.5mm of panel sticking out at a funny angle where it should flat joining the rest of the panel. To fix this I had to dremel it down.


damn I really should have taken a before shot, oh well. Anyway you can still see on the edges how it's going to need some putty work to get them in line.


Here it is after a couple hours of hand filing it smooth from various directions to try and get a flat plate. I recut the panel line after it was smoothed down. I'm still not totally happy with the panels, hopefully puttying the edges will fix that.

Next up is redoing the assault cannon arm. On regular dreads the cannon looks quite snubby compared to the other gun options but on the venerable it looks totally out of balance with the large powerfist arm so I've cut it off at the base of the barrels and will be making a proper vulcan gatling gun in it's place.