April 15, 2008

Converting the Mariner

Now since I'd put so much effort into the Mule I thought I should take a look at the Mariner again. I'd assembled and even started painting him ages ago but got nowhere. I think the rather dull standard pose may have put me off. The converted Mariner in the last NQ though brought to my attention how much difference you can make by opening up the pose a bit. So 1st I bent out the legs at the hip joint.


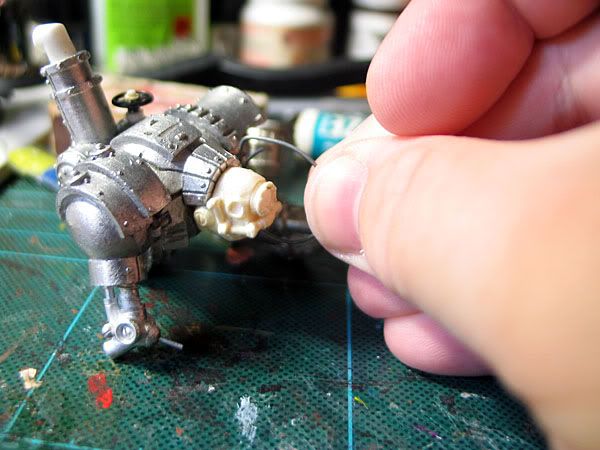
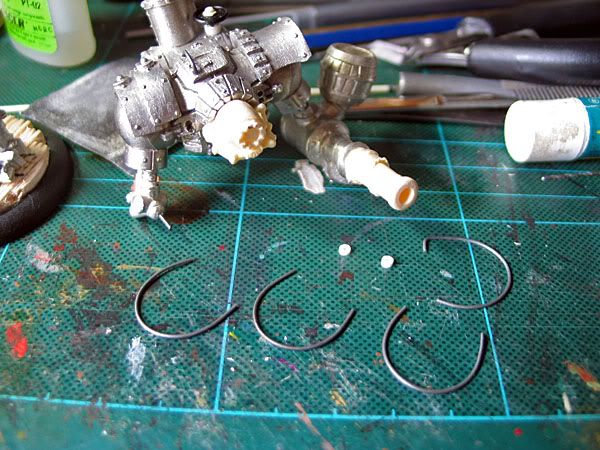
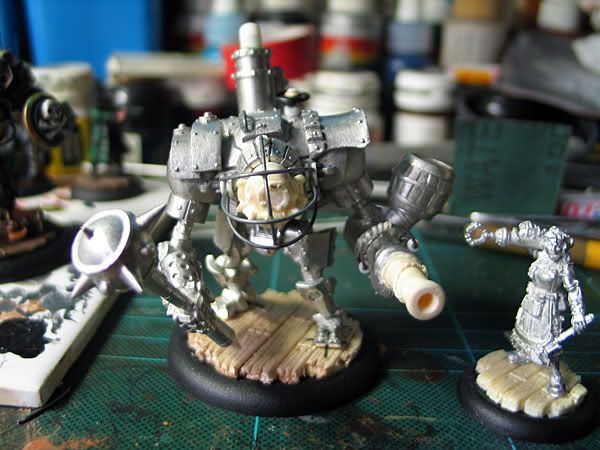
next I removed the socket for the right arm with a hobby knife and shaved down the area to a smooth finish, you may just be able to see the little white dot that is the a bit of plastic rod I glued in as a plug for where the arm used to be pinned.


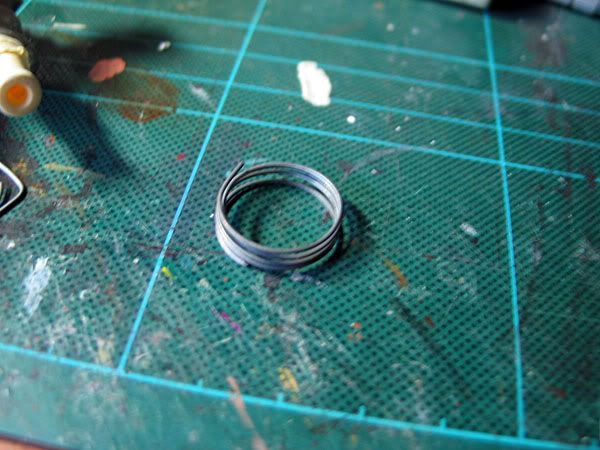
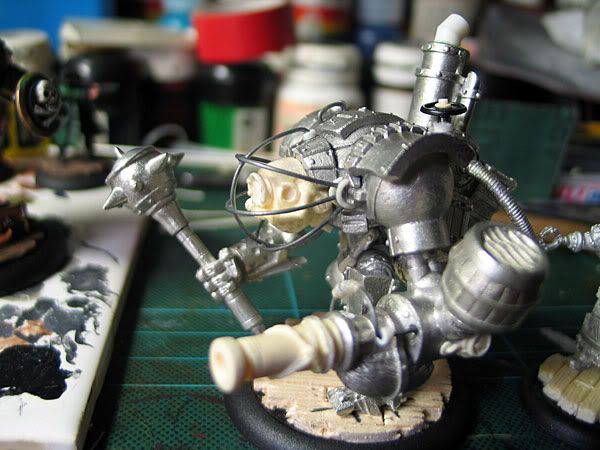
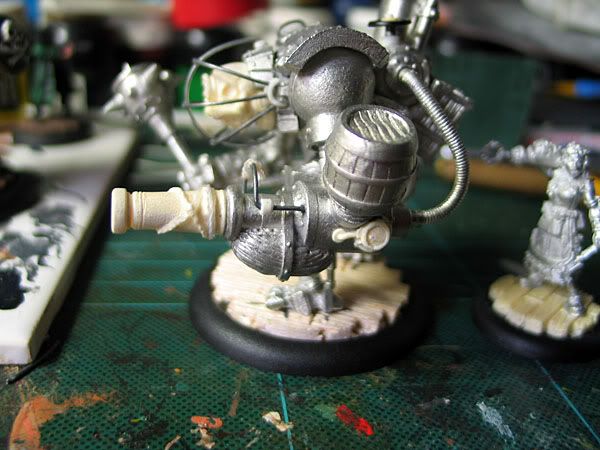
here's the arm glued into it's new position. I cut a ring of plastic tube to replace the old socket then drilled a hole for the pin in the arms new postion and just glue it on, after bending the anchor chain a bit so it looks more like it's hanging down from the new pose rather than be blowing in the wind Wink


on the other side, I filled in the socket in his leg where the cannon nub went and sculpted in the rest of that ring detail thingy. There is now a smaller hole for a pin. I extended the nub thing a bit on the cannon side with a bit of plastic tube and there he is all done :pirate2:


Enter the Beer Cannon Warjack

Been ages since I updated this thread. Well I did some work on some more jacks on the weekend so here's an update.

Latest on the table is the good old beer cannon jack.


so far I've added some detail and a new exhaust top to the boiler, as well as shortened the ridiculous mace, really why do the mule and nomad have the longest weapons in the game on the model yet have no reach.

The cannon looked kinda sad and stubby when you stood him next to the mariner so I added a bit of extra barrel to the front. I started on the head too starting on a freebooter push cast and hacking into it and changeing the face lens for a start. Then decided the hood on the body might look nicer a bit higher up so hacked into the body with a jeweler saw.


The head got chopped down a lot more since the last pic to fit under the collar and not poke out the front too much. Then I got to making the wire cage.


1st the wire was wrapped around a handy cylinder (it's what I used to lubricate my sculpting tools)


the wire is cut and tested for size so I can trim it down


all the bits ready to go on, you might also see the holes drilled next to the head.


and here we are all done, Meg is right proud Smile


you can see here I used some thin slices of tubing to add a bracket for the cage, the gap between the 2 parts and the body is filled with gap filler superglue


you can see I added a kind of cage/handle over the cannon. I also added a pressure gauge at the back with the dial over at max Wink


another pressure gauge added to the back and sharped eyed viewers may notice the exhaust top is different to before. I unfortunately dropped him off the desk and smashed the 1st pipe Sad this new one I cut the angle closer to the mariners one so I can't really complain, unless I drop him again <_< src="http://img.photobucket.com/albums/v71/Rob_Jedi/Pirates/MuleWIP12.jpg" border="0">


here he is with the Nomad. Now I just need to add some more rivets.