May 23, 2013

Hoffman's Crew done ... mostly

I've managed to get everyone in my initial gang done :) Now just need to get the mobile toolkit and the claw guy done. Here they are:

 photo IMG_3014_zpsa1ac9665.jpg

 photo IMG_3017_zps00562be4.jpg

 photo IMG_3020_zps2e10b73b.jpg

 photo IMG_3022_zps8c9f19f5.jpg

 photo IMG_3025_zpscfde10a2.jpg

 photo IMG_3027_zps0cef76bd.jpg

 photo IMG_3029_zpsf826da3e.jpg

 photo IMG_3030_zpseefe9d04.jpg

 photo IMG_3032_zps2798b347.jpg

 photo IMG_3034_zpse25de930.jpg

 photo IMG_3036_zps2d053585.jpg

 photo IMG_3038_zps9e083af9.jpg

 photo IMG_3039_zpsb7d156e7.jpg

 photo IMG_3043_zpsc33ea0c8.jpg

 photo IMG_3044_zpscf5dad42.jpg

 photo IMG_3045_zpsad967572.jpg

 photo IMG_3047_zps75dc0a3f.jpg

 photo IMG_3048_zps9c0157ce.jpg

 photo IMG_3050_zps8aefec99.jpg

 photo IMG_3053_zpsbede7244.jpg

 photo IMG_3054_zps4b46f5bd.jpg

 photo IMG_3055_zps1f4ea41c.jpg

 photo IMG_3056_zps167e6910.jpg

 photo IMG_3057_zps12237990.jpg

 photo IMG_3058_zps5b0af98d.jpg

 photo IMG_3059_zpsf2db6494.jpg

I think I overdid the rust spray on the smokestacks on the Peacekeeper so I'm going to give it a black wash and a bit of metal drybrush to tone it back.

May 22, 2013

Painting Wild West Bases

I got a lot of comments about the bases as I've been painting my Hoffman crew so I thought I'd write up something about what colours I use as I do up the next couple bases.
   photo IMG_2932_zps1169de01.jpg

The starting point is a few bits of broken coffee stirres, some rocks, a couple plastic cacti from Pegasus Hobbies and a heap of sand.
   photo IMG_2955_zpscf18be26.jpg

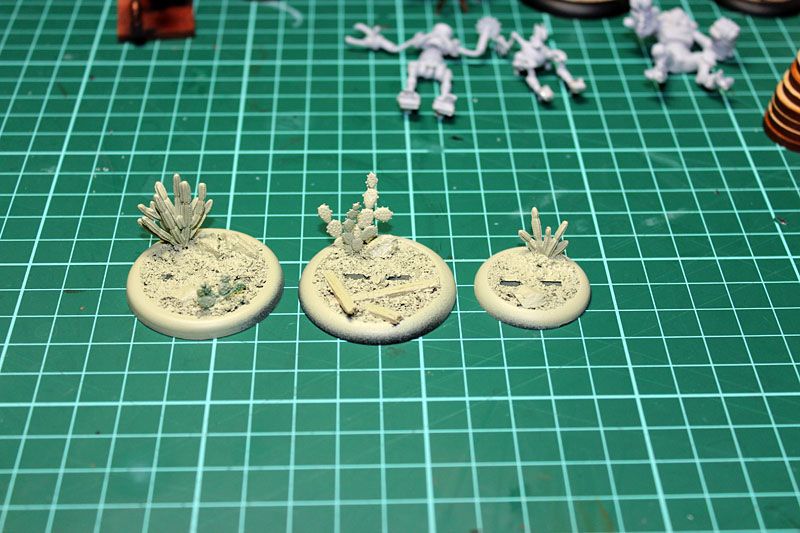
This was given a spray of undercoat, in this case Army Painter undead flesh but white would do.
     photo IMG_3006_zpsa4524e1b.jpg

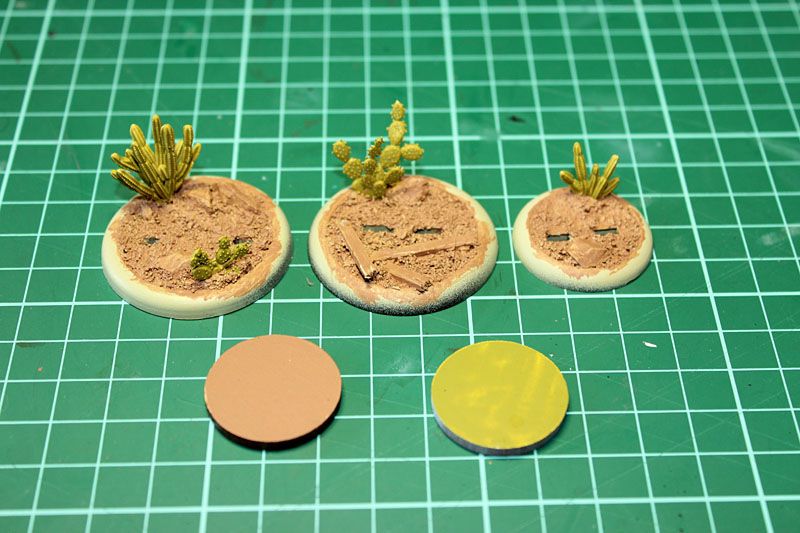
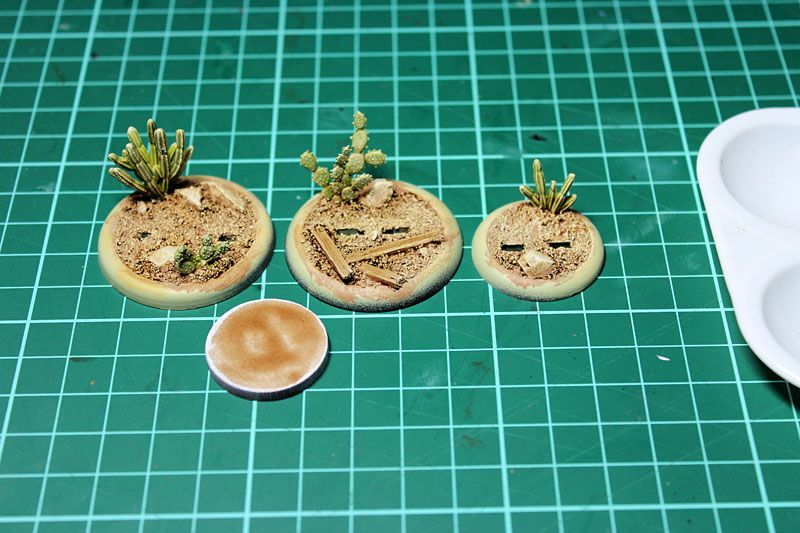
All the ground was basecoated with a nice earthy brown and the cacti with khaki. I actually used a sample pot of house paint for the brown since I had used it for my big base board for my Western town.


 photo IMG_3064_zps8815a881.jpg

Drybrushing: a sandy yellow over everything including the cacti.
   photo IMG_3065_zps922f3858.jpg

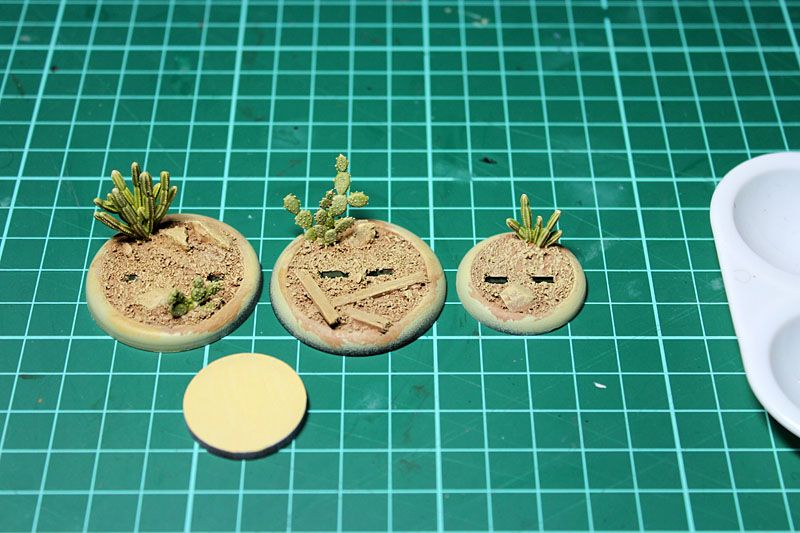
Next a very light drybrush of off white on the larger rocks.
   photo IMG_3066_zpsa1edff86.jpg

Next washes: a bit of Army Painter Soft Tone painted around the rocks and cacti to give a bit of depth. Also a bit here and there on the cacti.
   photo IMG_3069_zps4de5e1ba.jpg

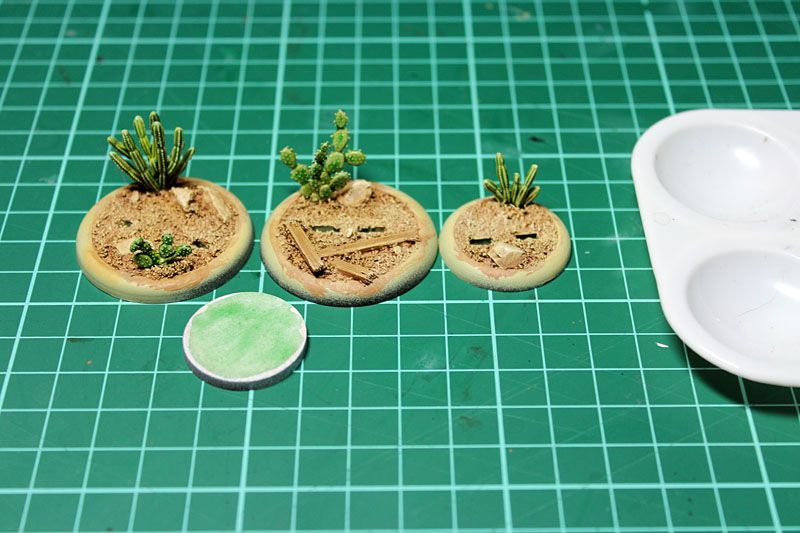
Next some Thraka Green wash over the plants.
   photo IMG_3070_zps4d655577.jpg

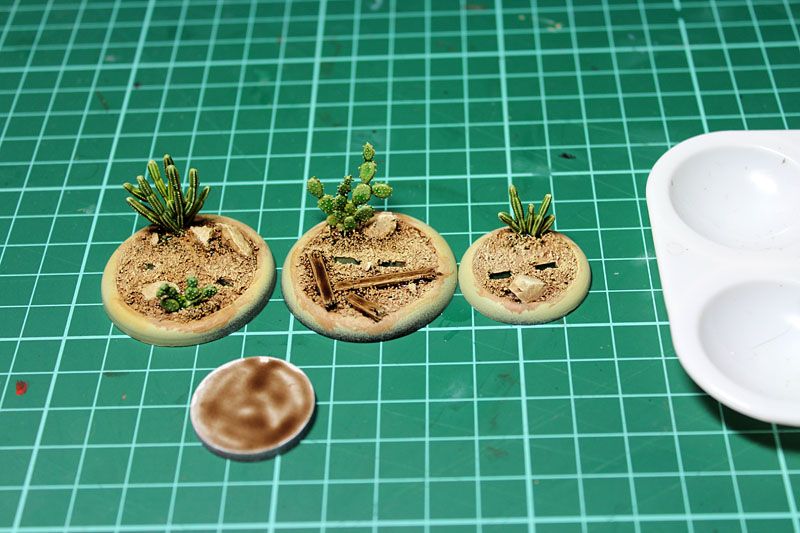
Now some Strong Tone washes over the wood planks and a bit more defining around the rocks..
   photo IMG_3072_zps671fa402.jpg

Using a warm light grey I picked out the planks a bit for that weathered look.

 photo IMG_3075_zps2b076d2e.jpg

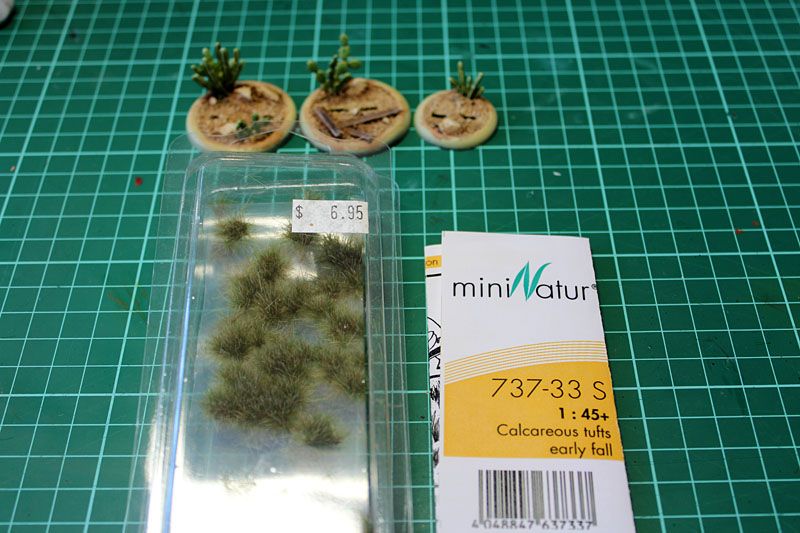
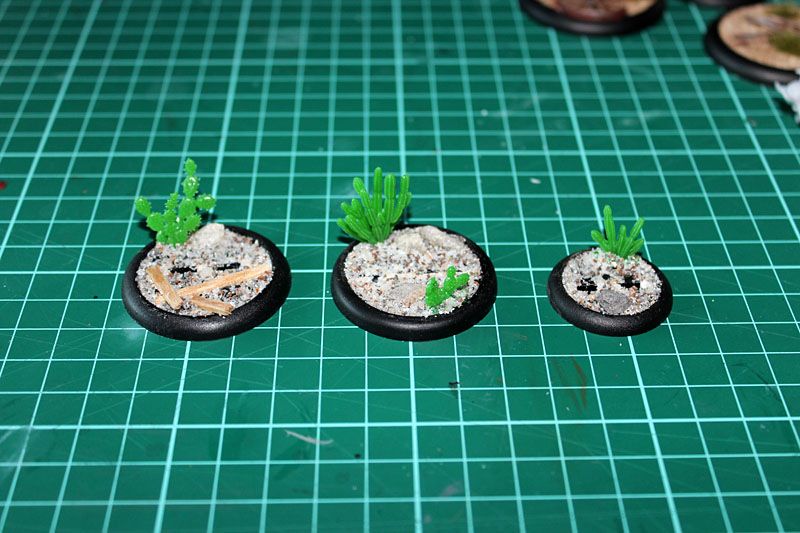
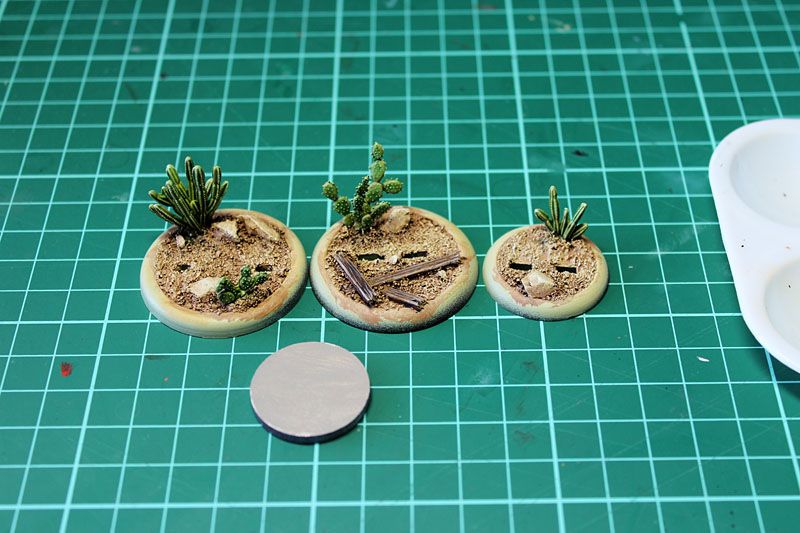
Now using grass tufts I give the bases some foliage. It's a good idea to have the minis on the base when you do this so you don't get the grass obscuring the figure.
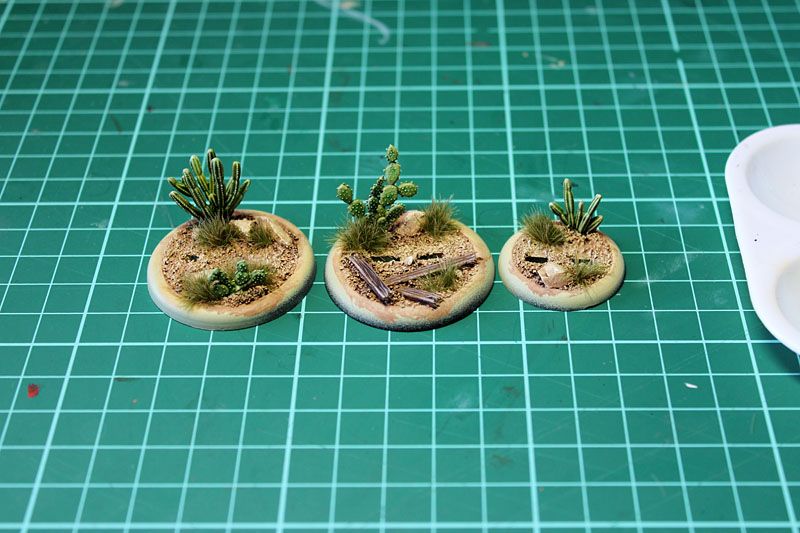
 photo IMG_3077_zps3f84015d.jpg

All done.
   photo IMG_3079_zpsd2bc42c5.jpg

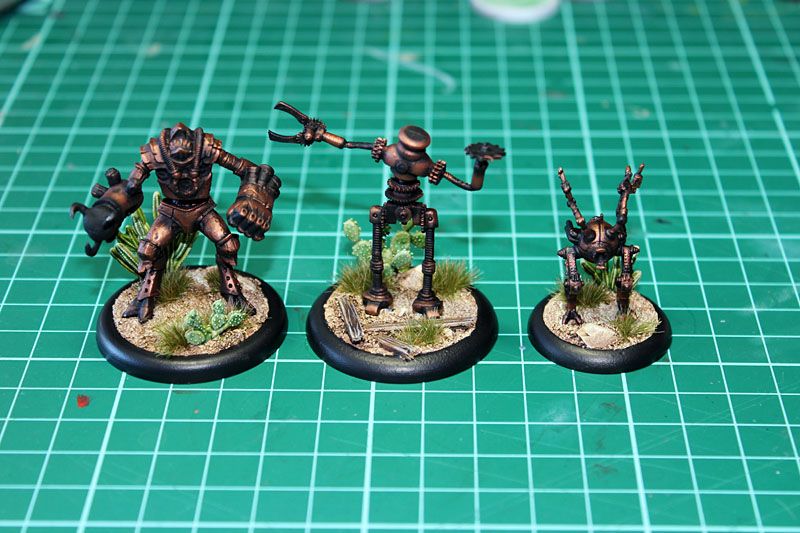
Finally paint the edge whatever colour you like, I've gone classic black. Now I just need to get the minis finished.

STRANDBEEST!!

The unusual plastic kit I mentioned in my last post was a mechanical kit of a Strandbeest.... what in hell is a Strandbeest you will likely be asking yourself. Let Adam Savage explain in the video that made me go searching eBay for a kit


Strandbeests are the creation of artist Theo Jansen, they're very weird but also quite cool. The fact I really like multi legged walkers made me want to build one so I found one kit at around the $20 mark amongst the the $80-90 ones. Turns out it didn't have the magazine with it but did have instructions in engrish which at least made life easier to make sense of it.

 photo IMG_3080_zps00a5b3b0.jpg

 photo IMG_3082_zps313df845.jpg

 photo IMG_3081_zpsabc4bf6a.jpg

 photo IMG_3083_zps50b8ff2a.jpg

 photo IMG_3084_zpsb9ae15b7.jpg

 photo IMG_3085_zps589c2688.jpg

 photo IMG_3088_zps99976615.jpg

At this point you may well be thinking OMG WTH etc. I took my time clipping off all the parts and cleaning of the snip bits while watching Game of Thrones.

 photo IMG_3091_zps62cd9c12.jpg

All the parts neatly layed out of "knolled" as Adam Savage says.

 photo IMG_3093_zps83d55020.jpg

 photo IMG_3094_zpse31dccd2.jpg

 photo IMG_3095_zpscce6c378.jpg

After about a half hour or so construction after some confusion at the construction of the 1st pair of legs it went together incredibly fast. It's a really idiot proof kit in that the joints can only be built the correct way. It's just at the bit where they connect to the crank shaft that gets a bit confusing if you don't reread the instructions for that one stage.

 photo IMG_3097_zps51bc3edd.jpg

 photo IMG_3099_zps9b983641.jpg

 photo IMG_3098_zpsc8ea217f.jpg

IT'S ALIVE!!!!

It walks very well as it strides sideways across your desk.

 photo IMG_3100_zps7f37493a.jpg

 photo IMG_3101_zps3a6e8fa1.jpg

 photo IMG_3102_zpsbcc5ba68.jpg

 photo IMG_3103_zps82b14897.jpg

 photo IMG_3104_zps18adb70c.jpg

 photo IMG_3107_zps107f6278.jpg

 photo IMG_3105_zps0e311766.jpg

 photo IMG_3106_zps85a06d64.jpg

 photo IMG_3108_zps6855c0d5.jpg

It's just such a bizarre complicated looking thing but it walks so gracefully that it doesn't look mechanical as it does it. I'll shoot some video later.