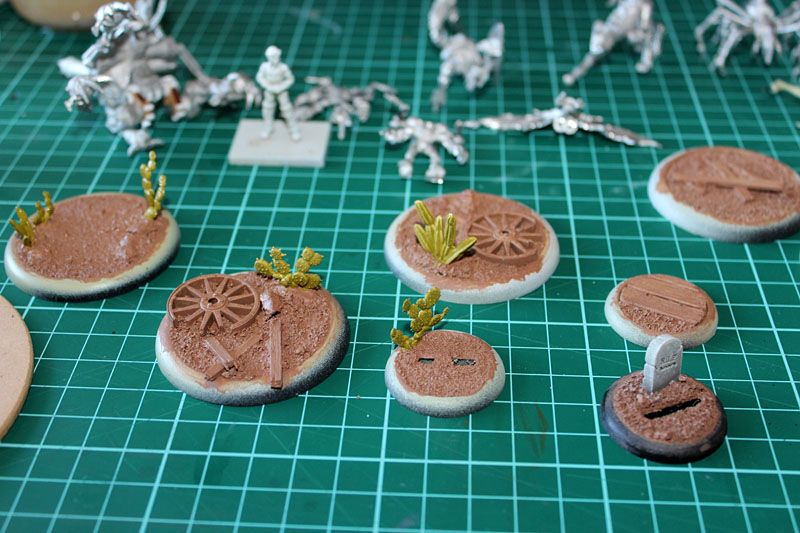
here they've all had a base coat of earth brown on the ground and khaki on the cacti
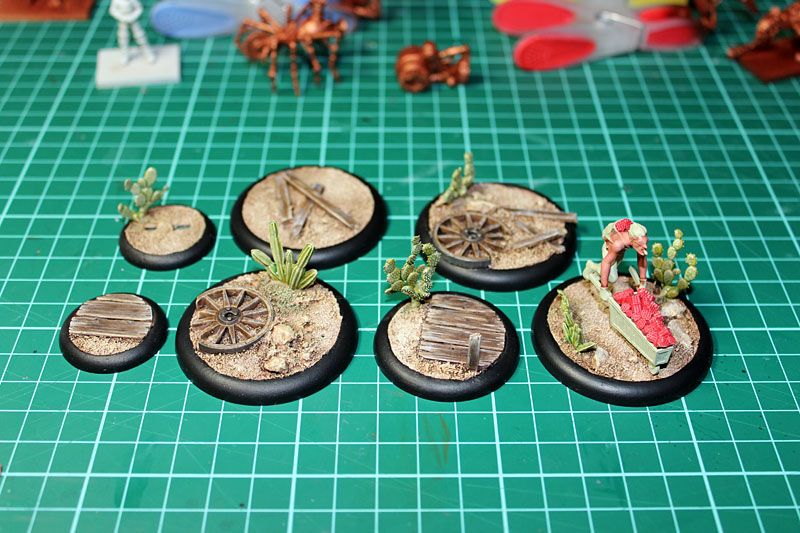
here they are again after a bunch of drybrushing and some washes to define areas like the rocks and the cacti for more colour and a bunch of darkening and weathering on the wood painting on streaks of grey and washes of dark brown. They still need flock though which drove me nuts cause I couldn't find where the damn stuff was hiding :(
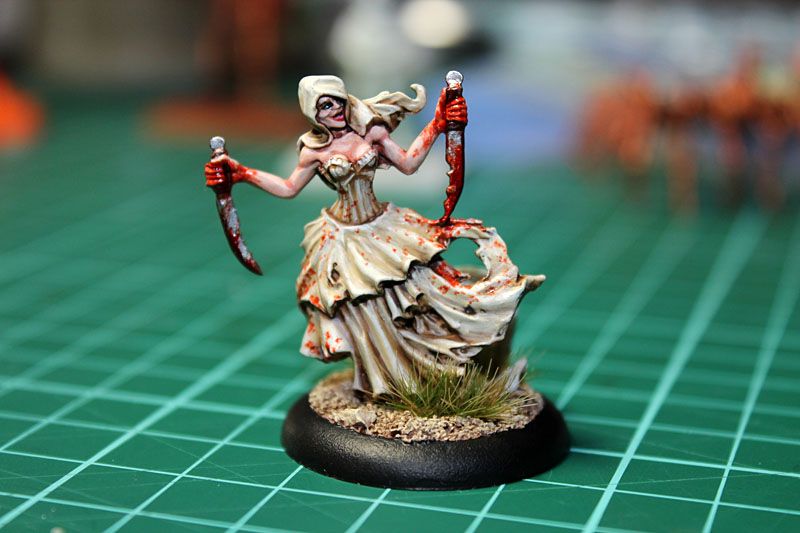
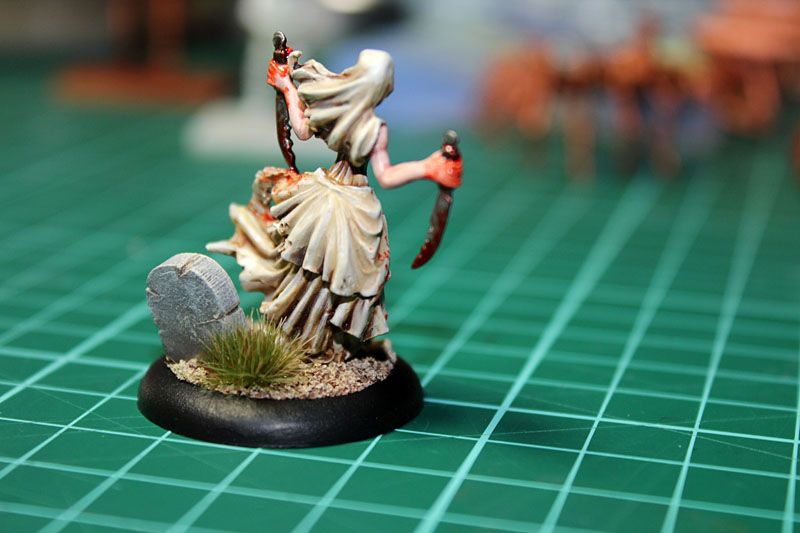
I did find the grass clumps though which was enough to finish off Bette Noir's base so I could stick her down and call her finished. (That's one down for my McMourning Crew)
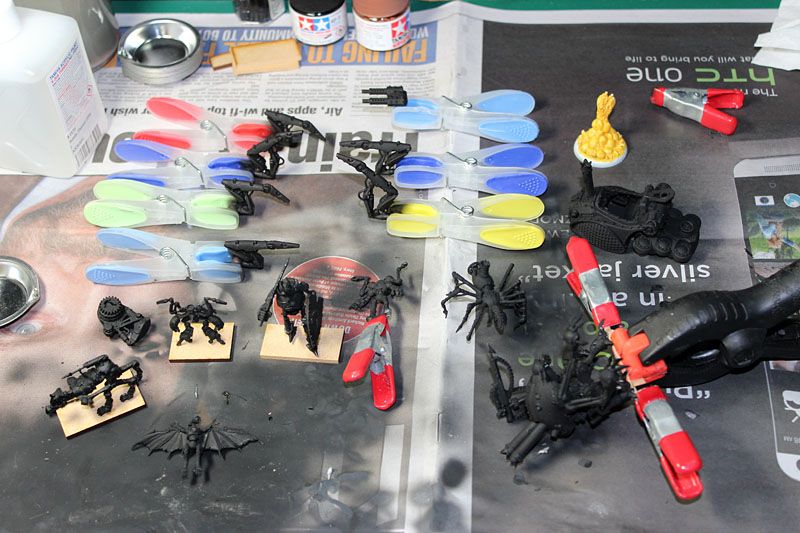
Everything was given a base coat of Tamiya flat black. I think I should have used the single action airbrush for this, using my fine tip double action took ages to do. Also I really should have given them a coat of MrSurfacer or some other primer 1st, I think this stuff may rub off down the track. Hopefully a finish lacquer will hold everything down at the end.
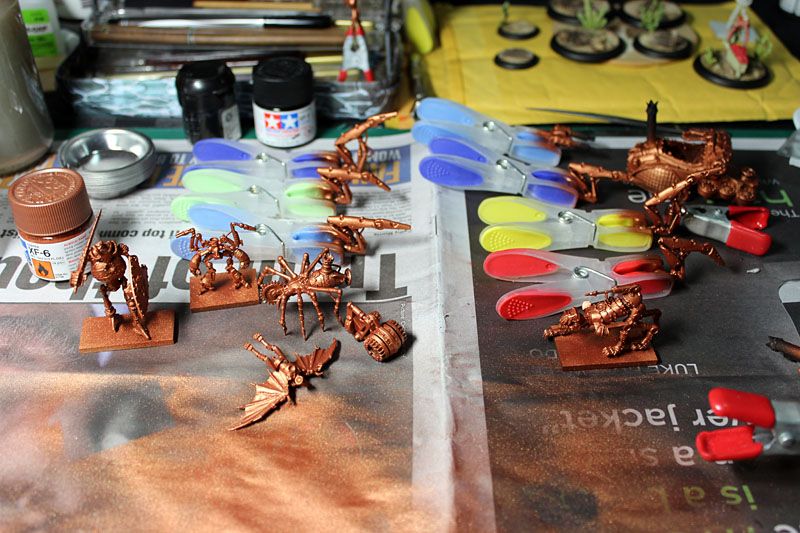
Next step I had hoped to spray the highlight areas with copper leaving dark recesses. That didn't work out. The metallic paint behaved very differently and was quite spitty. So I had to basecoat everything in copper instead.
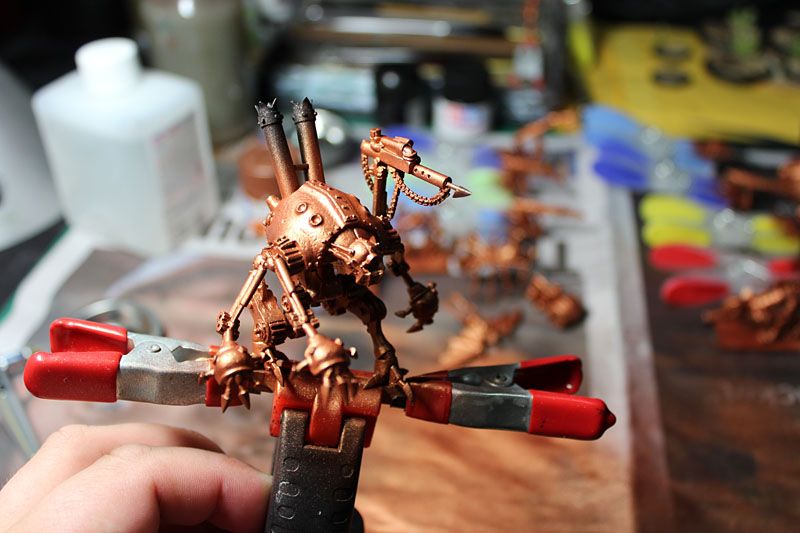
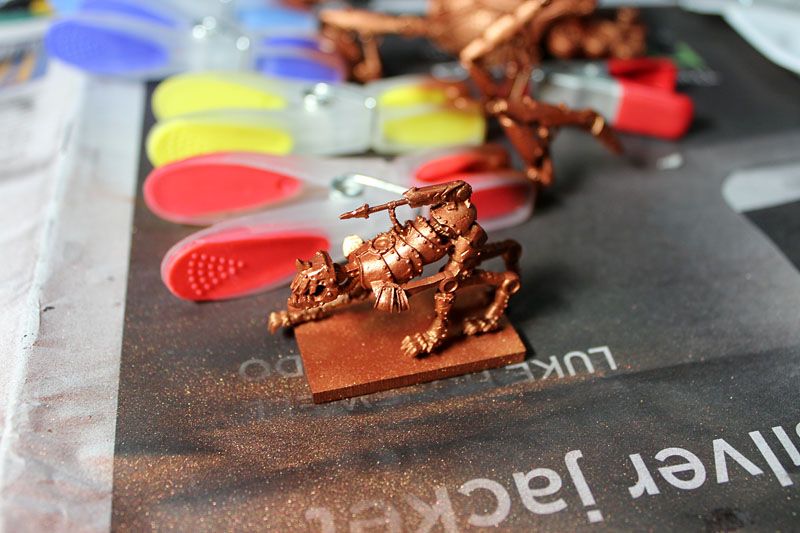
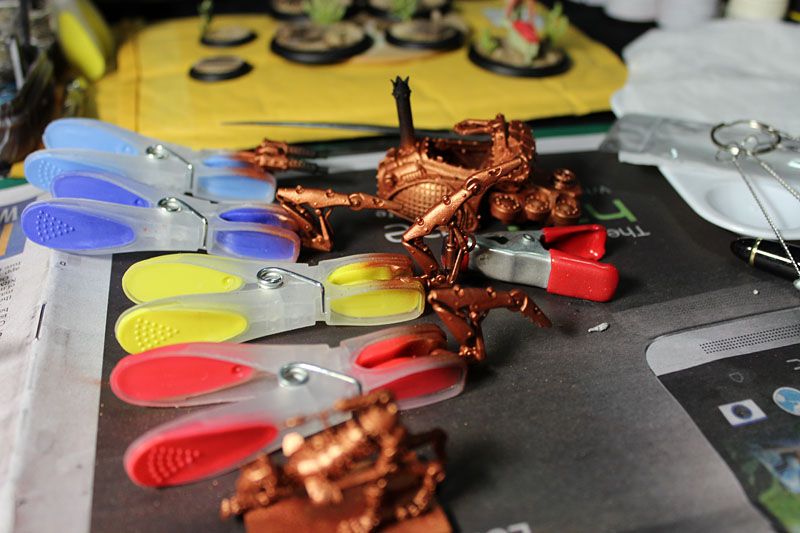
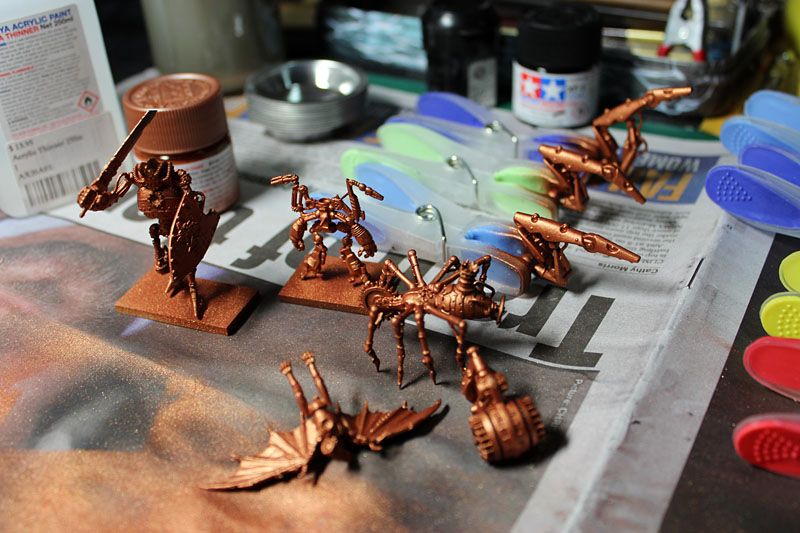
quite a bit of temp basing and clamps were used to hold on to the models while spraying.
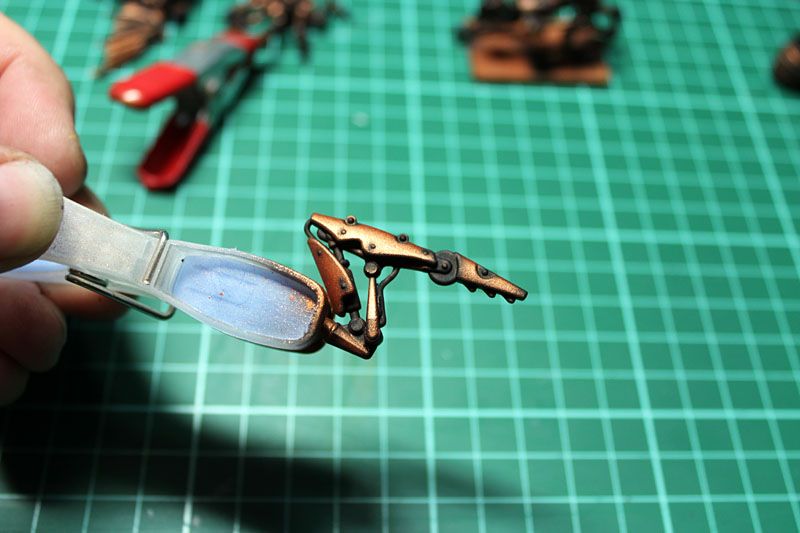
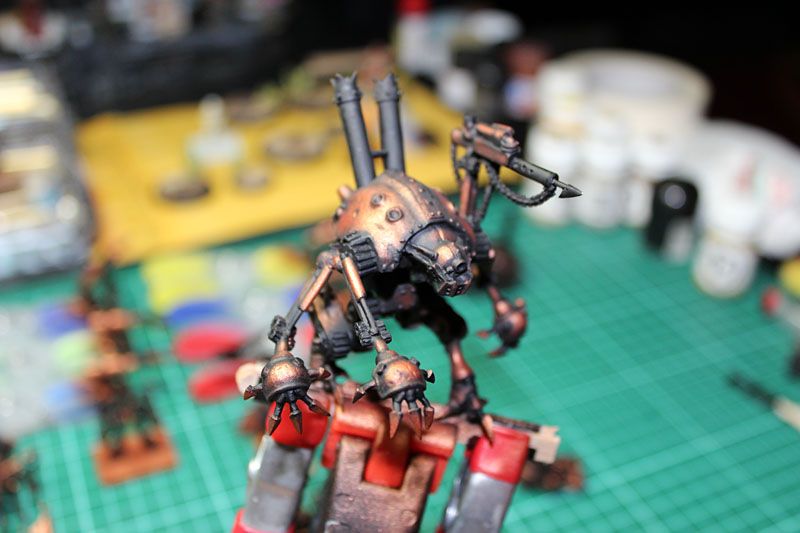
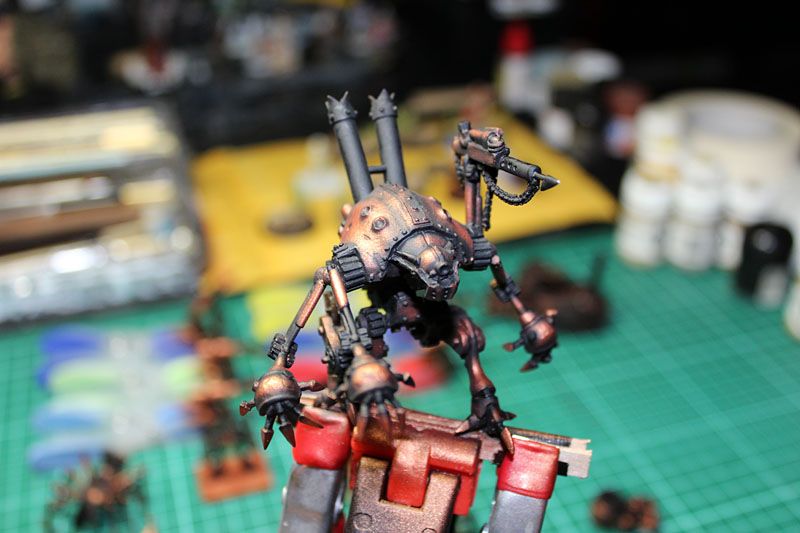
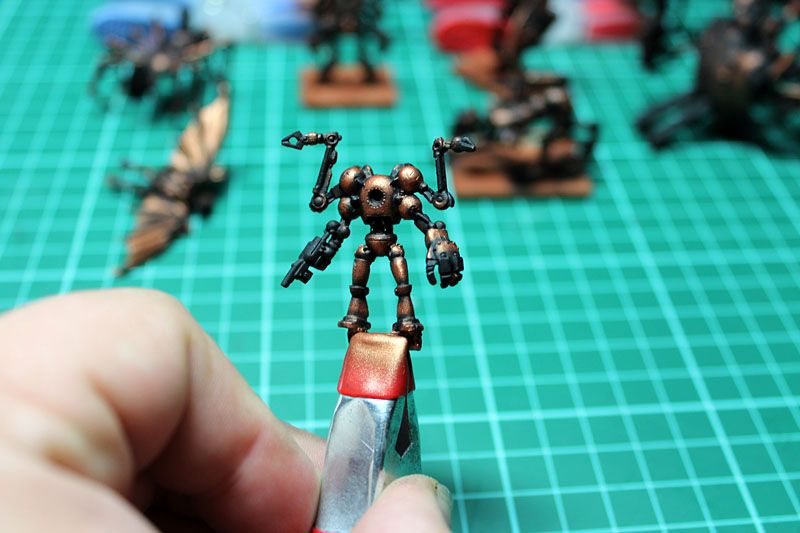
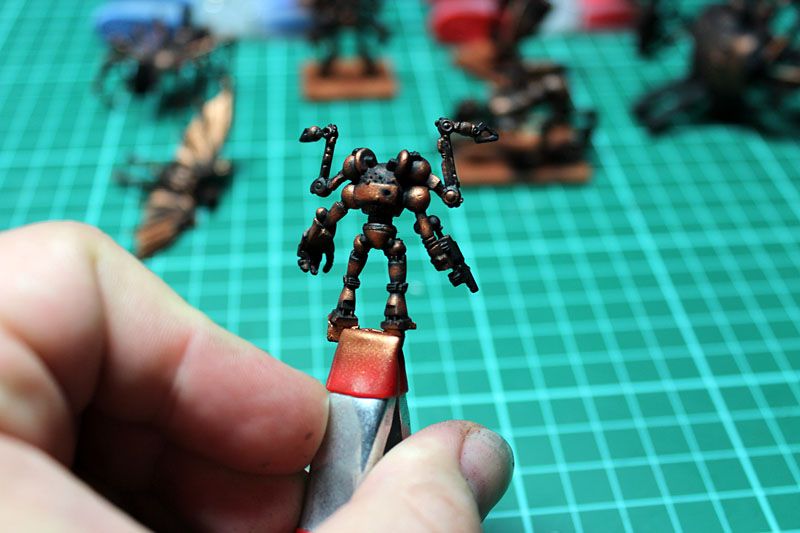
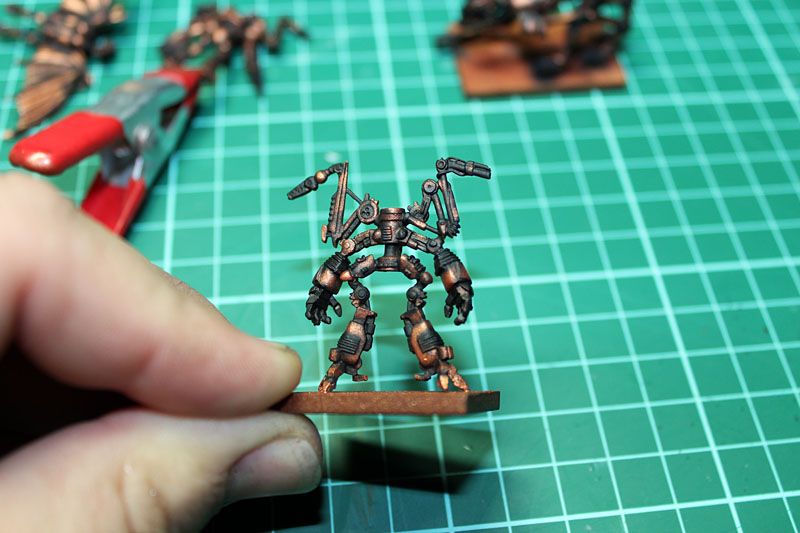
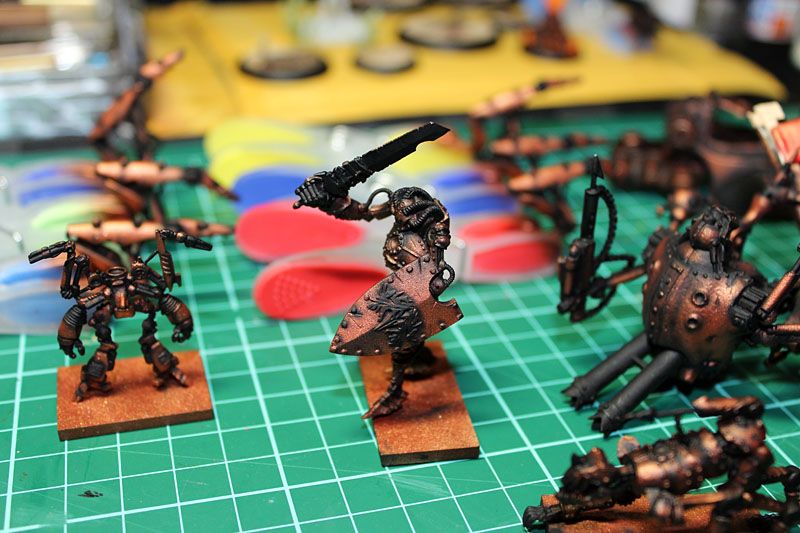
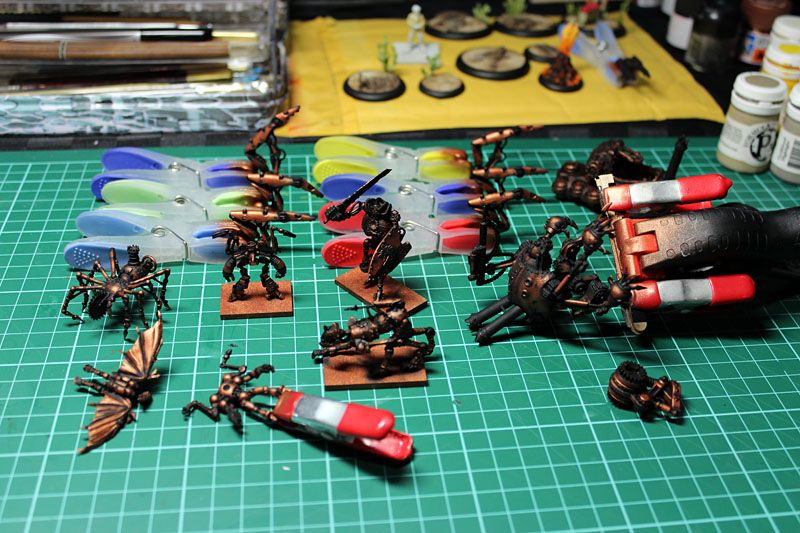
The next day in a marathon session I thinned down flat black and airbrushed in shading all over the models. Now this is very new to me so I may have gotten carried away but I was spraying rivets and crevices and panel lines and adding shadows underneath. It gives a very different look to just using washes for shading.
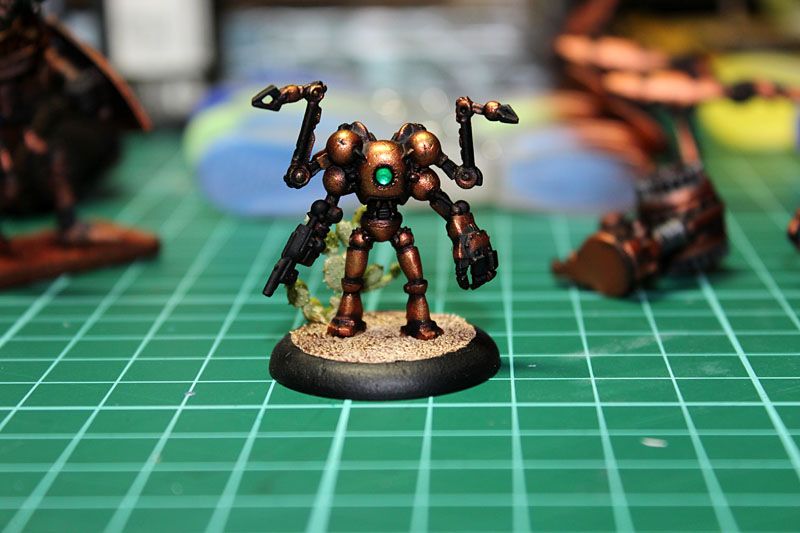
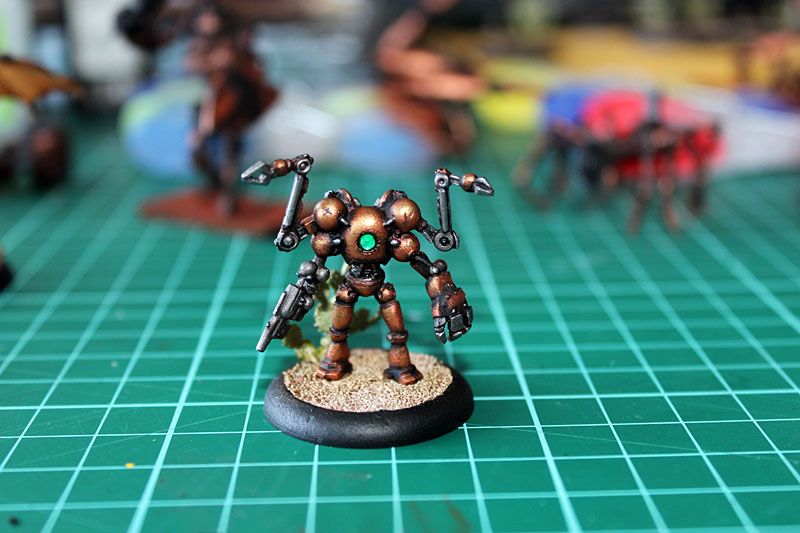
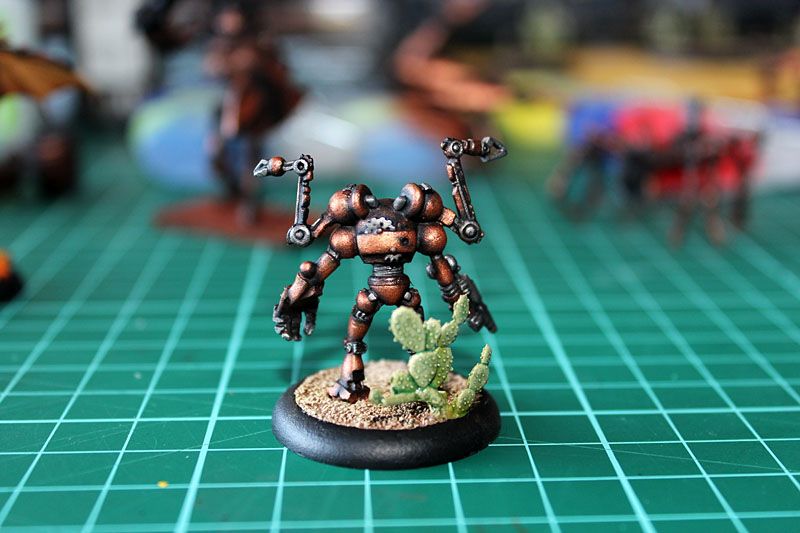
The helper robot is the closest to finished. I've added a bit more copper on the round surfaces and a touch of brass for highlights. Then I used boltgun metal to add some contrast with some steel areas. I've also added one of the green gems for his eye to see how they'll look. Very very bright in real life.
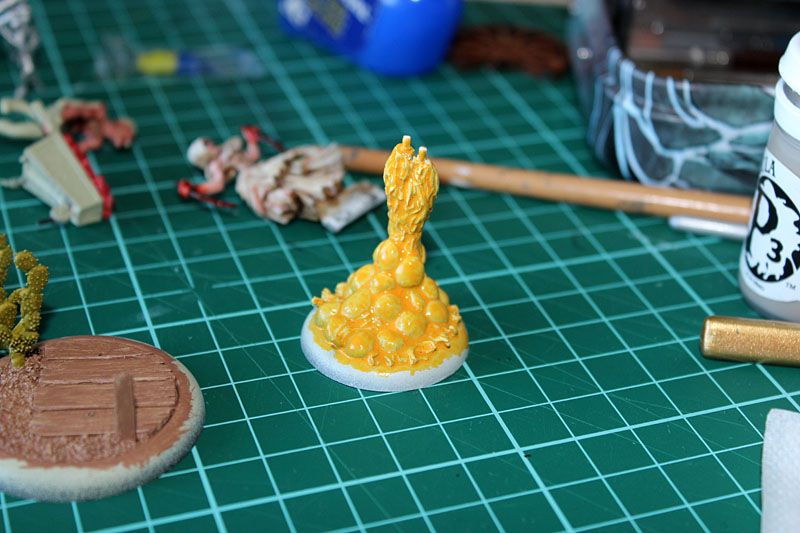
The rocket blast was really relying on the airbrush for the right look. I started with a coat of yellow all over by brush over the white primer.
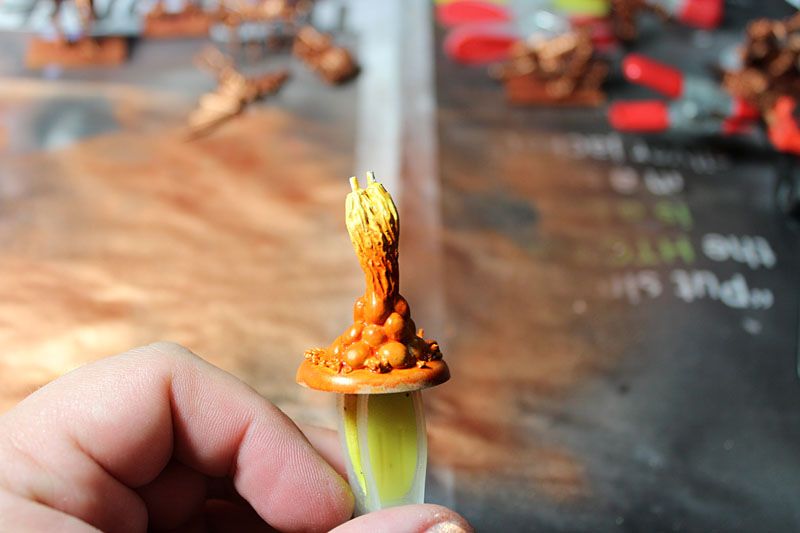
Then I airbrushed on some Citadel orange ink around the bottom of the flames and over the base. Then I painted some raised areas with a touch of yellow with a brush.
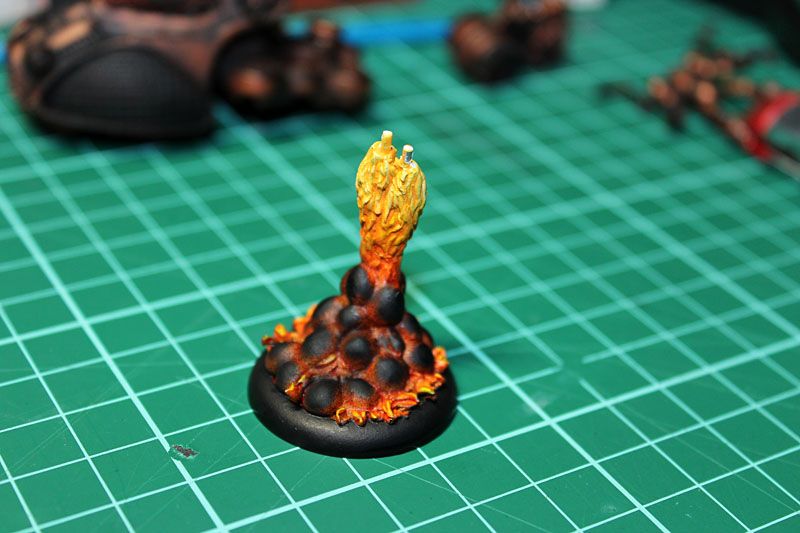
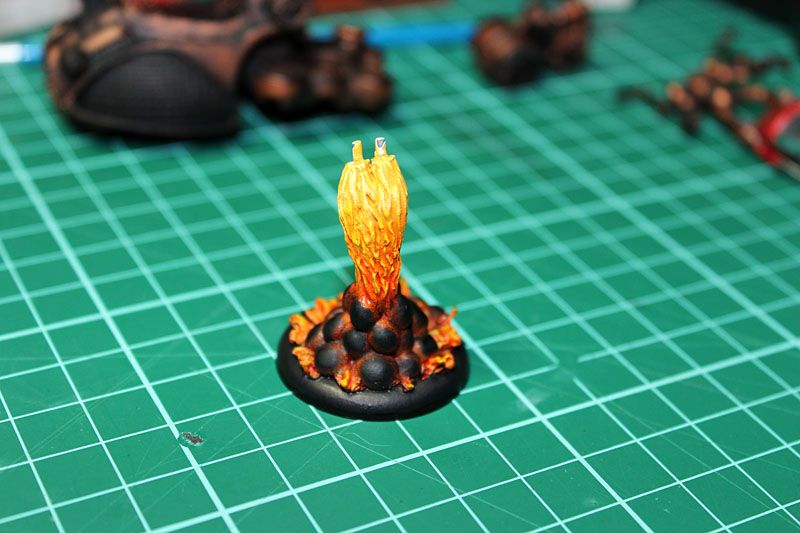
Along with the shading on the models I went in with the black and airbrushed black onto the smoke clouds around the flame column. Each blob was carefully sprayed leaving orange in the gaps.
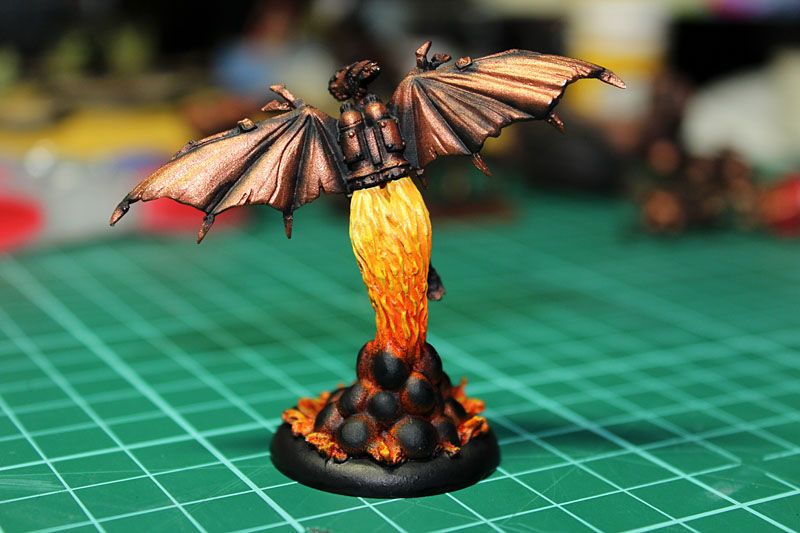
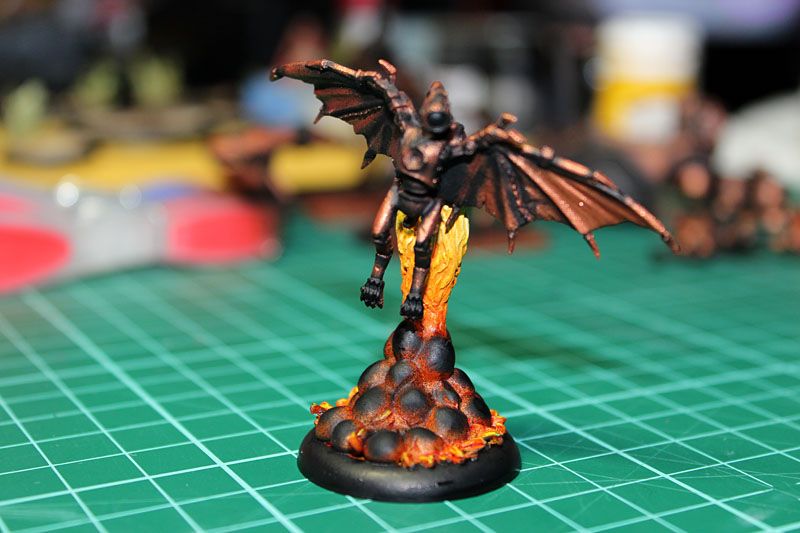
The Watcher still has a ways to go but it already looks striking perched on the rocket blast.
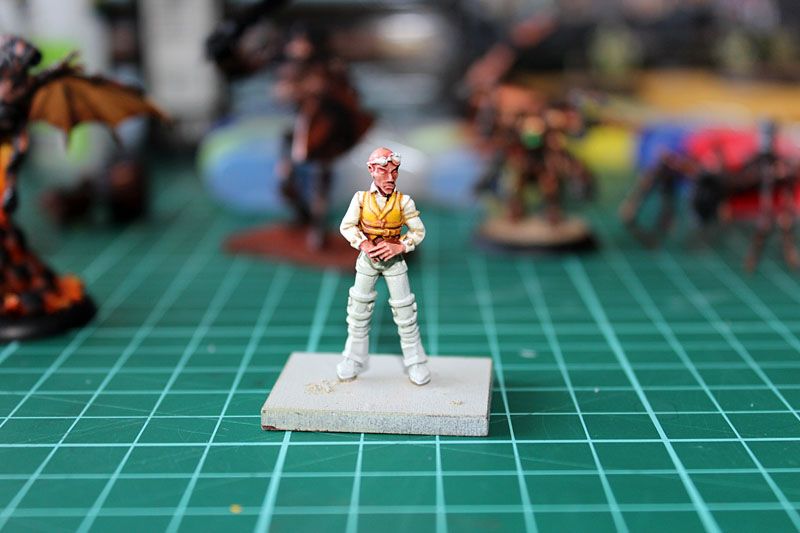
Lastly I started painting Hoffman himself.


Great read and some fantastic pictures to go along with that. I really like how the crew is coming along.
ReplyDeleteBeautiful work, even the basing!
ReplyDelete