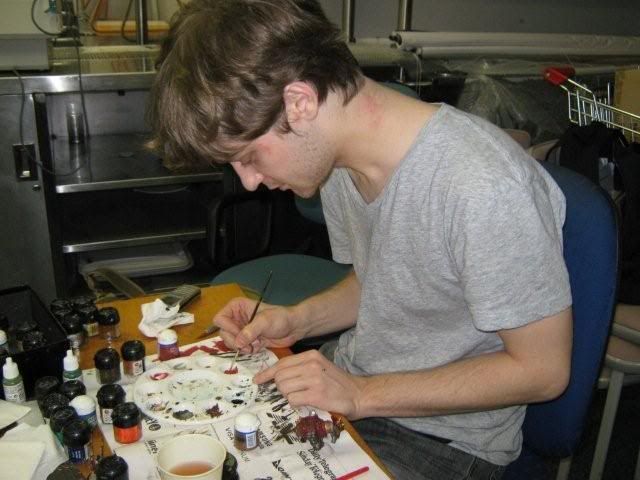
I'm a member of the gaming club at the local University, every now and then they try and drum up some effort towards mini painting. Here's a few pics from the last one.
Finally got around to getting the pics off my camera from the last painting day
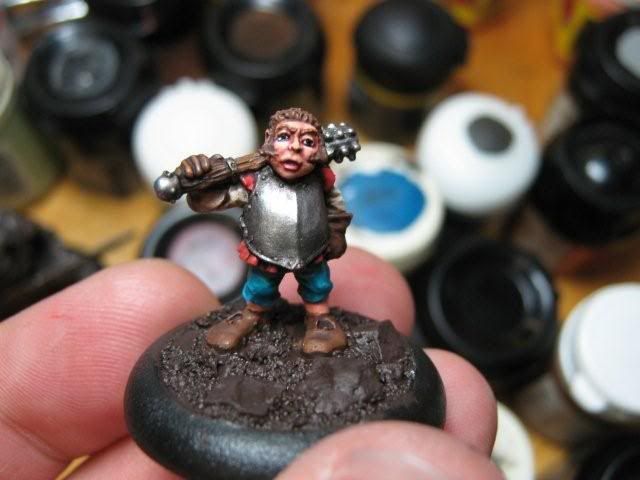
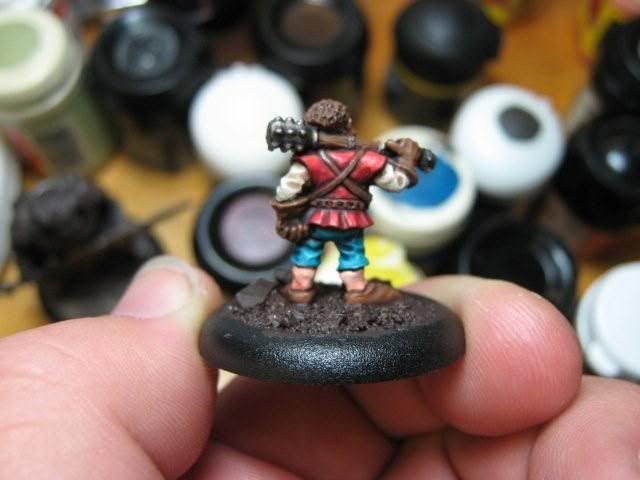
Thanks to the wonders of Devlin Mud I got that halfling done from a white prime to just needing the base drybrushed and flocked.
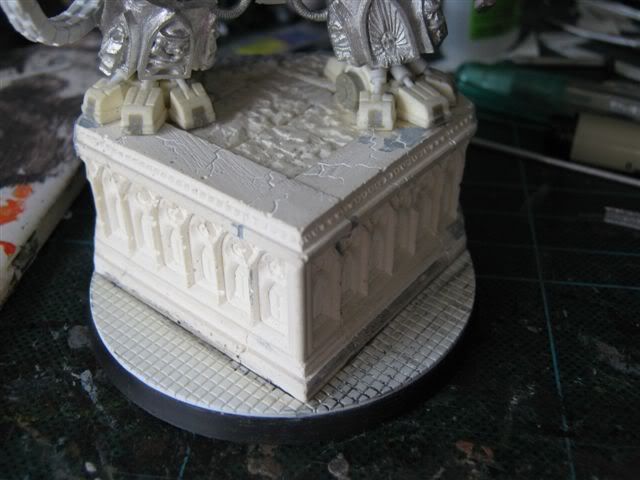
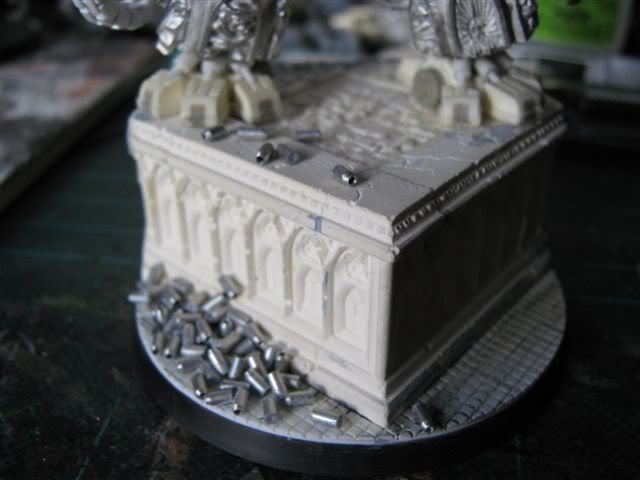
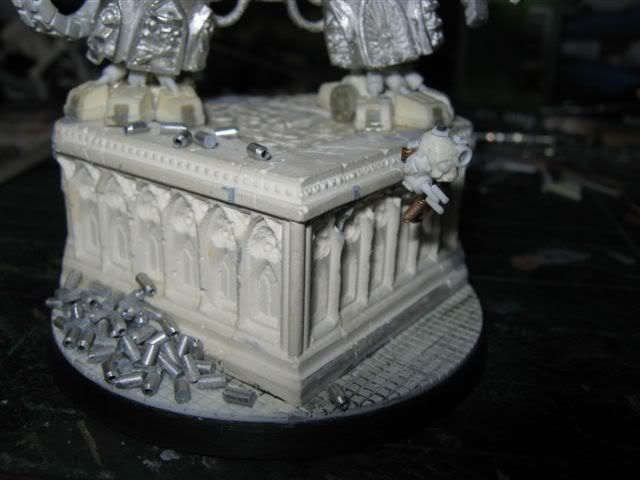
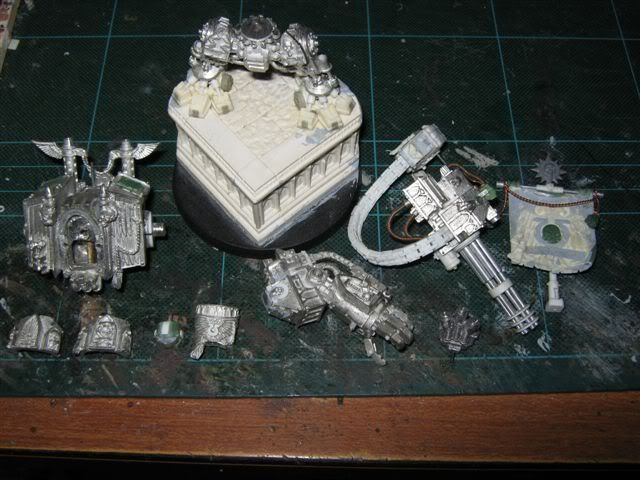
I followed the tile idea and cut and glued in some textured plasticard.
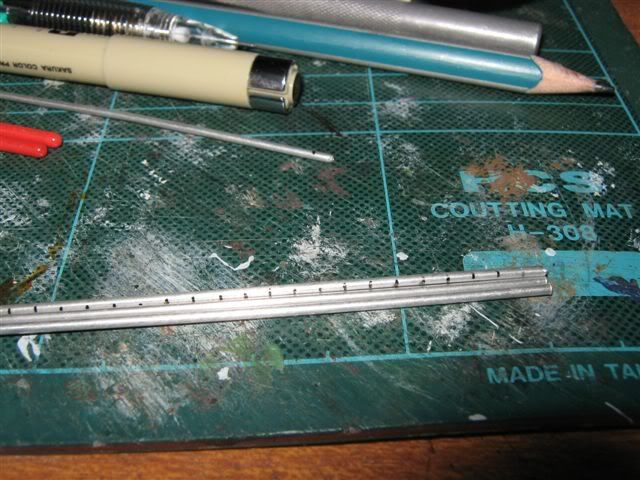
next is cutting up lots of aluminium tubing for the spent shells. I was going to use plastic rod but none of the stuff I had looked thick enough. So in the end I made my self a lot more work but I think the results were worth it.
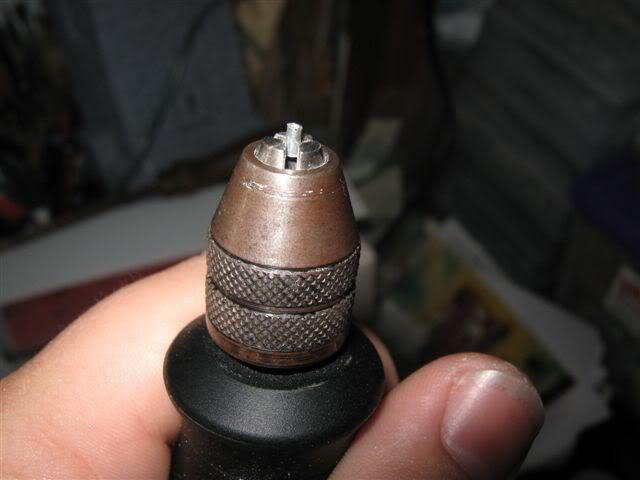
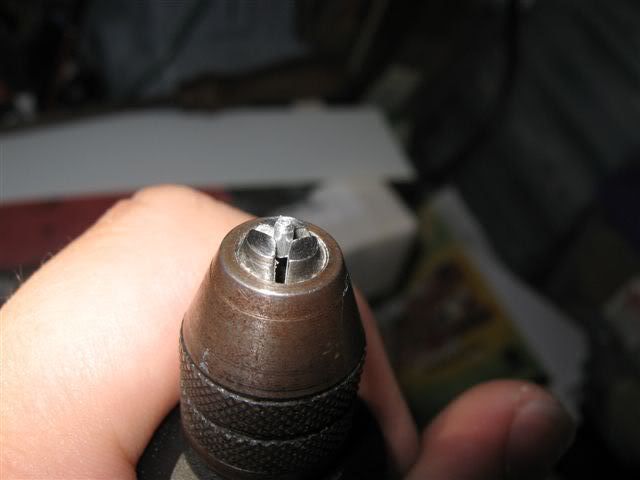
after cutting all the pieces I put them in the chuck of my dremel and bevelled the tip down
It took a while I also puttied up the flat end of each shell.
I went for a good random look by putting down a fair bit of super glue and just sprinkling them on, then placed on the ones that didn't fit bellow up top.
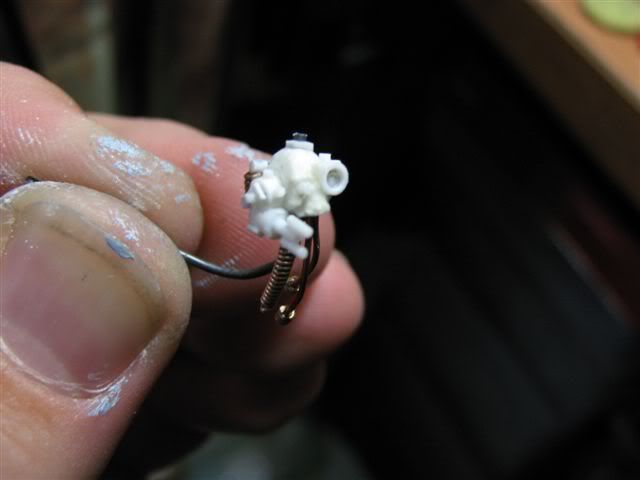
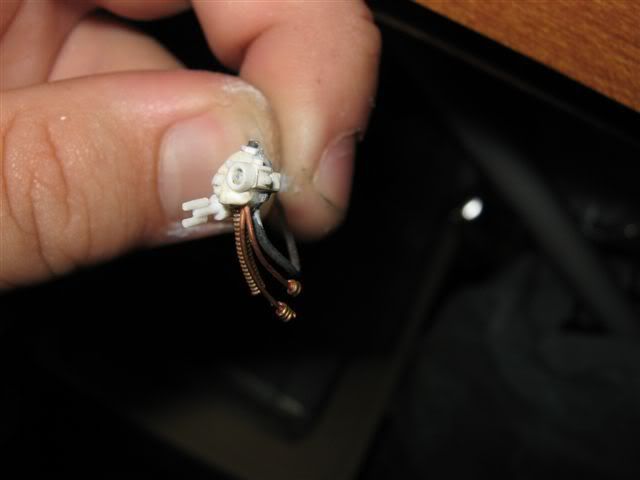
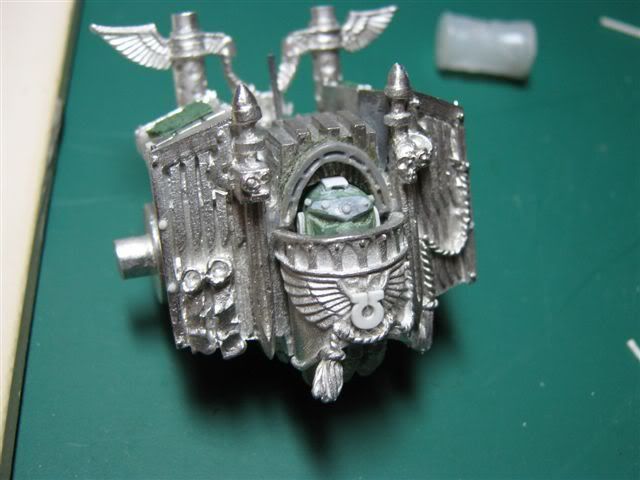
For the other side of the base I got the idea to have a servitor skull floating just off the edge.
I started with a resin skull and just went with the flow and stuck on wires and plastic rod and card and stuff.
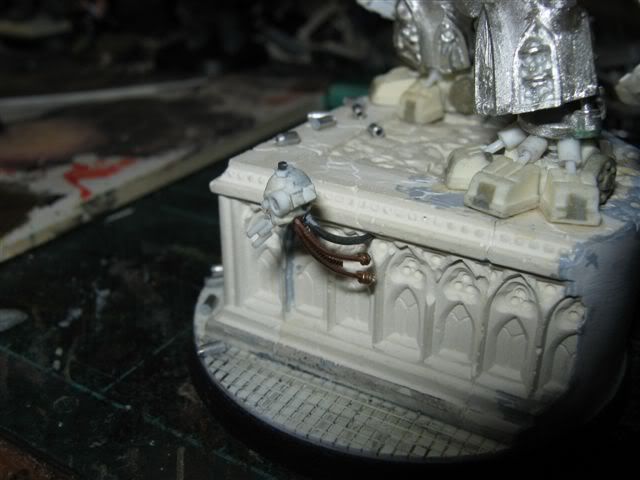
I drilled in a hole and there it is
Well that's it modelling wise. I've primed it today.
Back again. A normal person would have had this thing painted by now, but I keep adding stuff.
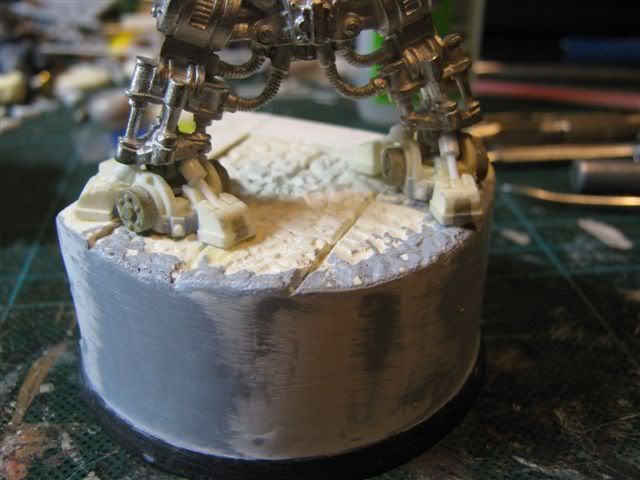
I took advice from you guys and glued on some plastic card to the back of the base to get a smooth finish. Then had to putty it up a fair bit and file back since the curve wasn't quite the smoothest due to the bricks behind it.
So after a few days of putty it, wait to dry, sand back, putty it again, etc. I'm happy with the finish now. So decided to get it over with and glue down the legs.
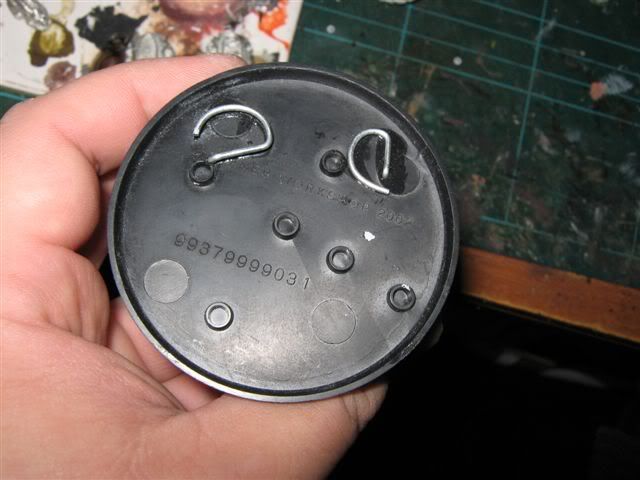
Figured it was best to be extra secure so used some thick floral wire and drilled all the way through to the bottom of the base rather than risk only being glued to the plaster. I glue the feet down 1st then put some green stuff in the sockets and then superglued on the legs so I got a very secure feeling bond.
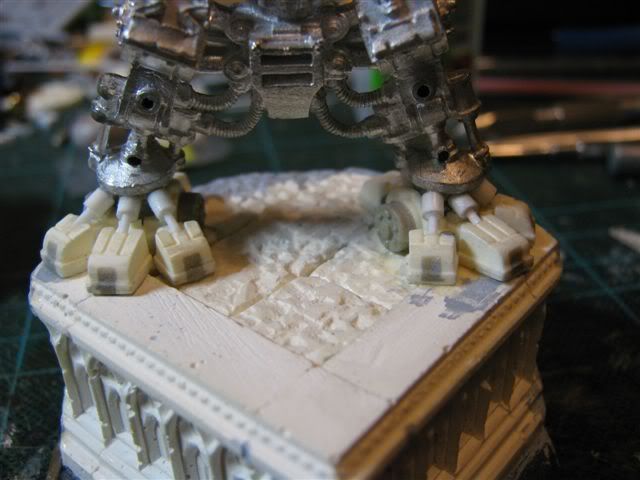
After that I finally got around to adding the actuators I mentioned ages ago. These are all made from plastic rod and plastic tube. I had to have the legs and feet fixed in position 1st to get these right.
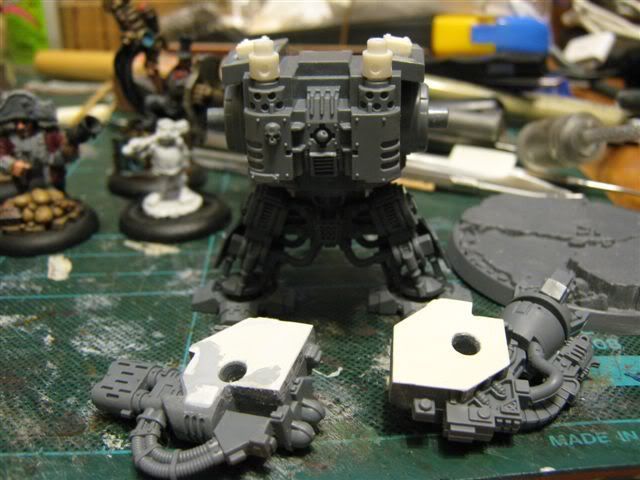
and here's what it looks like with the leg armour back on.
Finally all the parts pulled apart into subsections ready to get primed.
And yes I still don't know what else to put on the base. The dozens of shells idea is still my current fave. The dead bullet riddled body idea though good often looks incredibly tacky and frankly there isn't that much space on the base to put a body.
Hi everyone, finally caved in and started a blog page. Seems much easier to maintain than a website, and hey my old one on Geocities is about to go RIP.
Following the advice of Numbat I've redated all my posts to their original dates rather than have that info in the header, and add tags to everything. I'll try and make the pics smaller if I can too.
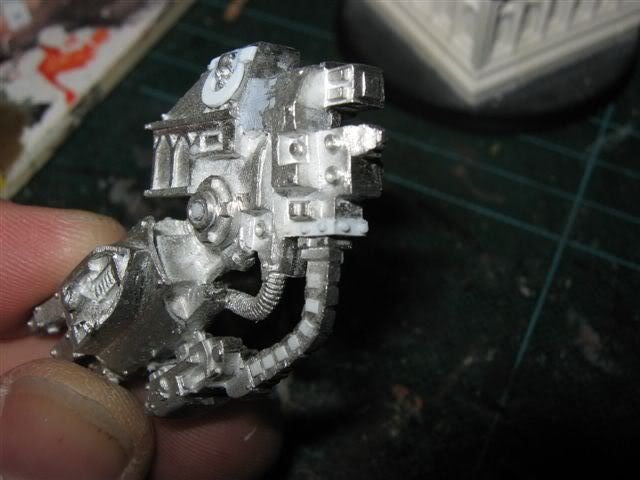
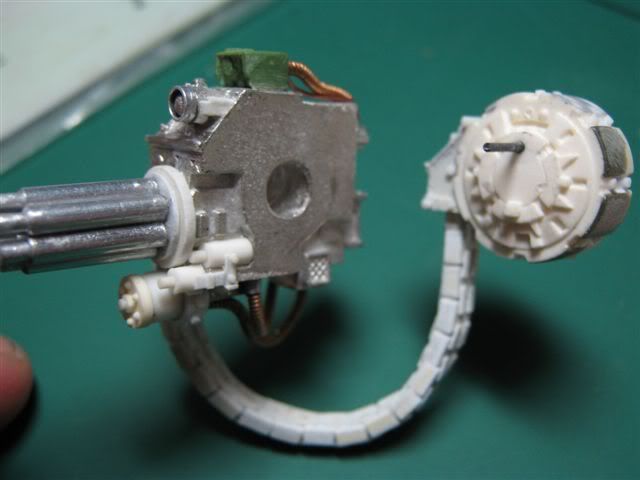
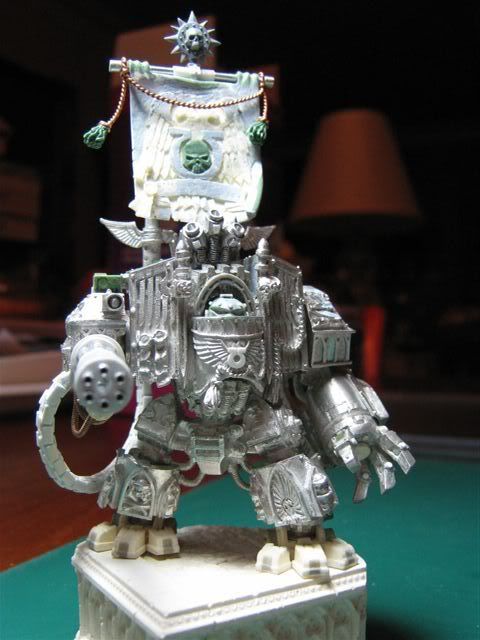
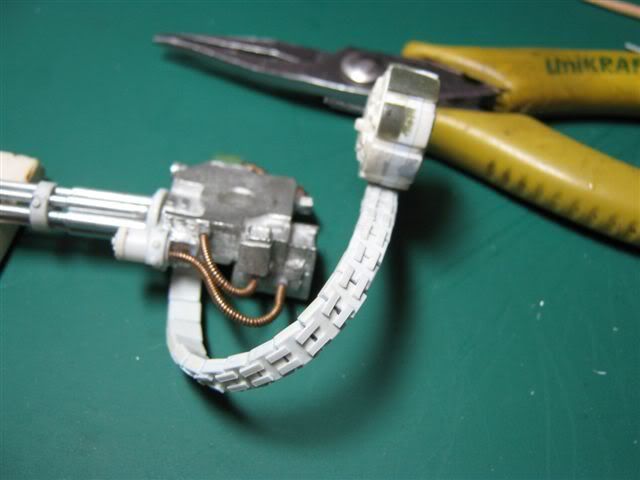
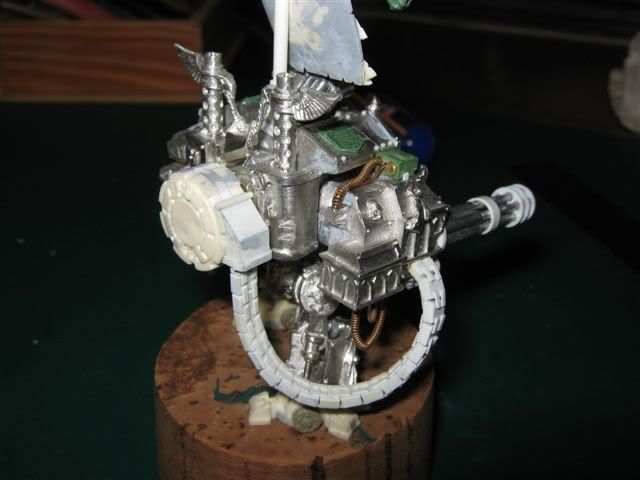
I detailed the ammo feed and the place the feed comes out.
I added a detail strip with a heap of rivets around the wrist
and I added grip bits to each finger and then trimmed them flush
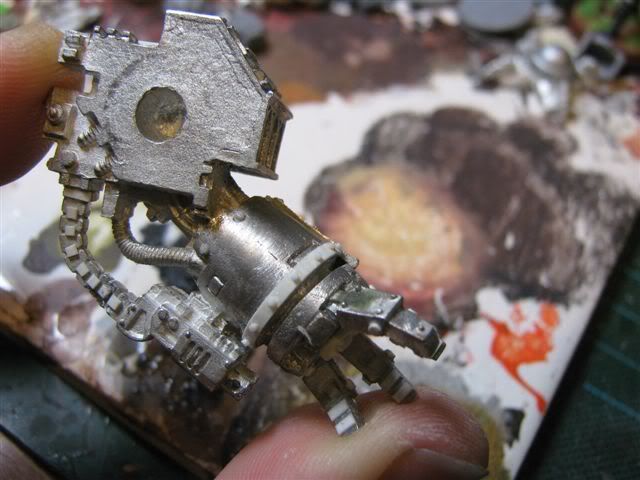
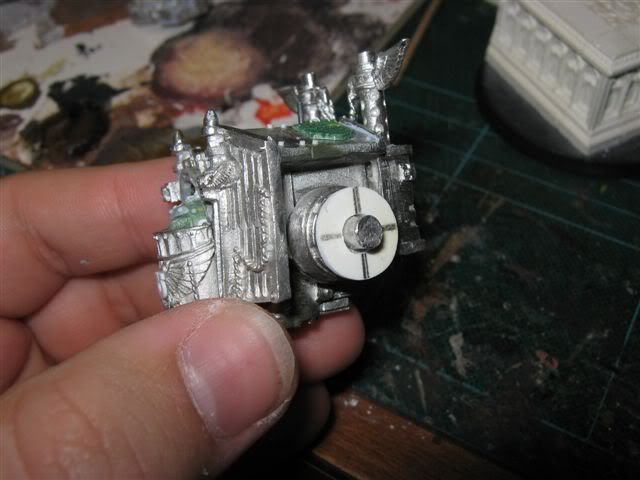
I also put some effort into adding some angle to the arms from the body. I'd been posing the left arm a certain way since I 1st put him together, but it relied on a heap of blu tac to get the arm in that position so I had to make some spacers. I could have done it by just jamming putty in there and setting the arms but I figured this was was neater.
I started by cutting out a circle of plasticard roughly to size then drilled a hole in the middle essentionally making a washer that fit over the arm joint.
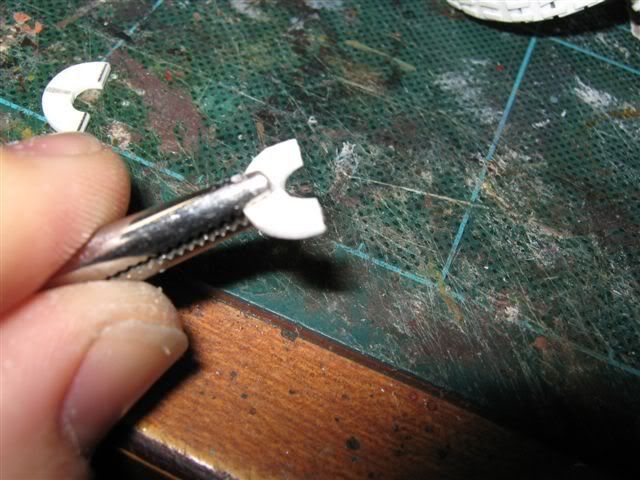
this was cut in half and then the edge ground down while holding the bits in forceps
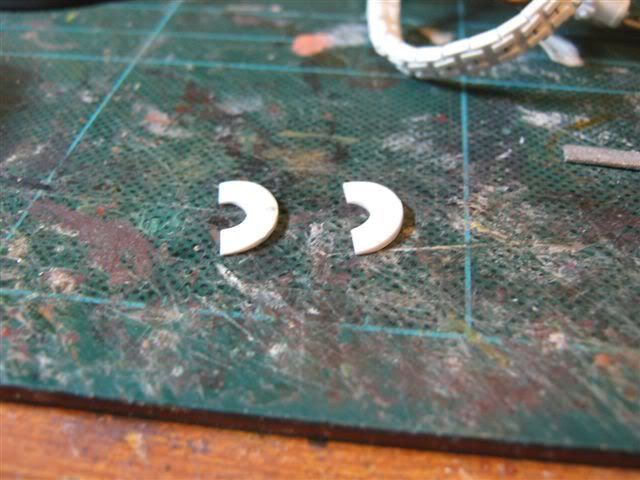
then sanded smooth
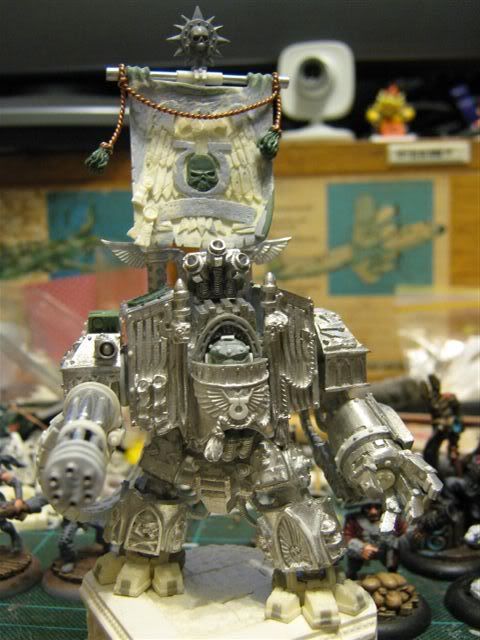
and here he is with the spacers glued in place and locating pins holding the arm in place. Just widens the pose a tiny bit but takes away that clenched in elbows look of a stock dread.
I also cut plasticard and glued them in to fill the hollow insides of the AOBR dreadnought. The one very cheap looking part of that dread.
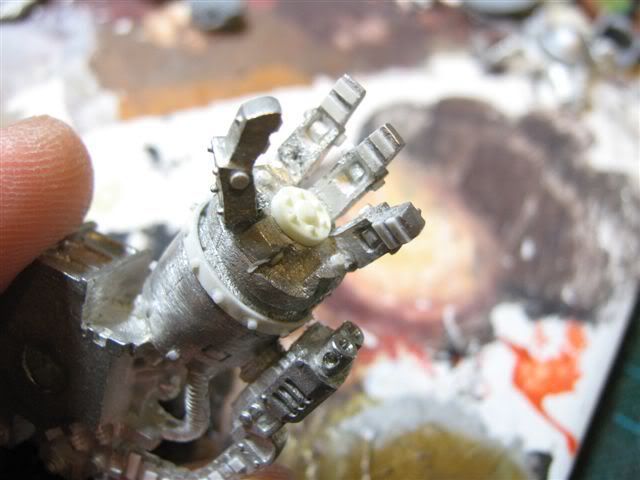
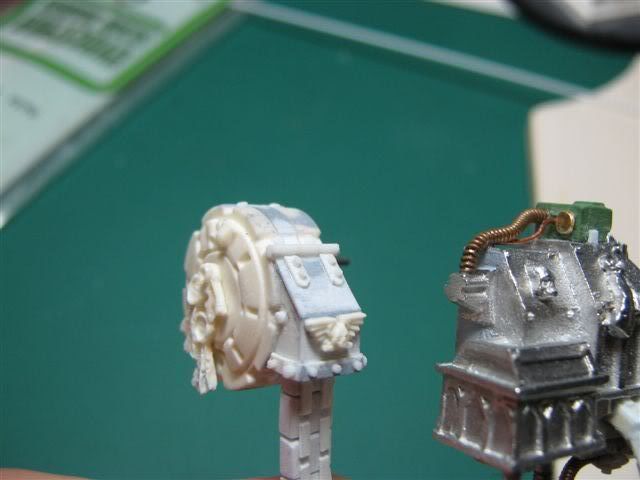
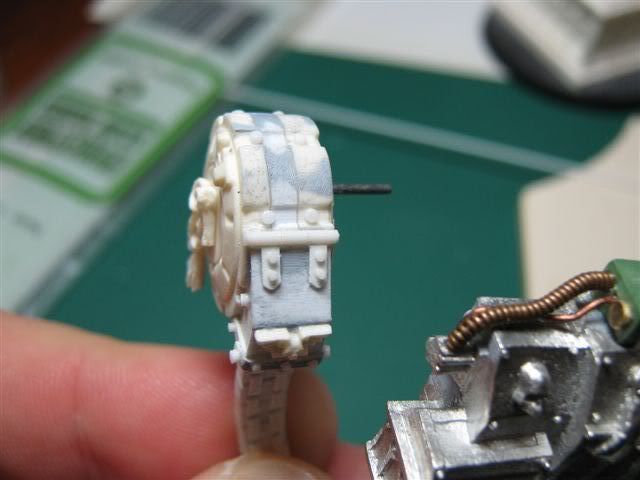
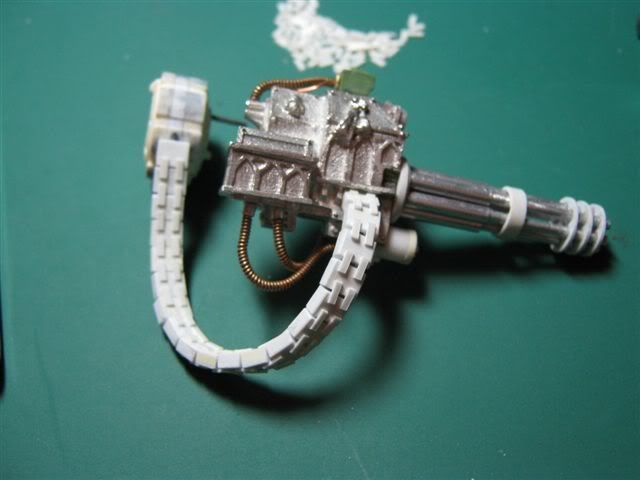
I think I've been infected by those crazy guard scratchbuilders. I went nuts with hinges and rivets and stuff detailing the ammo drum.
and the gun a bit more
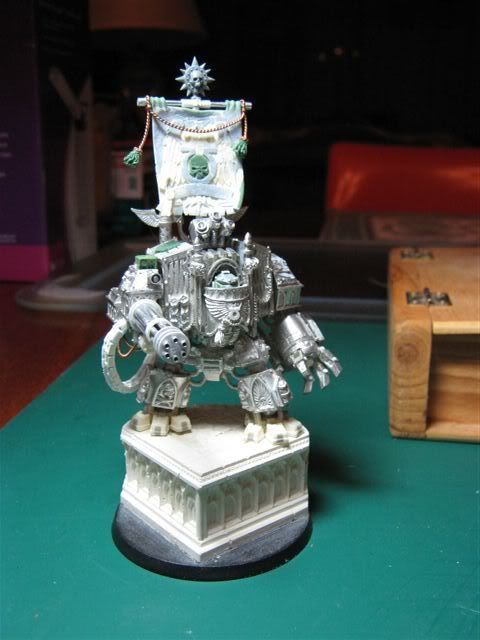
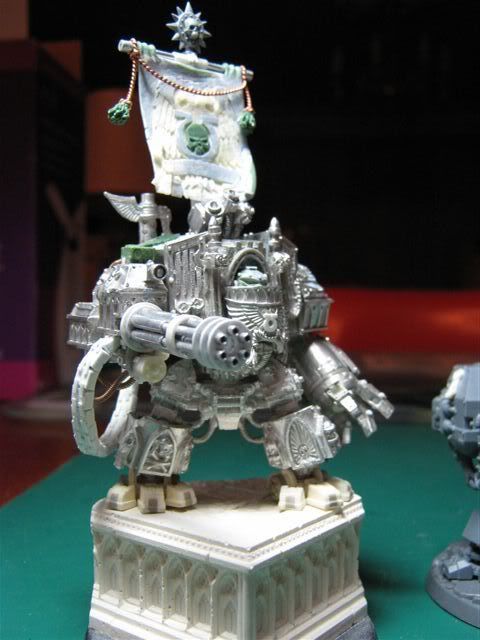
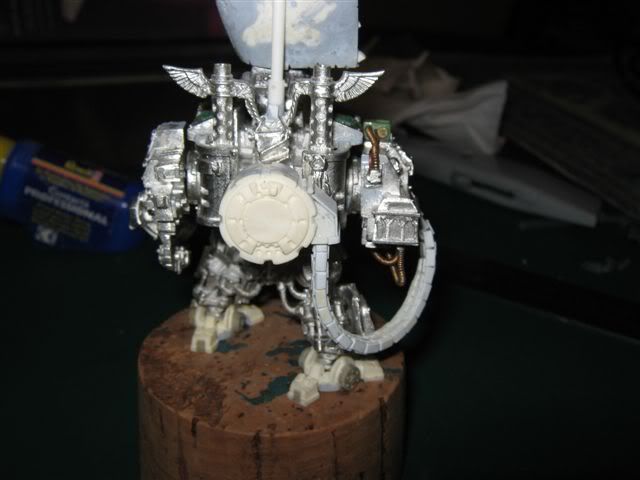
I finally got around to drilling into the base and seeing what he looks like in position. Considering his tendency to still tilt I think I need much thicker pins through his feet holding him down. He sure is a top heavy bugger.
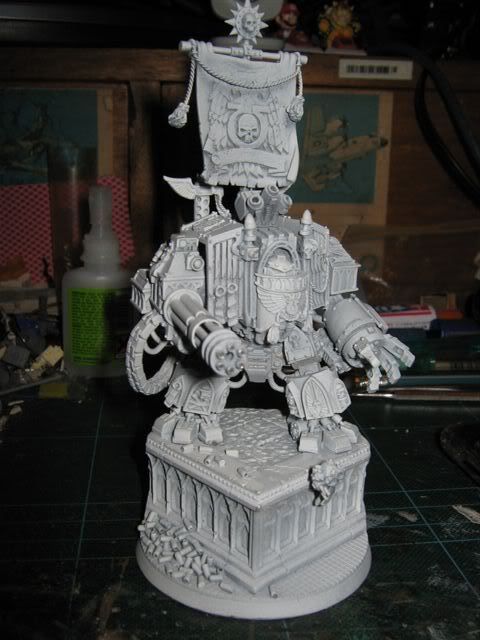
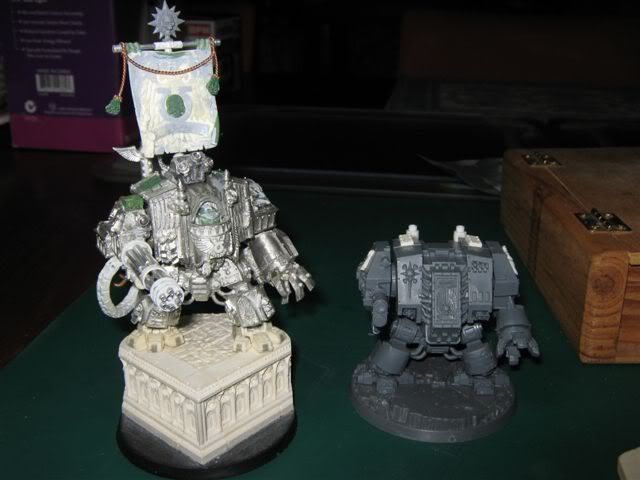
Here he is with his buddy Jnr.
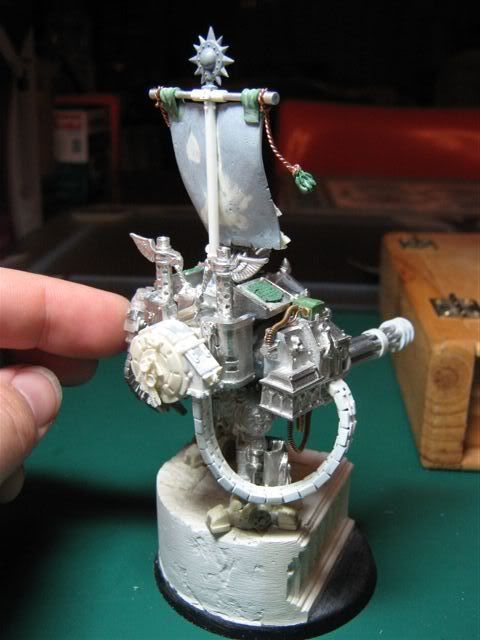
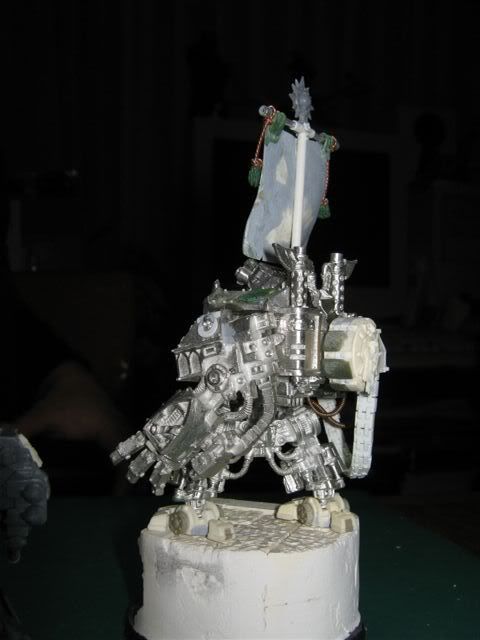
and some dramatic closeups from up close and low
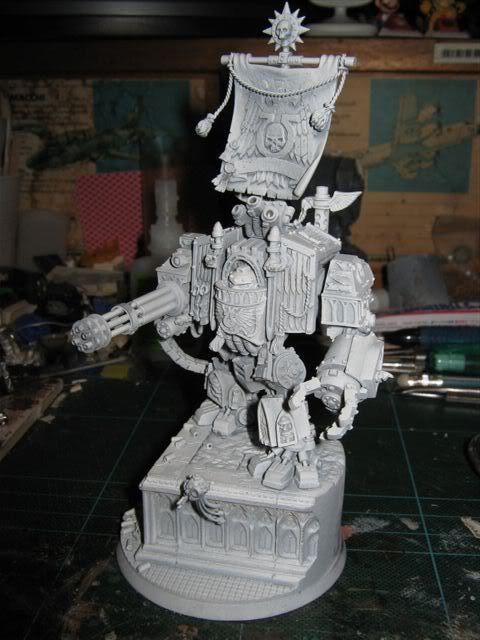
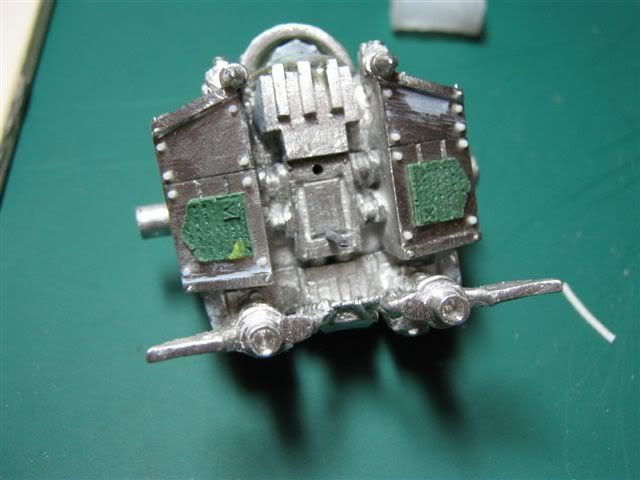
Man there is an insane amount of gribbly junk back there. Painting his unarmoured back concerns be. Most people do all the details in straight metal. Numbat suggests putting in little hazard stripe areas to break it up but there is so much of it.
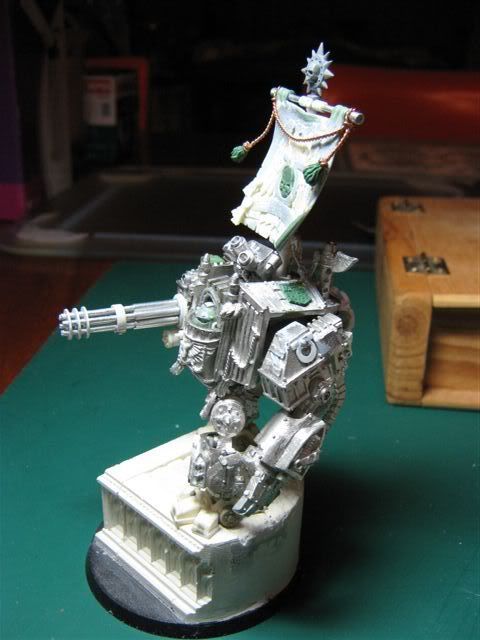
I think I should still put actuators from his ankles to his toes, the ankle joint is insanely skinny looking considering his bulk. Some detail to fill out the area might help. Apart from that I might put some rivets around his hand arm but can't think of much else to add. Well apart from more stuff at the front of the base. It needs something, not sure if the hiding chaos guy is it.
Back again, was busy seeing movies and stuff last few days. Wolverine has good action bits but a dumb story, and a complete PG lack of blood totally not in keeping with the fights happening on screen. Star Trek on the other hand was awesome, a time travel story that made sense, good action, good acting, nice effects that fit in. Go see it
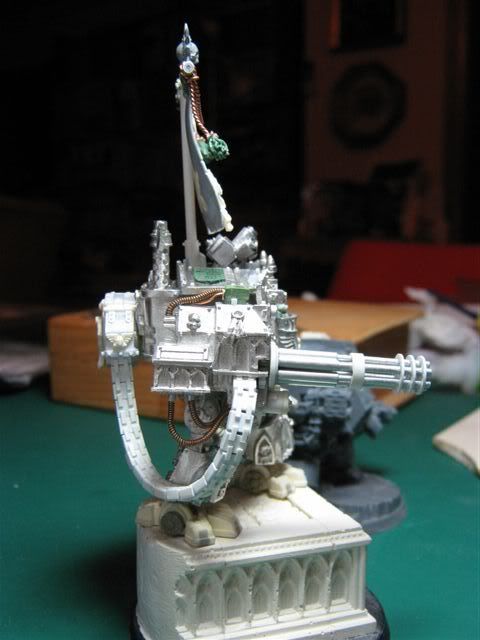
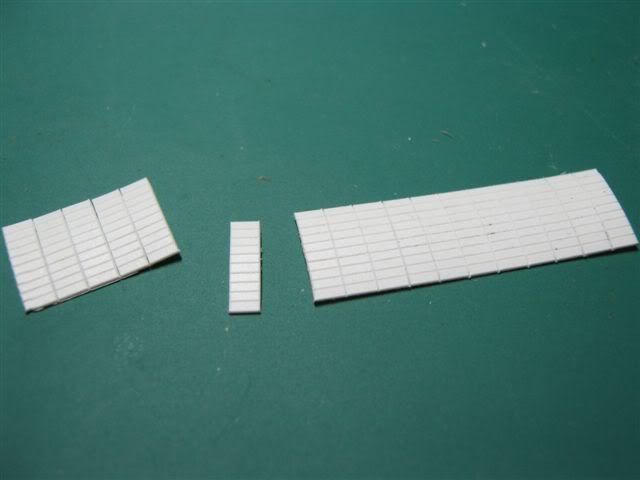
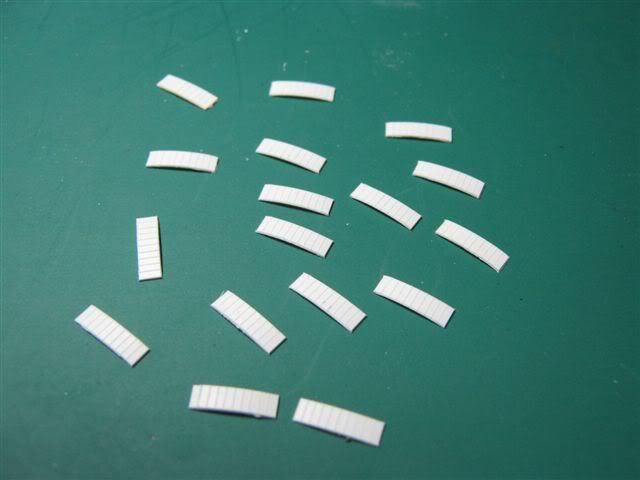
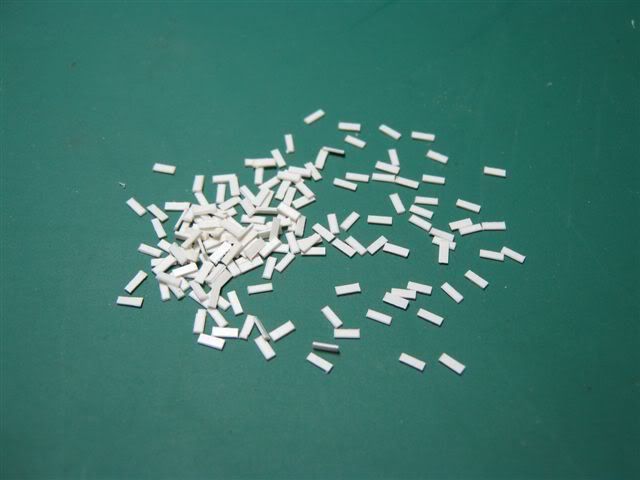
OK enough movie reviews, back to the Dread. I spent a heap of hours last night cutting up little bits of 3mm x 1mm plastic strips and gluing them onto the ammo feed. I initially was cutting strips by eye but soon realised what a dumb idea that was and measured it all out instead, scoreing the plastic across then down. Then methodically snapping apart the bits with pliars.
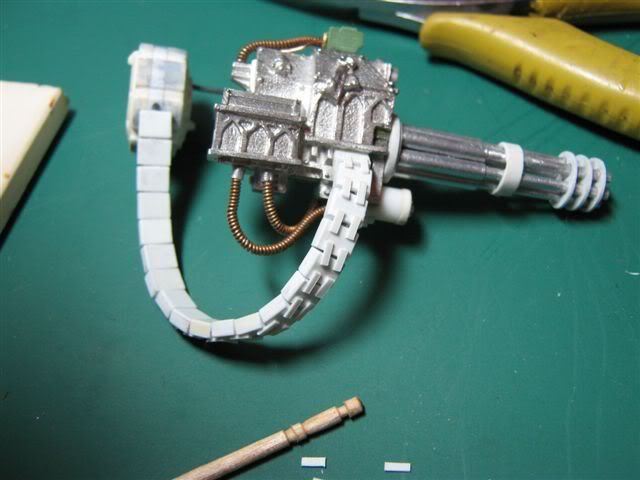
then with a pool of liquid cement I started sticking the pieces and gluing them on starting at one end and working my way down. I don't have to really say this took a long time
This of course drove me nuts, and not just on the glue fumes so I added some other random details around the gun and on the body for a break, like adding a bunch of rivets to the hull
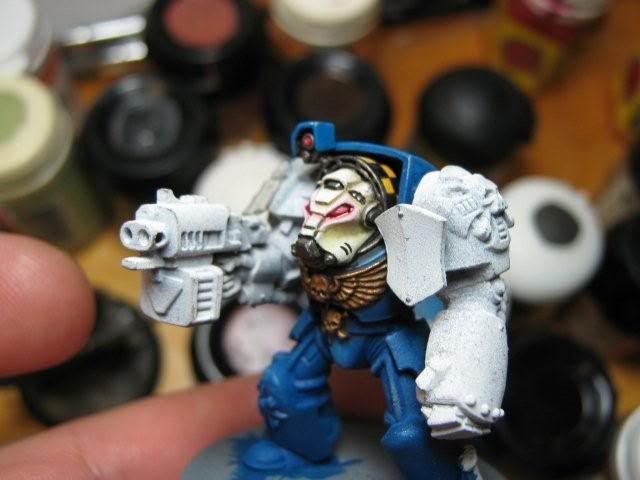
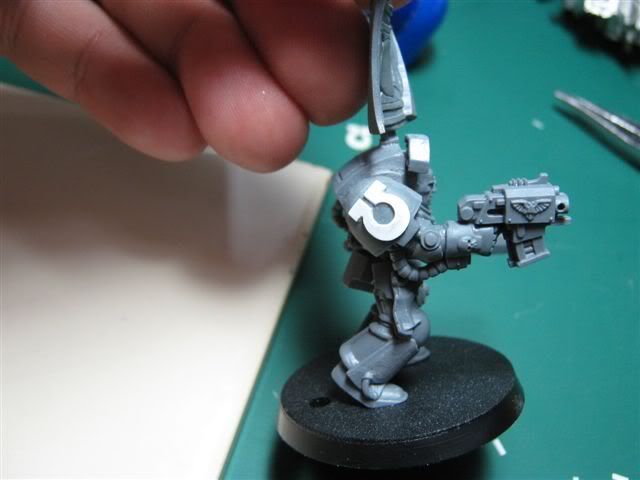
Also stuck on a spare Ultra logo I'd made a bit too big to use on the dread onto a plastic Terminator, seems a good fit. Now I'll have to make enough for the squad.
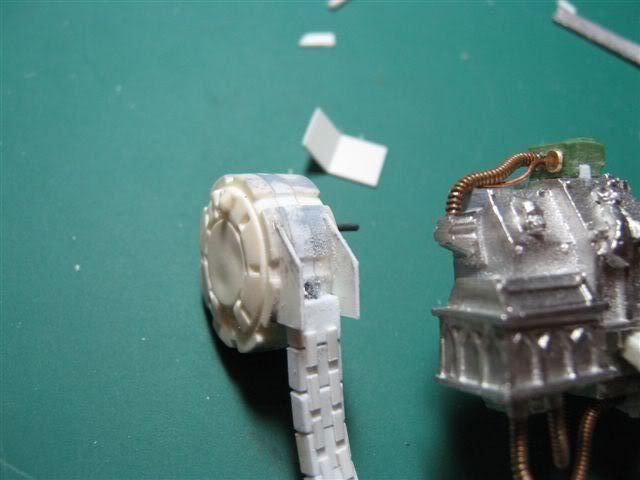
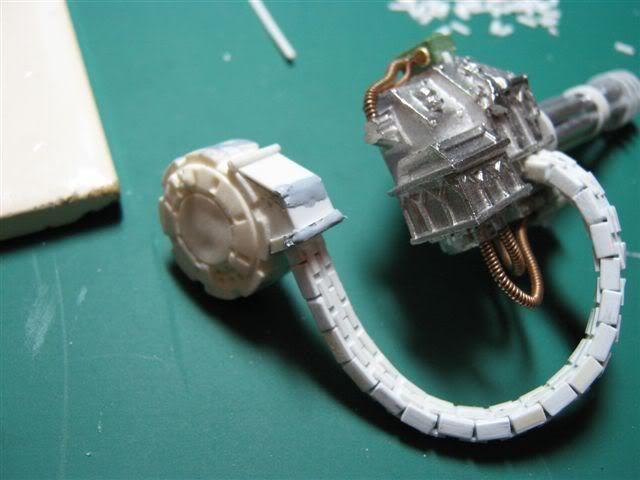
I eventually got all the belt done then started on the feeder thingy on the ammo box. Wasn't quite sure how to do it till I just plain made it as a box over the belt attachment. I worked out what shape to go with, keeping the angled lines of the shoulder piece and drawing it on the plastic card, then I cut 2 pieces and sawed in a couple grooves along the sides of the ammo belt into the drum. This is much easier than filing a perfect curved edge into the side pieces to match the drum. I then glued em into position.
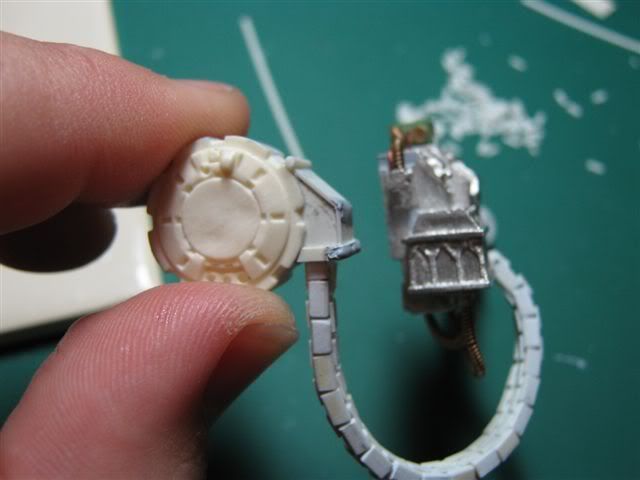
Then glued on the lid and an edge along the bottom, and puttied the edges where I had snapped/bent the plastic card.
After some filing this morning I got sharp edges. It still needs say a line of rivets, maybe some hinges and at least a skull or something on the lid.