April 29, 2013

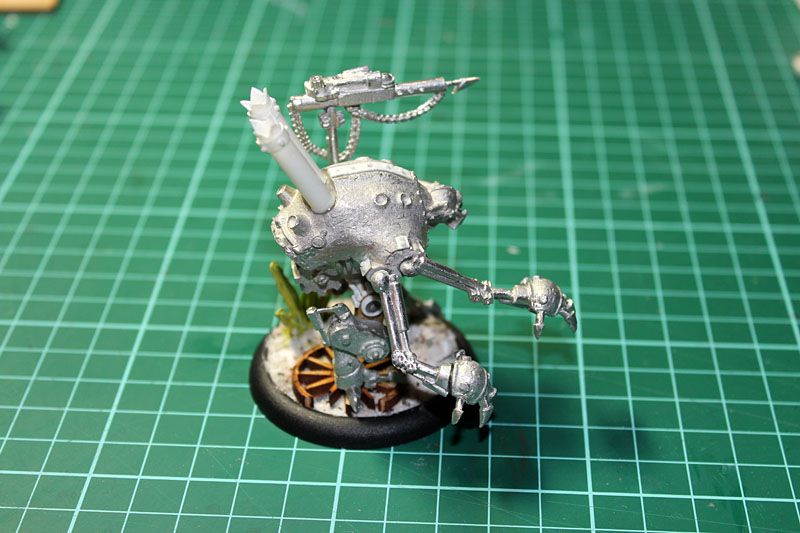
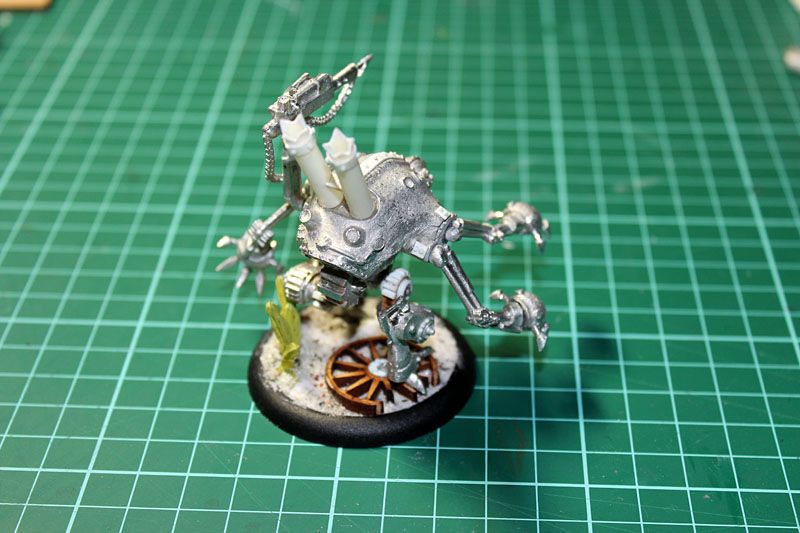
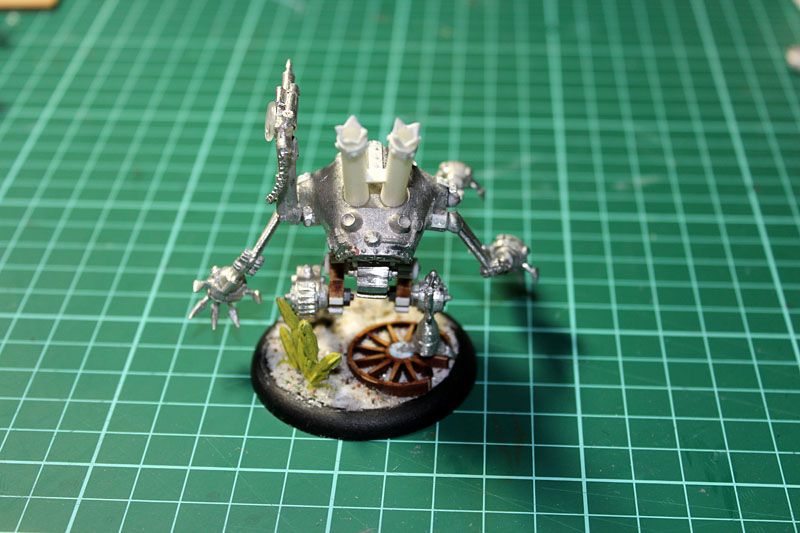
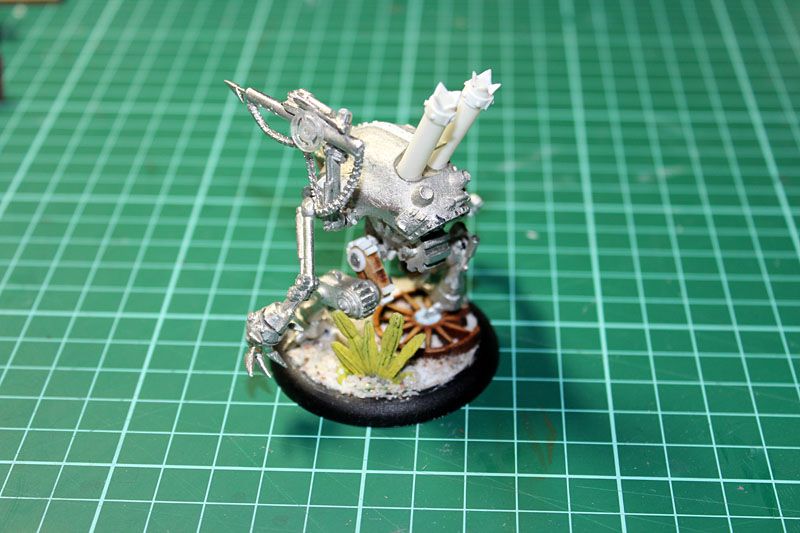
Funny idea of Peace - Malifaux Guild Peace Keeper

 photo IMG_2307_zps54d76597.jpg

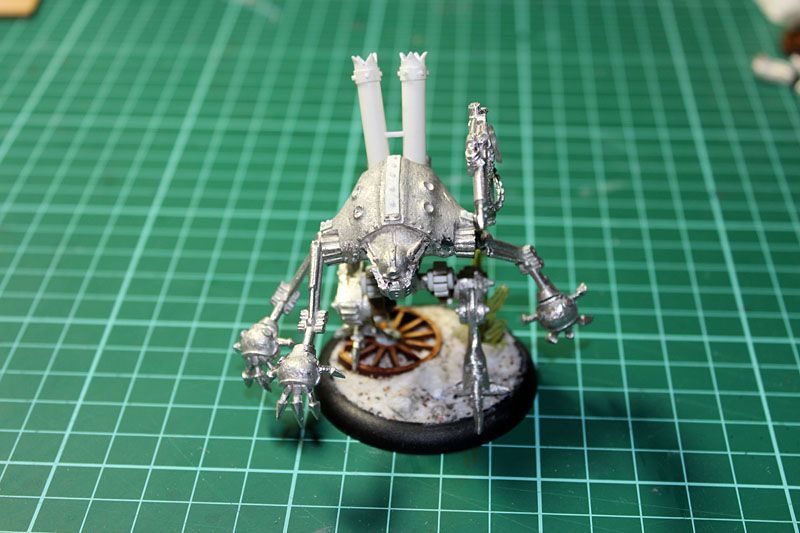
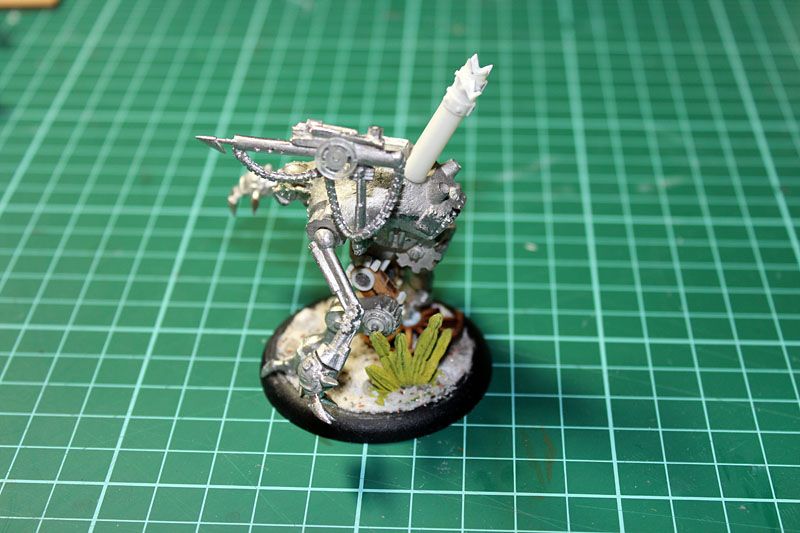
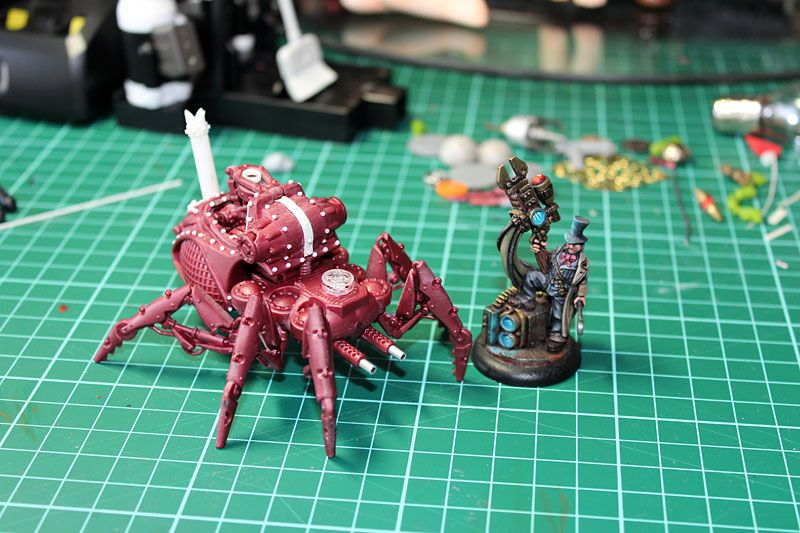
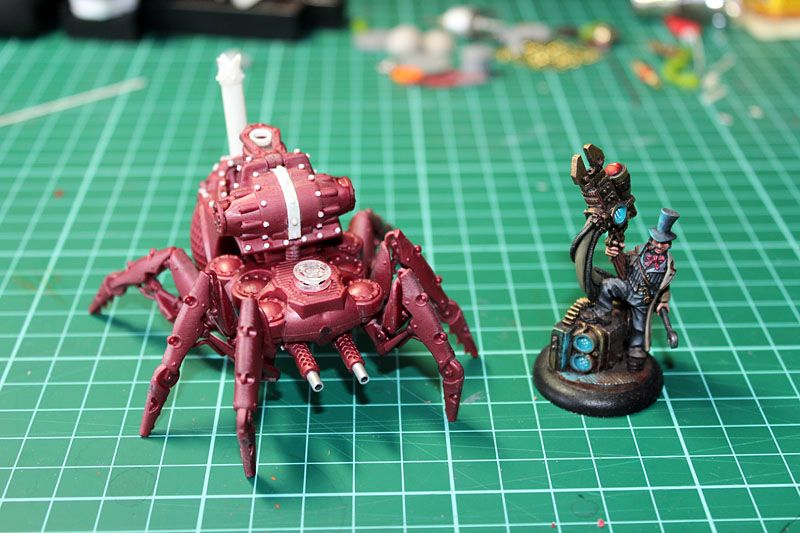
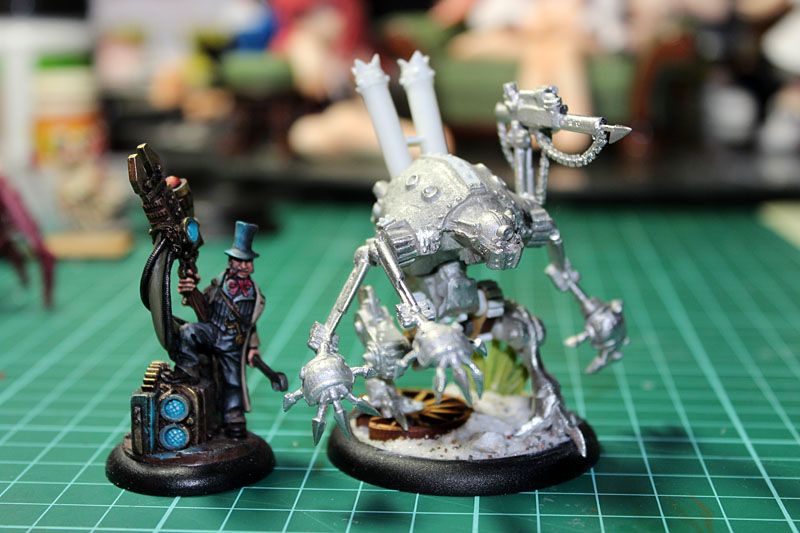
Not sure what got me started on doing up my Hoffman crew, it might have just been wanting to see if I could put cool flared smokestacks on the Peace Keeper like I made for my Robogear Spider or just wanting to rush through a crew simpler to paint than McMourning's.

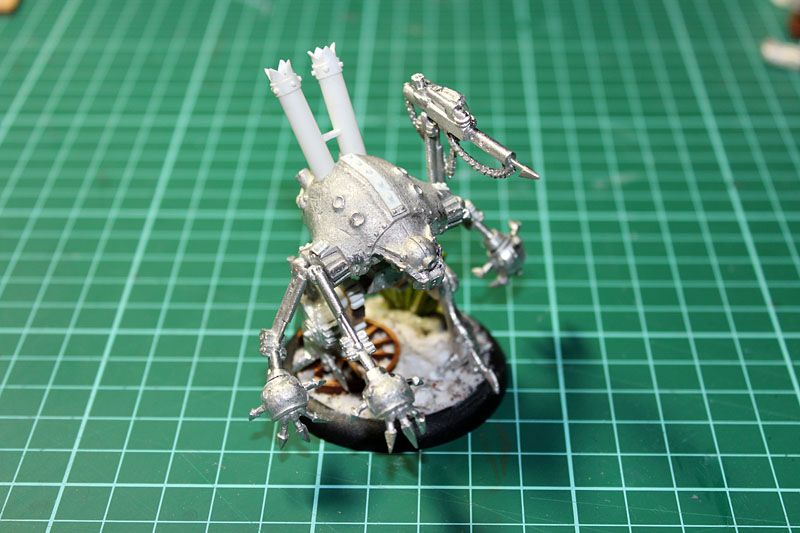
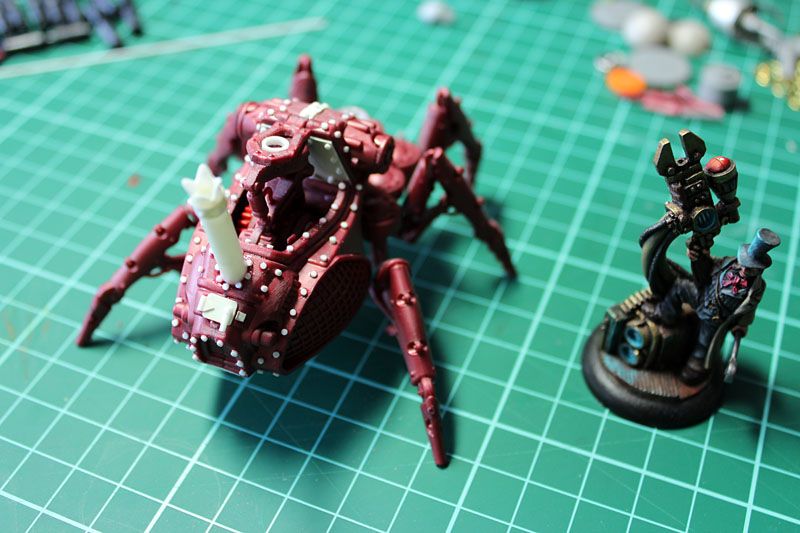
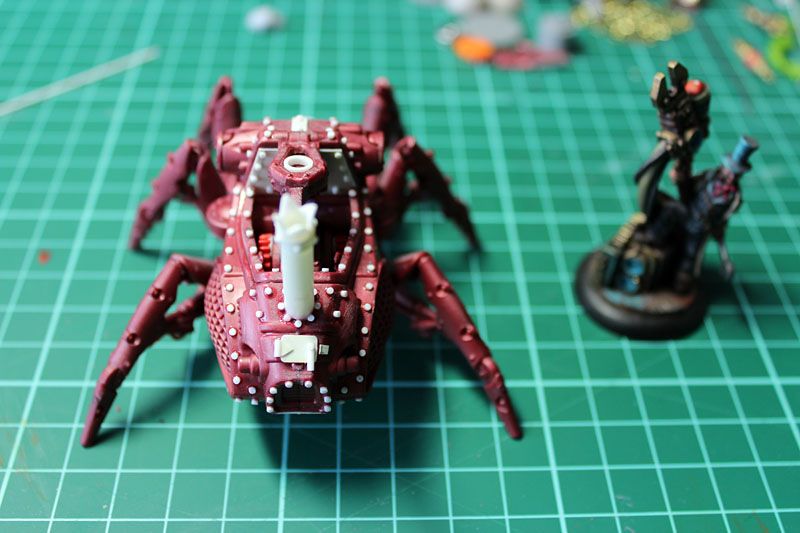
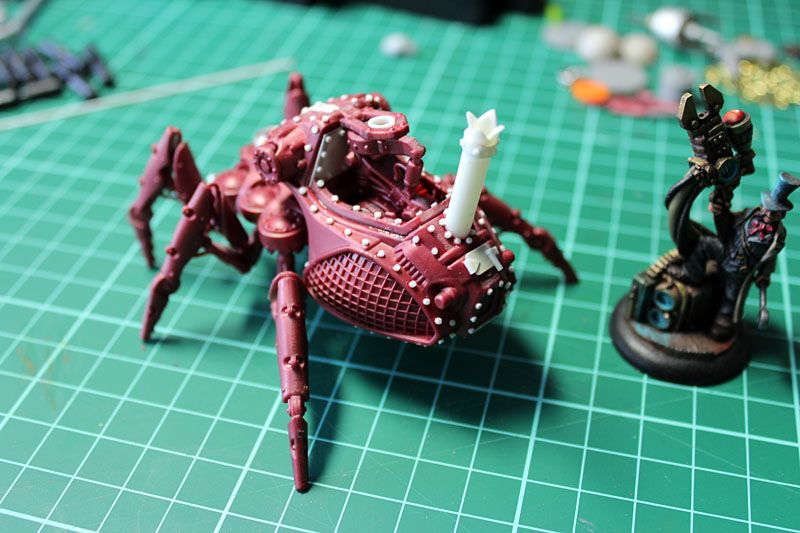
In any case yes I totally can fit on two badass smoke stacks on the Peace Keeper in place of the stubby ones it comes with.
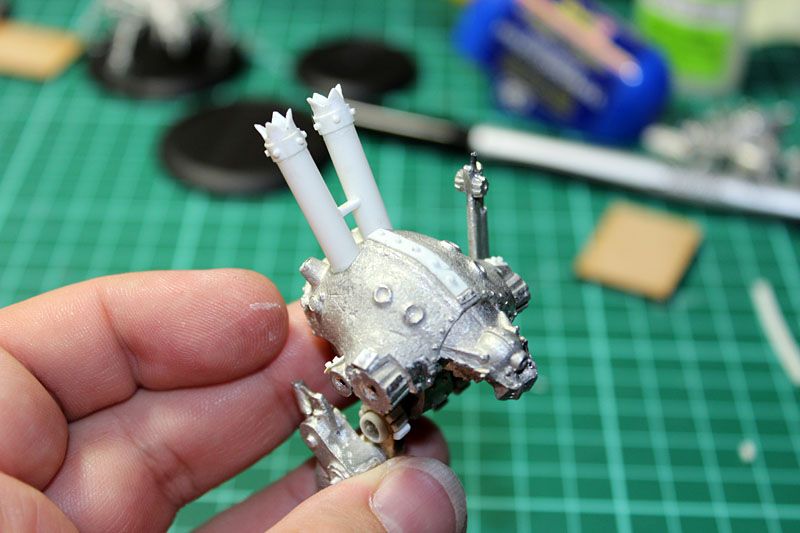
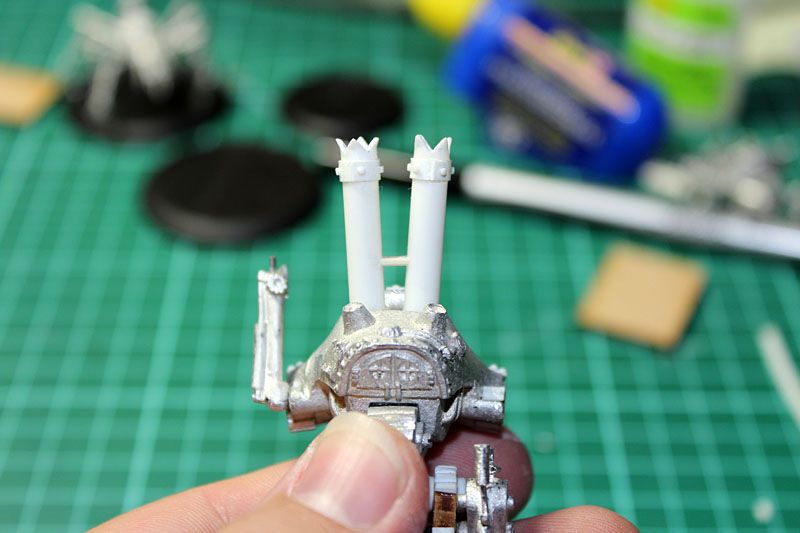
 photo IMG_2283_zps415fe6b4.jpg

 photo IMG_2282_zps1b23f3b2.jpg

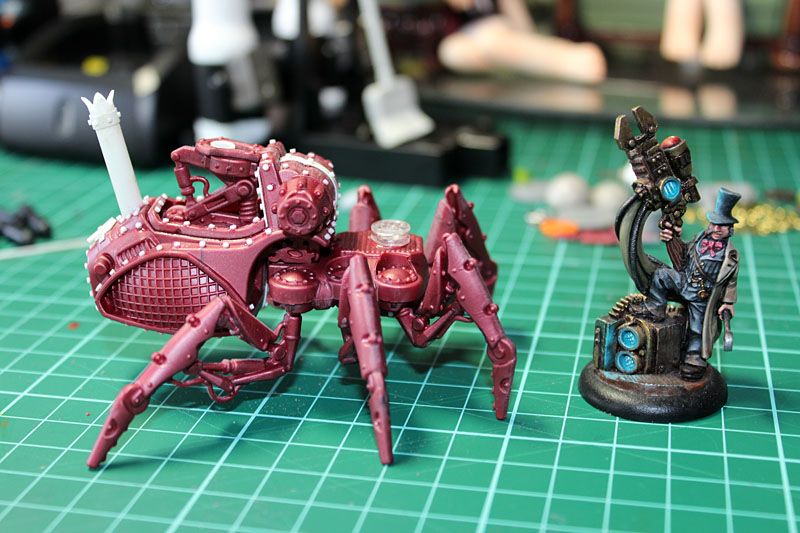
I made the smoke stacks from Evergreen plastic tubes. I measured some marks on the top and snipped with side cutters to get the crown top then filed to clean it up before heating it a bit and mushing it with pliers to flare it out before more sanding to clean it up again. Then a strip of plastic sheet was wrapped around it under the crown and rivets added with plastic rod. Making it all from styrene made life easier to glue it all together with plastic cement. So much less hassle than super gluing on rivets on a metal figure. Which is why I glued down a strip of plastic sheet along the center of his carapace and added more rivets to that. After assembling the stacks I super glued them in place and added a spacer between them to make them a bit more solid.
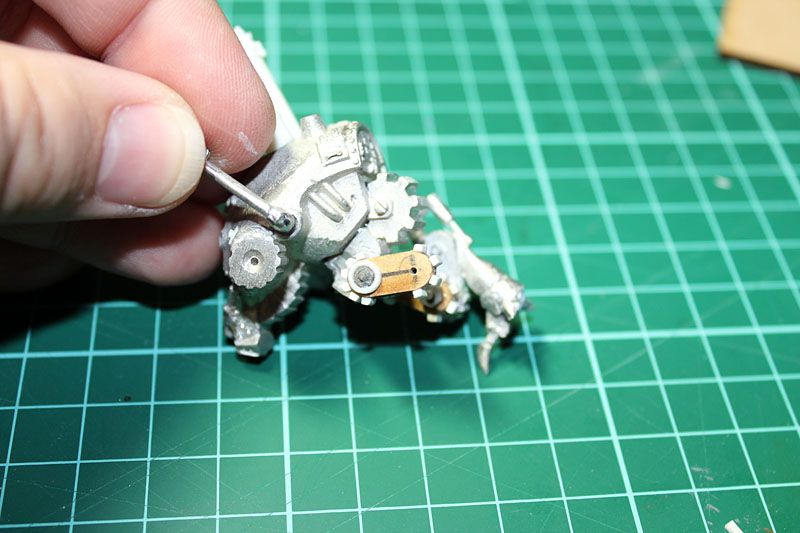
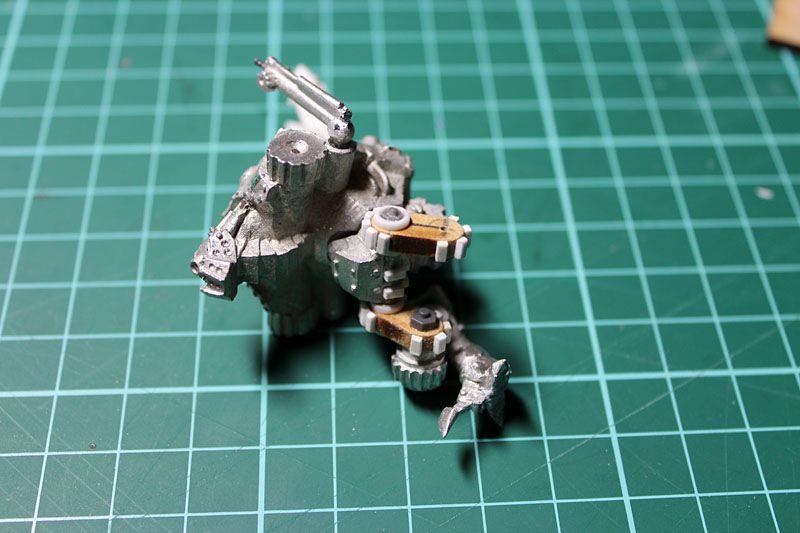
 photo IMG_2274_zpsb39901ed.jpg

 photo IMG_2273_zpsdec4d46d.jpg

 photo IMG_2272_zpsc9aaf96d.jpg

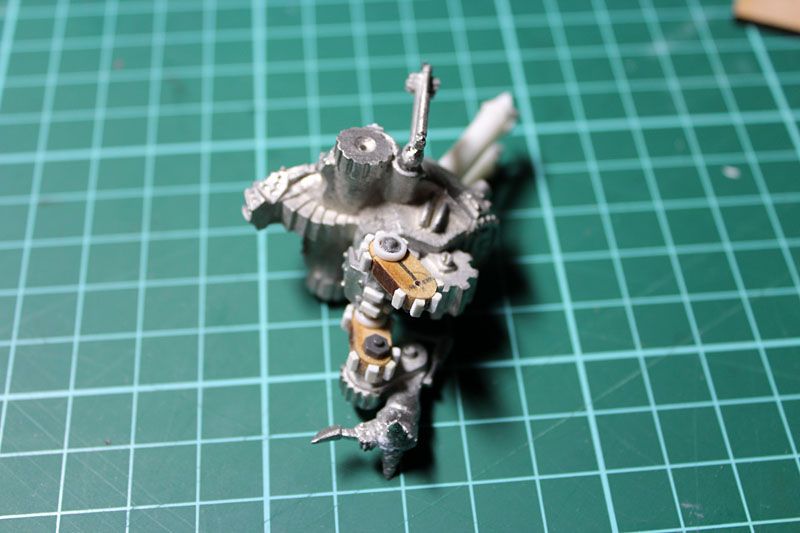
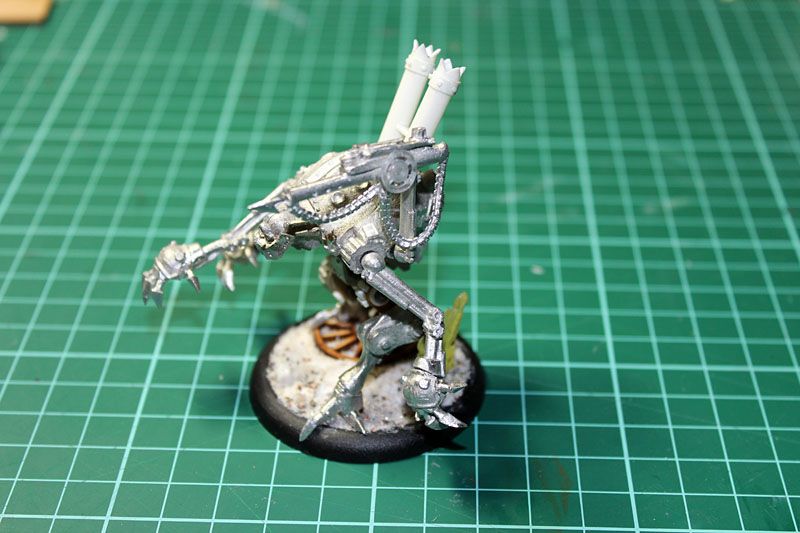
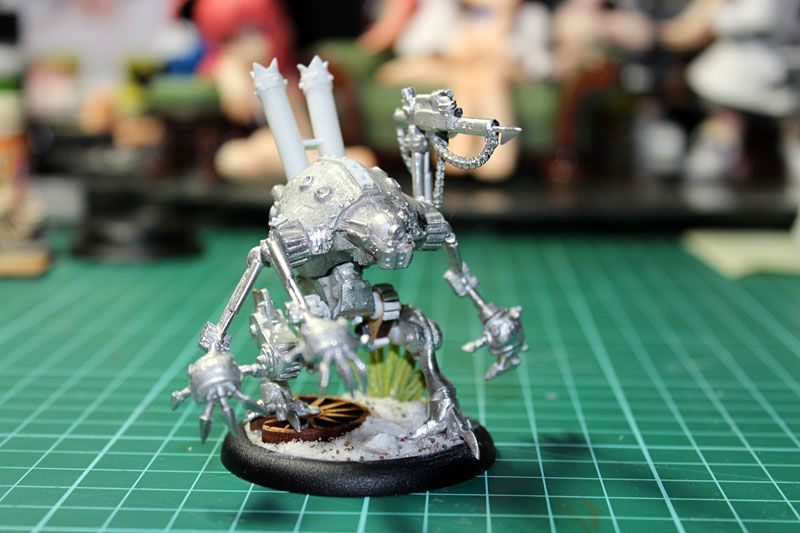
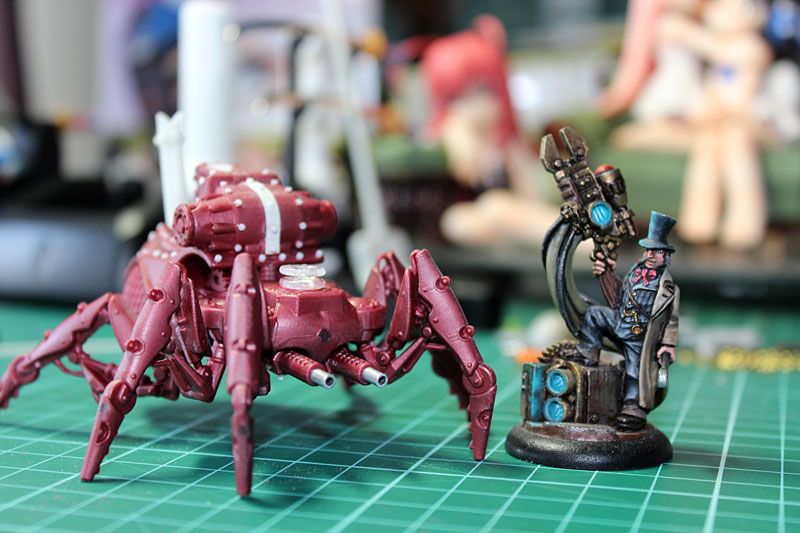
The next big conversion on this guy is that the stock legs are just tiny and in an extreme lunging crouch. I guess it gives it a low center of gravity but it seemed to me to have one too few joints for a working set of legs. So I decided to copy the top segment from an AT-ST leg and made some from lasercut MDF leftovers from a building kit (think these were the bits inside the window frames). I rounded the ends, drilled holes to take pins from the hip and the legs and added heaps of bits of plastic card to detail them up.
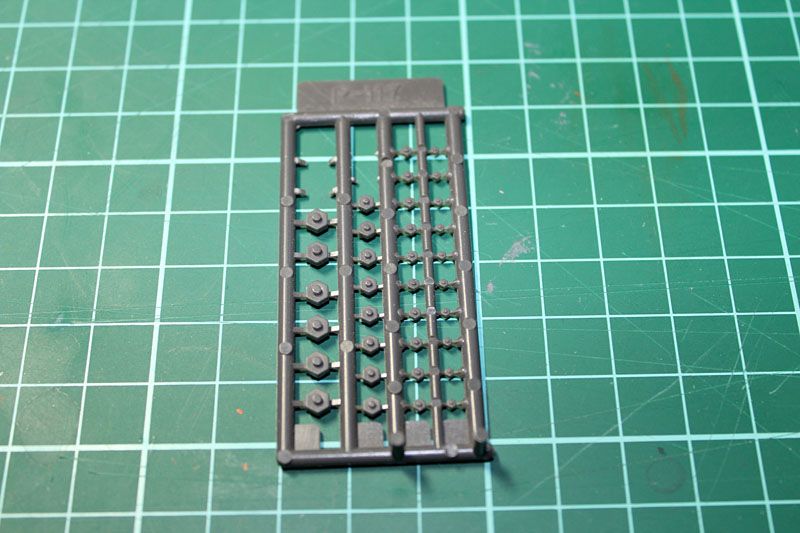
 photo IMG_2276_zpse9017cec.jpg

Plus I added some hex bolts from a Kotobukiya options sprue. These can be bought from online or if you're lucky your local hobby store around the Gundam kits.
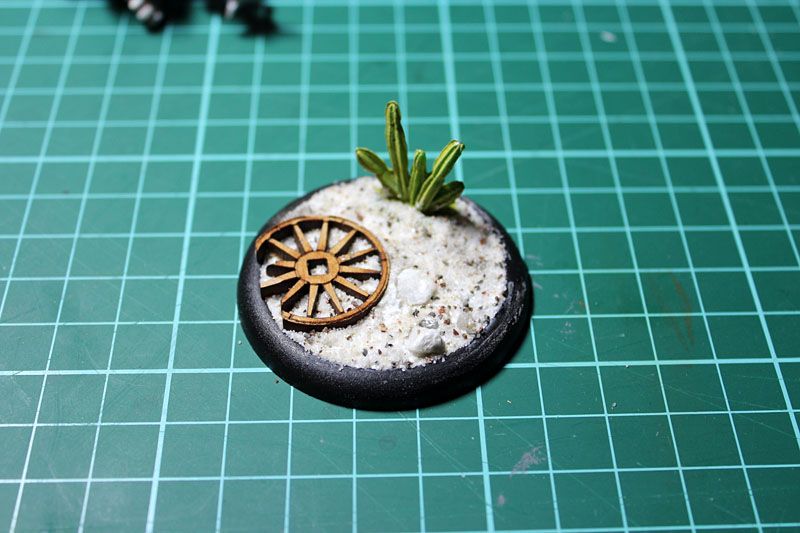
 photo IMG_2277_zps3f2bf598.jpg

Also digging through the off cuts bag I found some broken wagon wheels so thought I'd put one to good use on the base to let him stand on something and have a touch more height. The cactus is from Pegasus Hobbies.

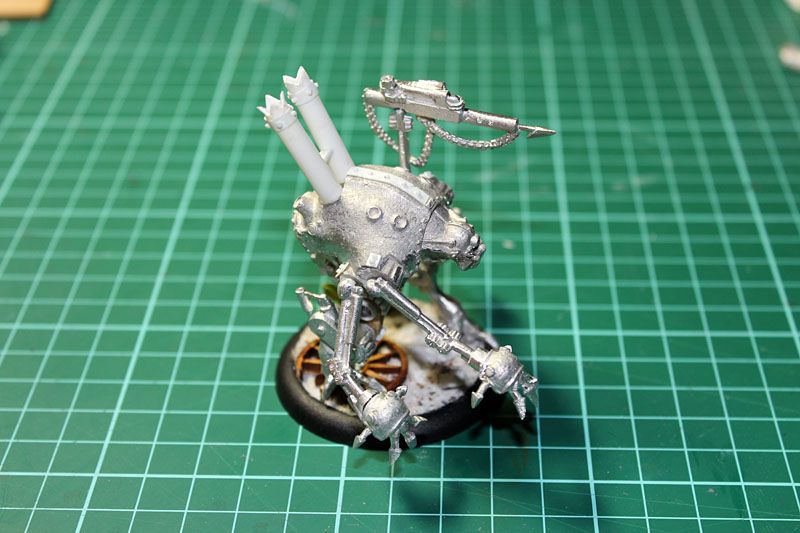
Next on the converting list was getting the spear gun into a more sensible position than sticking out wide horizontally from the body in front of the close combat claw arm behind it. So I put the support arm vertically on the back socket and did some pinning to get the gun into position. Maybe it needs some extra hydraulics to make it look like can tilt a bit  more I think it's much better where I put it.

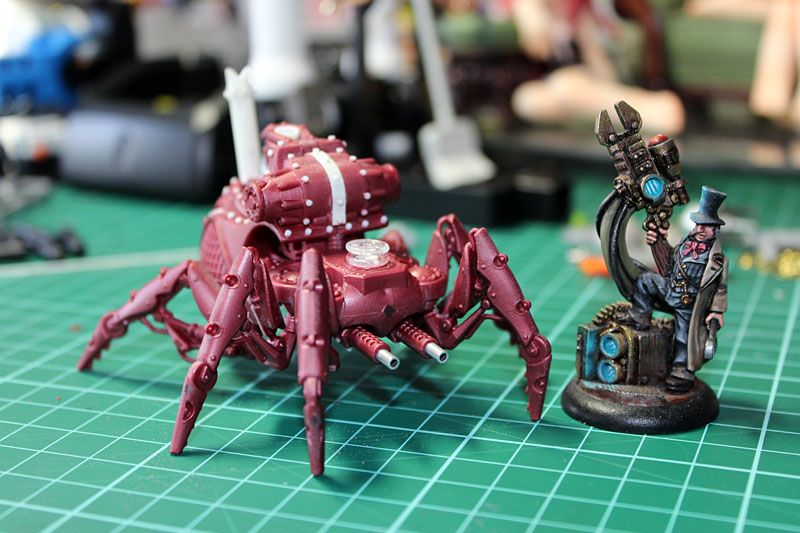
The other arms I posed in forward and back to counter the stride of the legs so it looks like there is some more movement to the mech. I had to cut back the wrist sockets so I could get the hands to co-operate with the new arm positions.

Now for a little turn on the catwalk:
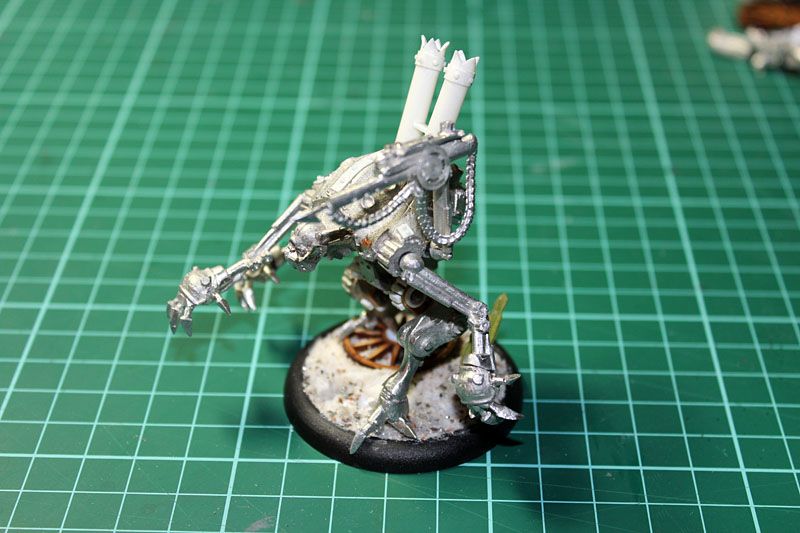
 photo IMG_2286_zpsae80eb04.jpg

 photo IMG_2287_zps10339b7f.jpg

 photo IMG_2288_zps44e27f9b.jpg

 photo IMG_2289_zpsdae8e04c.jpg

 photo IMG_2290_zps736e55e2.jpg

 photo IMG_2291_zpsda82a13b.jpg

 photo IMG_2292_zps2210030c.jpg

 photo IMG_2293_zps33f8dc24.jpg

 photo IMG_2294_zps9b2560e9.jpg

 photo IMG_2295_zpsbbbce952.jpg

Bit like a big robot genestealer isn't it?
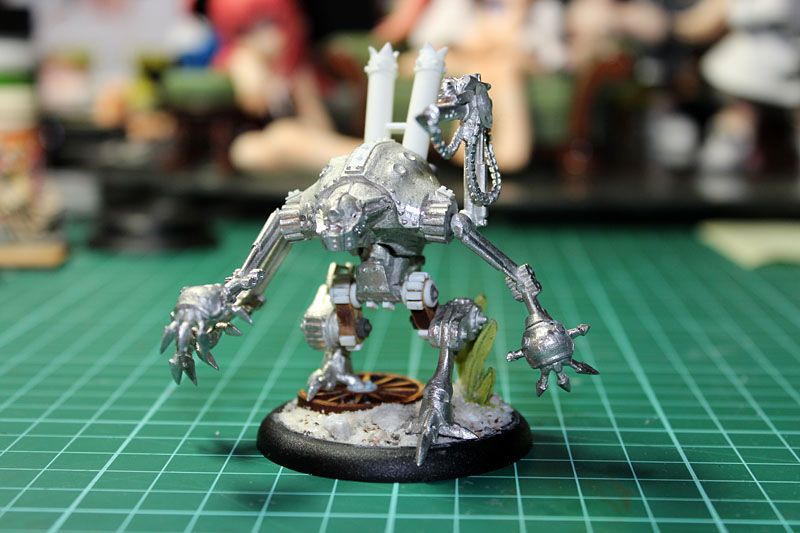
 photo IMG_2299_zpsb7ed15d9.jpg

 photo IMG_2304_zps67e8a59c.jpg

From the front on shots you can really see how much difference my leg mods made to the height and stance of the robot, he'd be dragging with claws along the ground otherwise.

I'm working on cleaning up the rest of the crew now, will put them in the next post then on to paint.


April 21, 2013

Riveting.... Robogear Spider

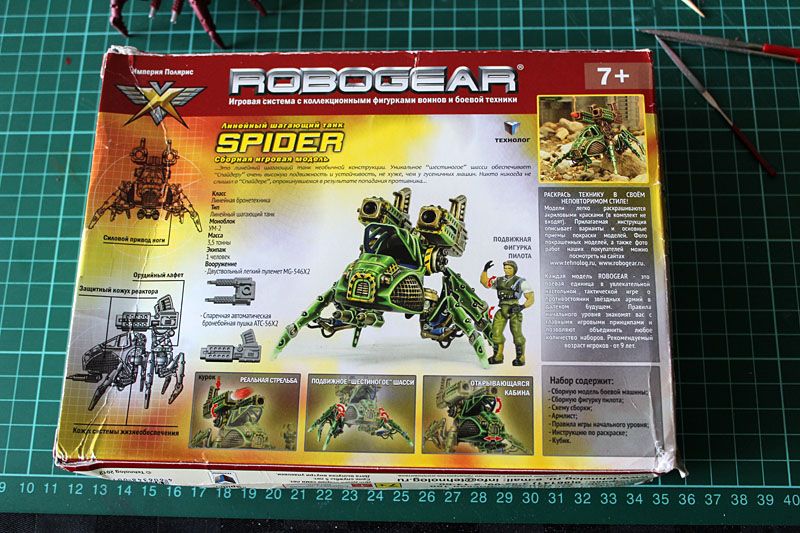
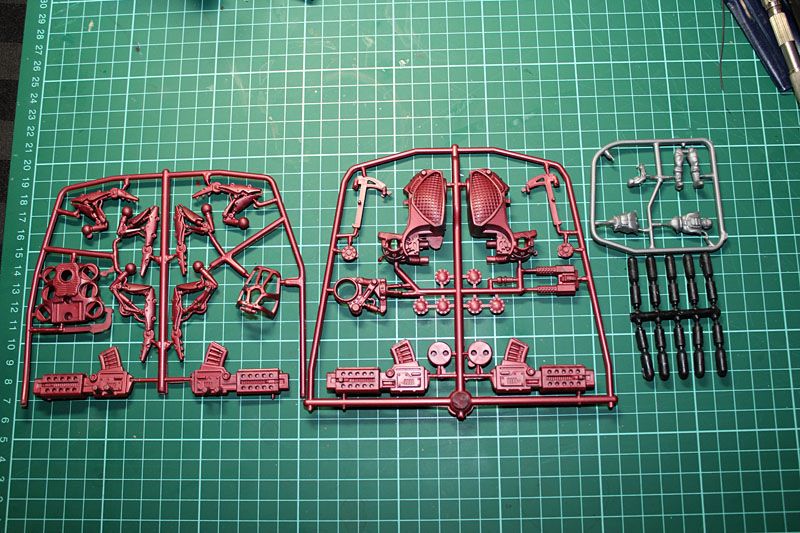
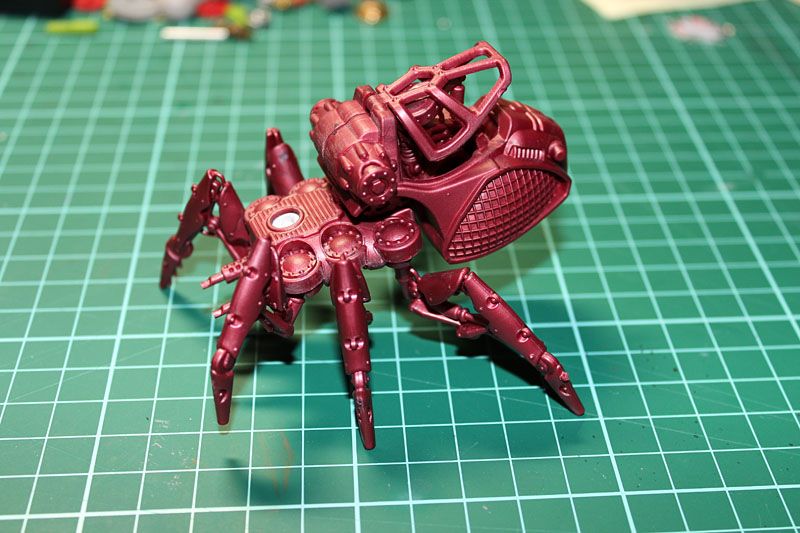
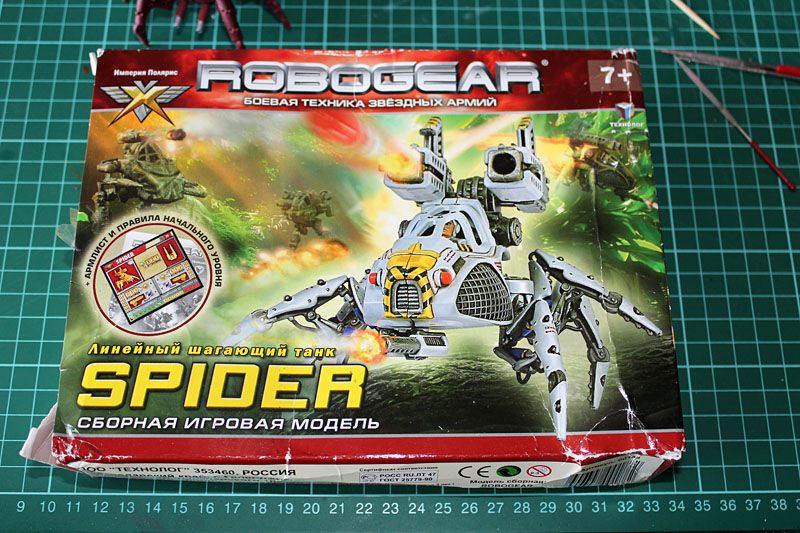
Here is another one of those Russian Robogear kits I've been curious about for years but never saw anyone do anything hugely impressive with. I always wondered what it would look like reversed  having it treat the over sized cockpit at the back as the abdomen of the spider instead of the front. So after seeing how cheap it was on ebay from Russia direct I finally ordered one.

 photo IMG_2193_zps1030d308.jpg

 photo IMG_2194_zpsca5dcdff.jpg

as you can see it arrived a bit squished but the kit inside was fine.

 photo IMG_2161_zpsbc842a14.jpg

 photo IMG_2166_zpsc0acf824.jpg

It easily snapped together. Leaving off the big spring loaded cannons on the back I saw definite potential.


 photo IMG_2184_zpsb3eedb1f.jpg

 photo IMG_2183_zps8b14e742.jpg

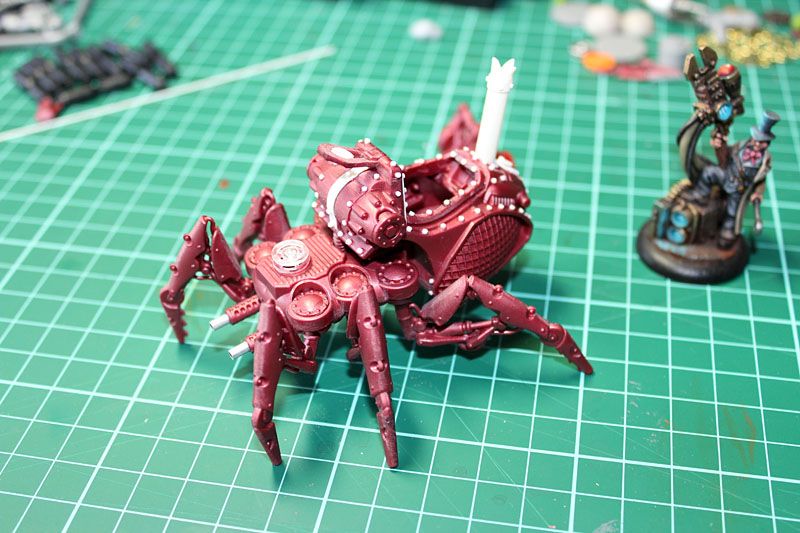
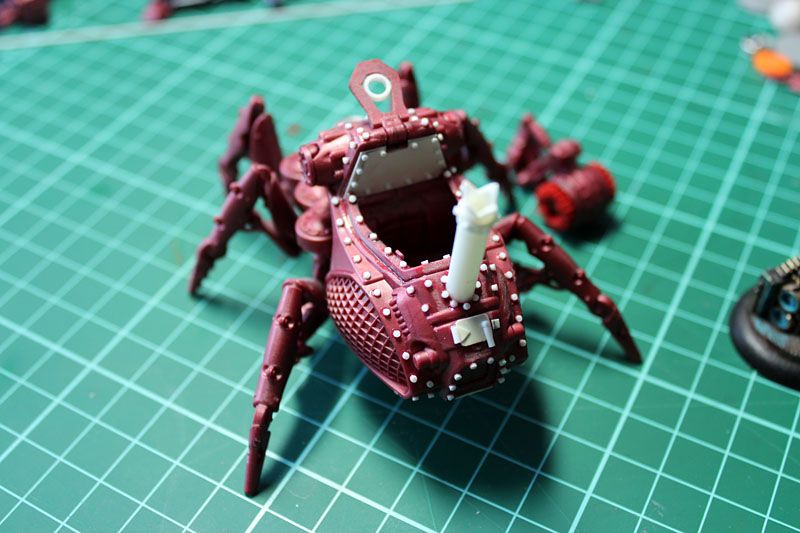
I decided to turn the cockpit interior into an engine bay rather than just cover it up. I cut up the window frame to keep the outer edge of it and the top bit. I added a bulkhead to cover the open area above the seat.


 photo IMG_2170_zpse100153a.jpg

 photo IMG_2171_zpsc616f173.jpg

 photo IMG_2174_zpsf5aa4847.jpg

 photo IMG_2175_zps220a800a.jpg

 photo IMG_2176_zpsc266c560.jpg

 photo IMG_2177_zps4e25b11d.jpg

 photo IMG_2180_zps0399b316.jpg

 photo IMG_2182_zps99f01d56.jpg

 photo IMG_2187_zps06bf3a96.jpg

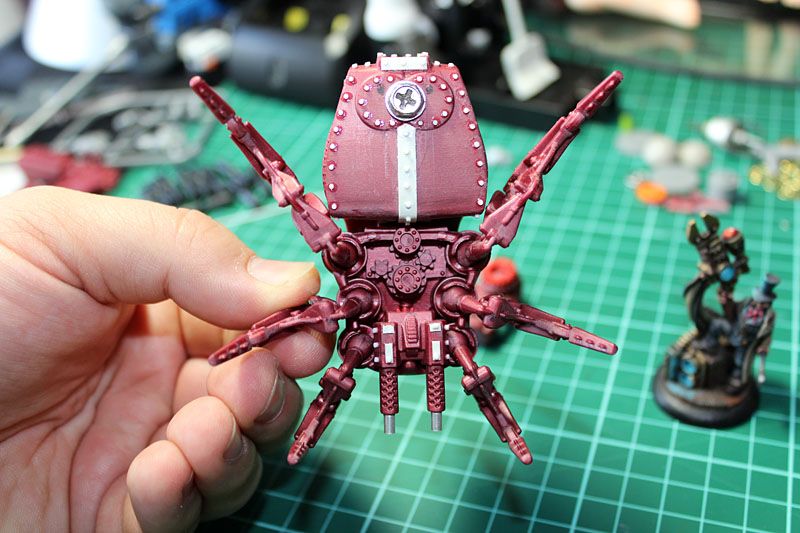
As you can see I went a bit nuts adding slices of plastic rod rivets all over the place, plus the odd bit of plastic card to make the joins neater and look a bit more reinforced plus the addition of a steam pipe and small hatch at the back. The weapon mount for the original cannons became the engine inside the body capped off by the to of the cockpit canopy. The exhausts looking part (which looks incredibly like the exhausts from a Sentinel) became the machine guns armament at the front. It's odd how well it fits.

 photo IMG_2190_zps84fe0ce7.jpg]

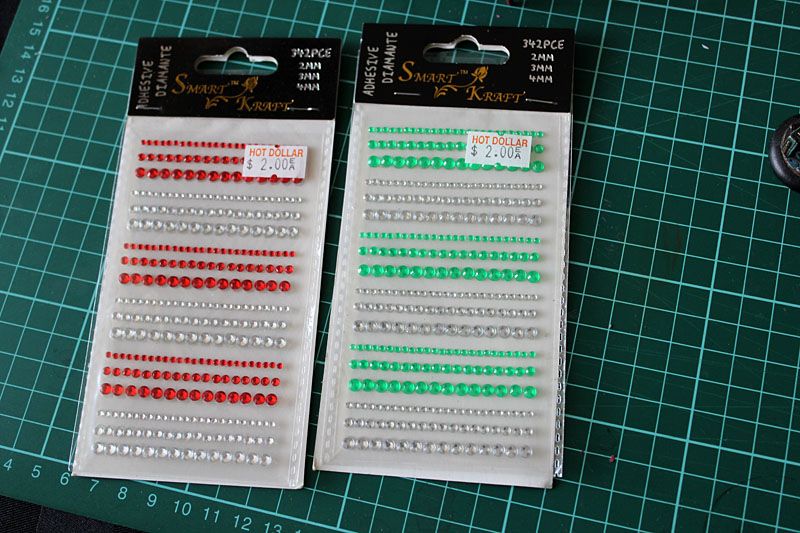
If you were wondering about some sensors or eyes on the contraption I bought these to put on after I paint it.


Surely you've been painting something?

Well yes I have but also been very distracted by Bioshock Infinite and Tomb Raider and etc. Also I got a bunch of X-Wing. Figured I should get around to taking some photos and putting up some sort of update.

 photo IMG_2212_zps17f36d2d.jpg

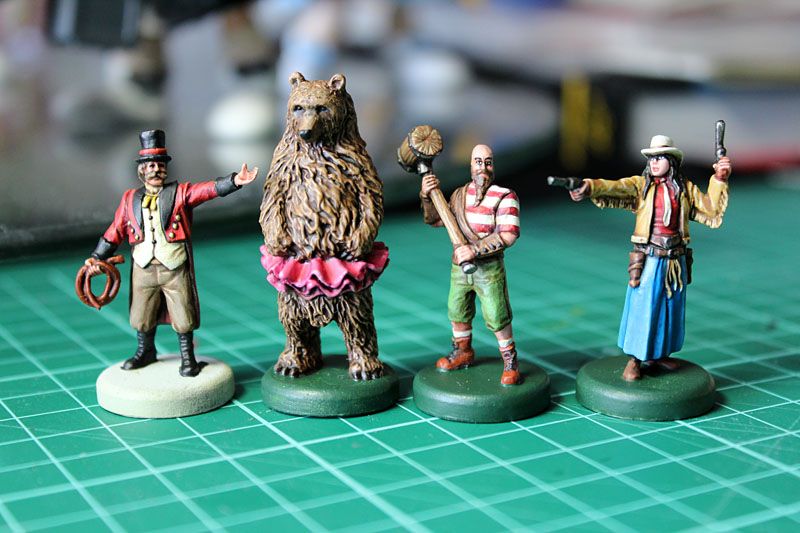
my main efforts lately has been to finish up the Invaders from Outer Space miniatures. I've gotten through half of the heroes so far.

 photo IMG_2207_zps1591e086.jpg

 photo IMG_2208_zps9a656f9b.jpg

 photo IMG_2209_zpse9dec293.jpg

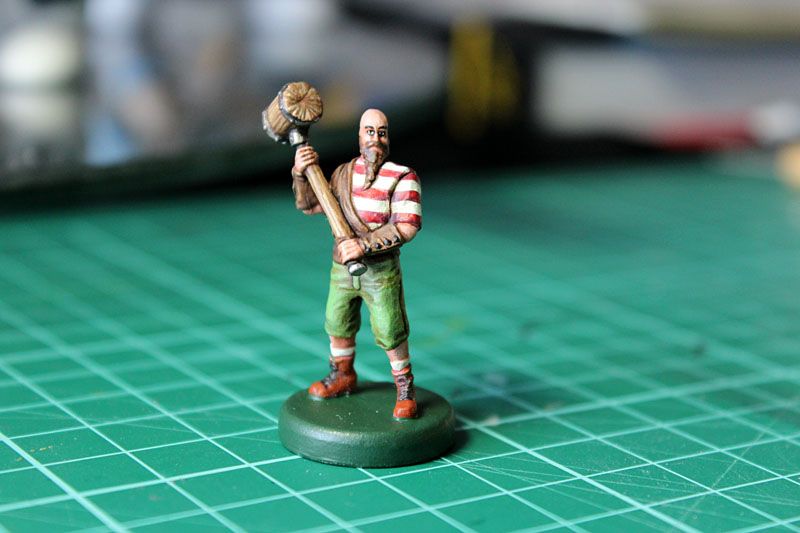
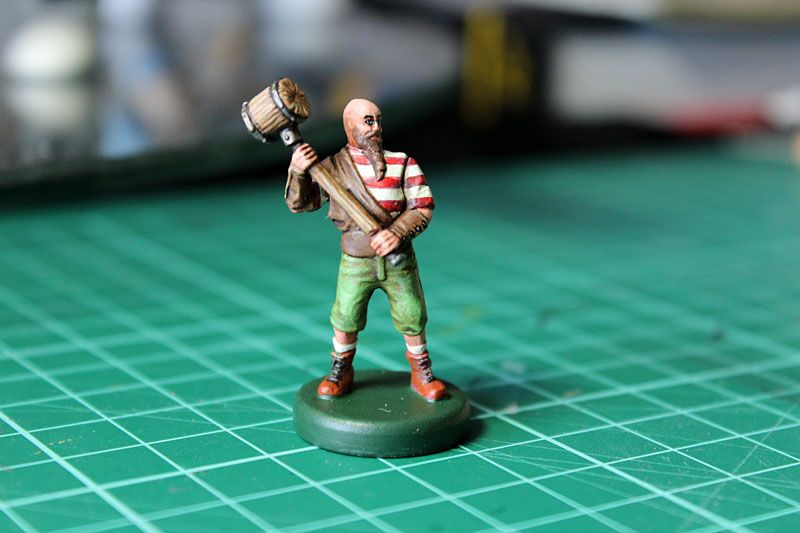
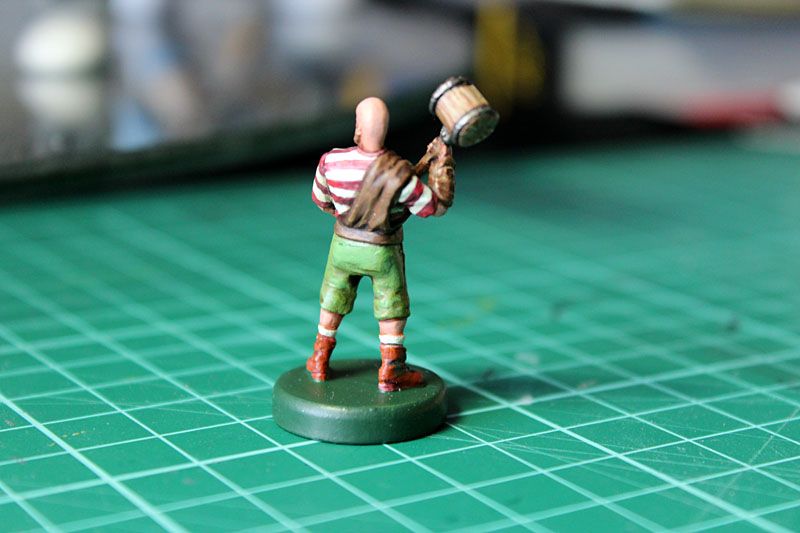
Not a bad strong man once you get him painted. He was well deserving some paint after his hammer kill the Zard Beast 3 times in one game :)

 photo IMG_2213_zpsb0054d51.jpg

 photo IMG_2214_zps29798ac2.jpg

 photo IMG_2216_zps3918a43a.jpg

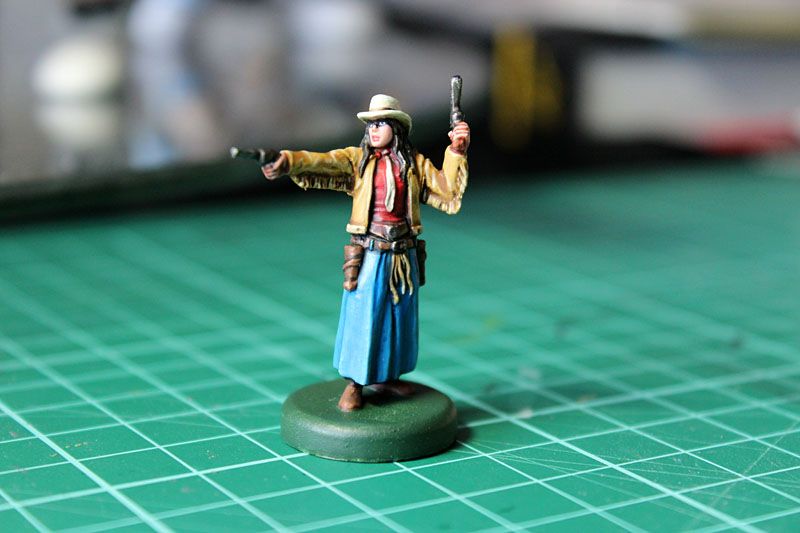
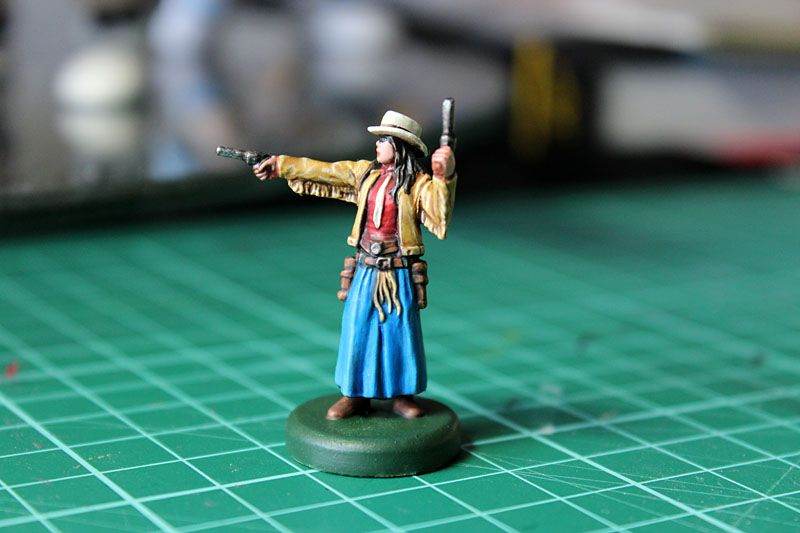
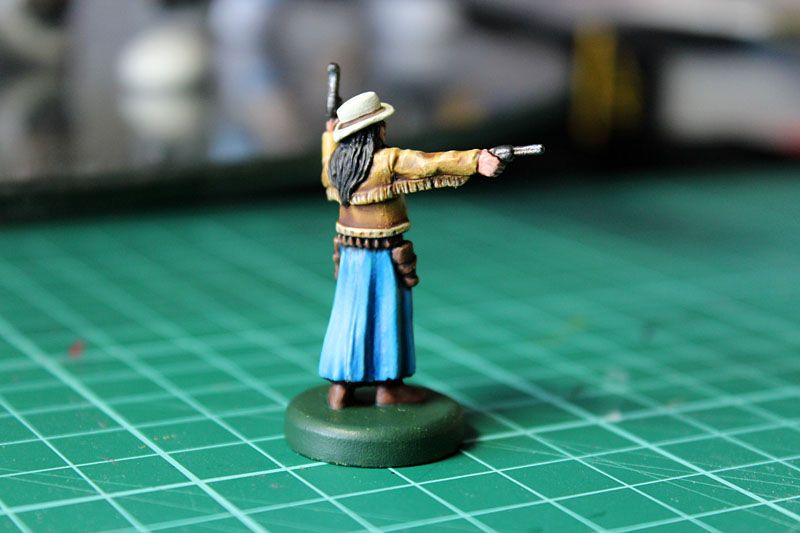
The trick shooter got her dress redone completely, I think the brighter colour is much better than the heap of brown from before.

 photo IMG_2219_zps8e9855ae.jpg

 photo IMG_2220_zps5c80d1d6.jpg

 photo IMG_2222_zpse90ed580.jpg

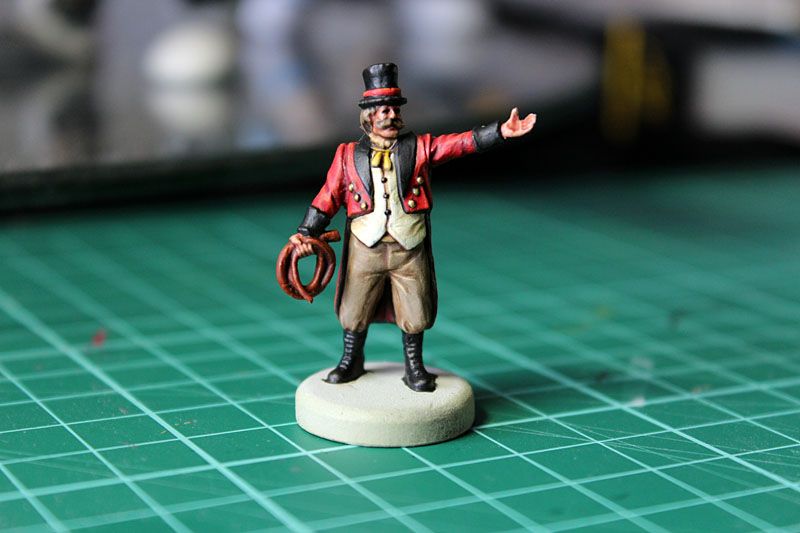
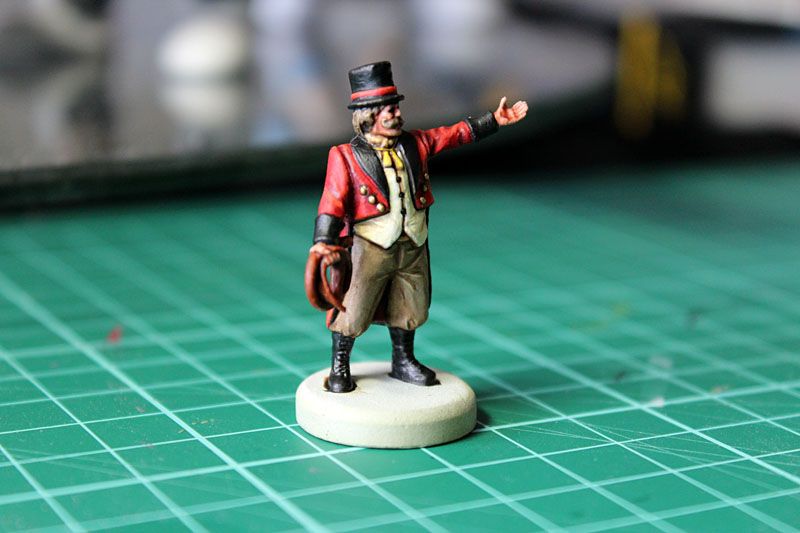
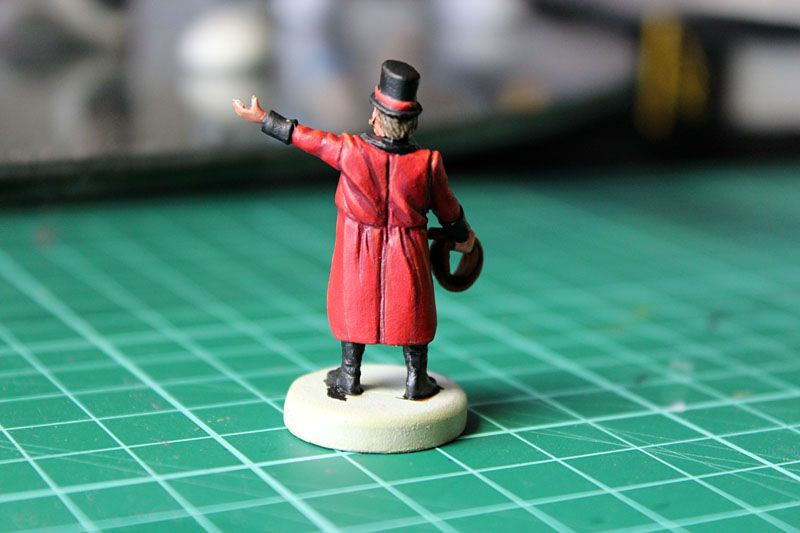
I quite enjoyed painting the red coat on the ring master. He still needs a touch of highlights on the black areas and the base needs a lick of paint.

 photo IMG_2196_zpscd4e514f.jpg

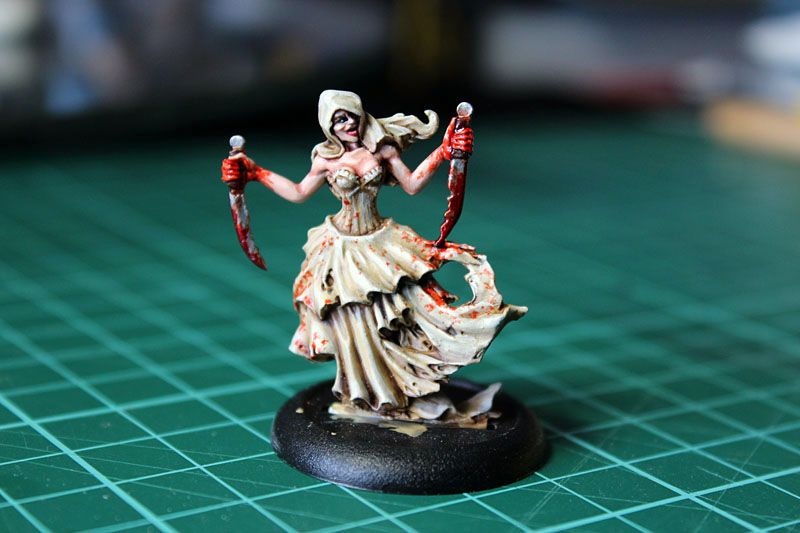
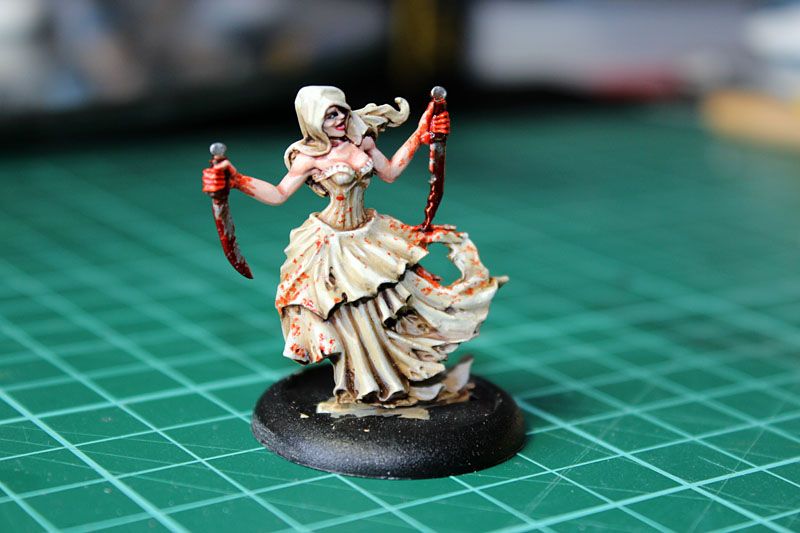
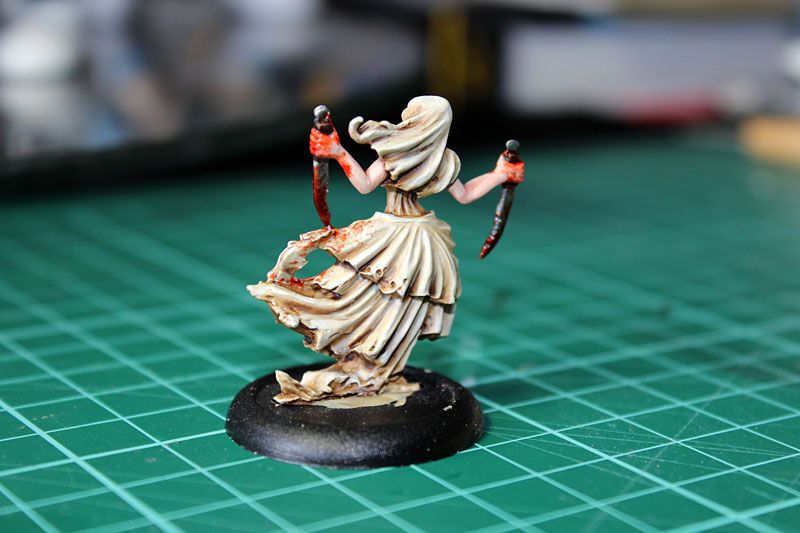
I've also been trying to get a few of my McMourning crew done for Malifaux. The Bete Noir started off as a bit of an experiment in trying out the Army Painter washes to see how they compared to the older GW ones. I ended up really liking the look of the aged white look on her dress that makes her look like the ghost of a jilted bride. After a clean paint job I splashed a bit of Tamiya clear red for the bloody hands and knives. I need to do up the base a bit with a grave stone and some groundwork.

 photo IMG_2198_zpsf96c73af.jpg

 photo IMG_2203_zps2a0ae53c.jpg