July 29, 2013

Score Board Finished

 photo IMG_3749_zpsef962161.jpg

 photo IMG_3744_zps97068d62.jpg

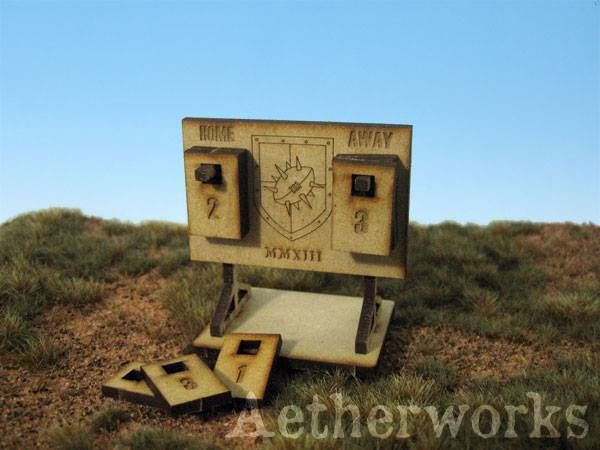
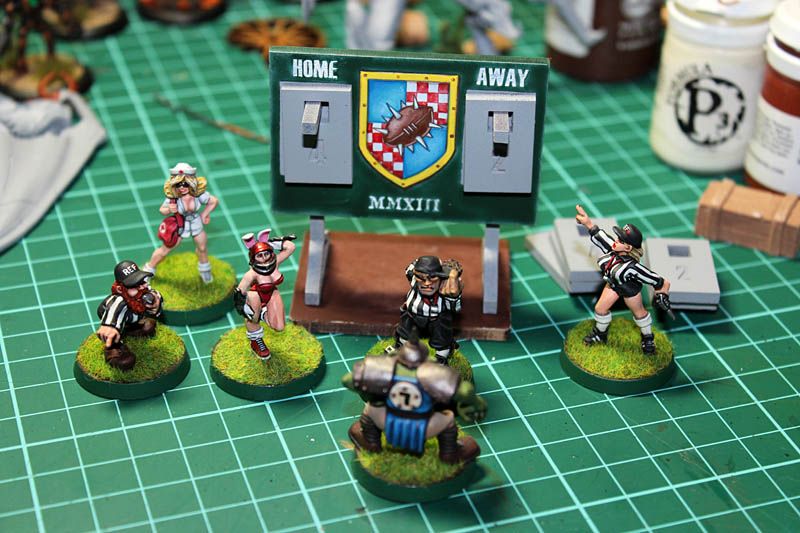
I decided to go black for the score cards so sprayed them all black and masked the main board
   photo IMG_3733_zps0c9e2b78.jpg

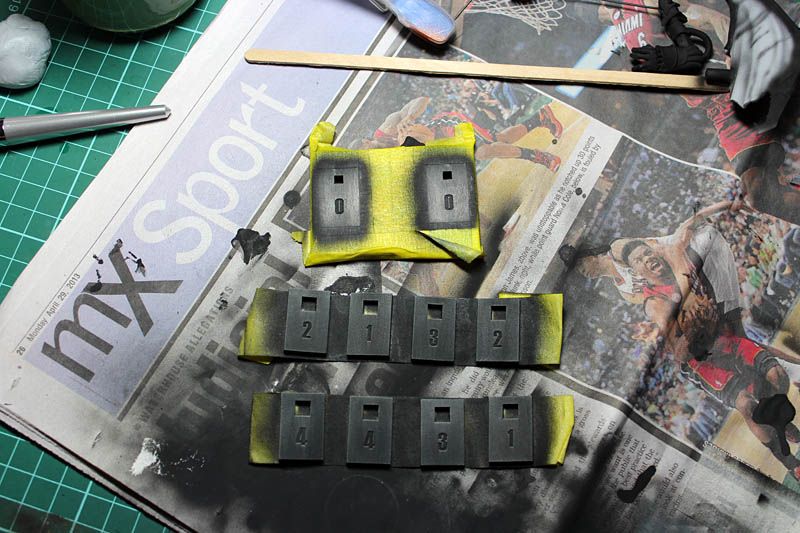
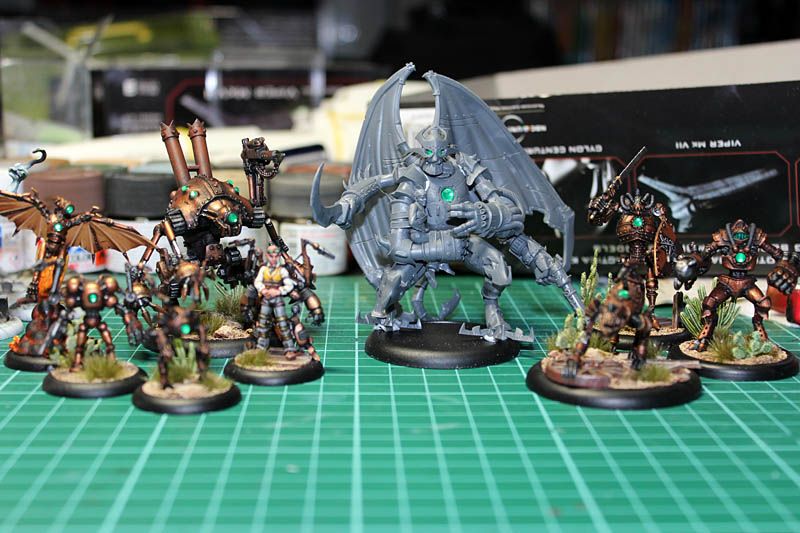
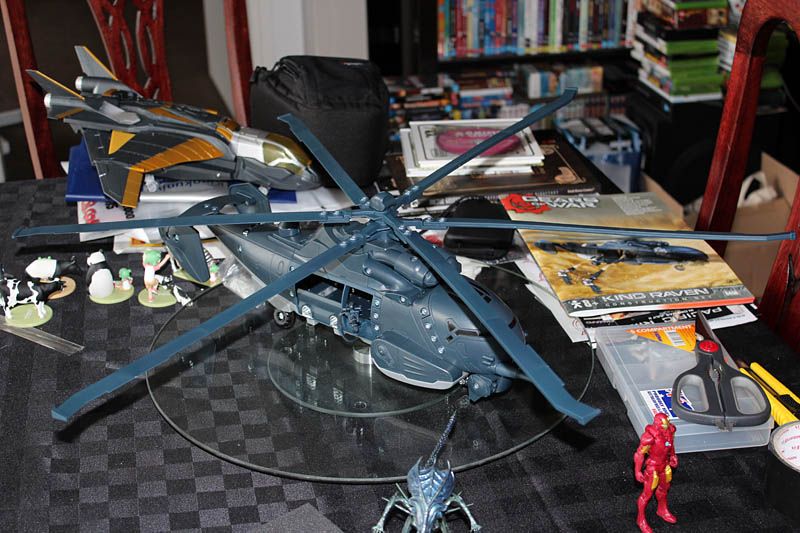
then drybrushed them all grey to pick out the edges before trying as hard as possible to paint in the numbers cleanly white. Then used black to clean up their edges. I put some effort into doing up some nice looking wood grain effect on the back of the cards and the board but of course didn't take photos XD take my word for it. Of course when you pull out the airbrush to paint one thing you may as well spray some other stuff too
   photo IMG_3735_zps0d3144c0.jpg

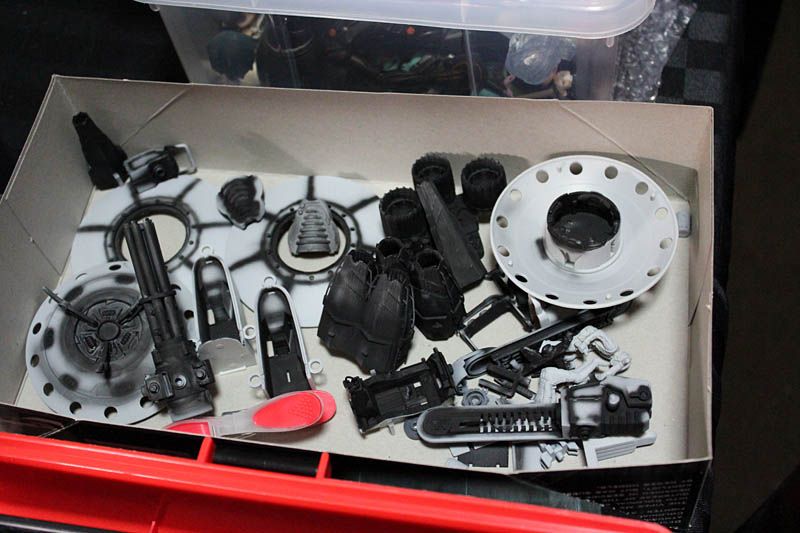
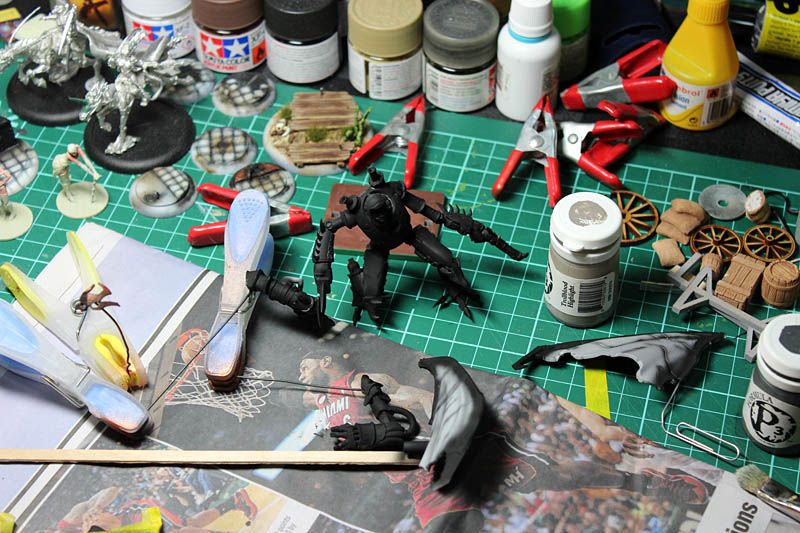
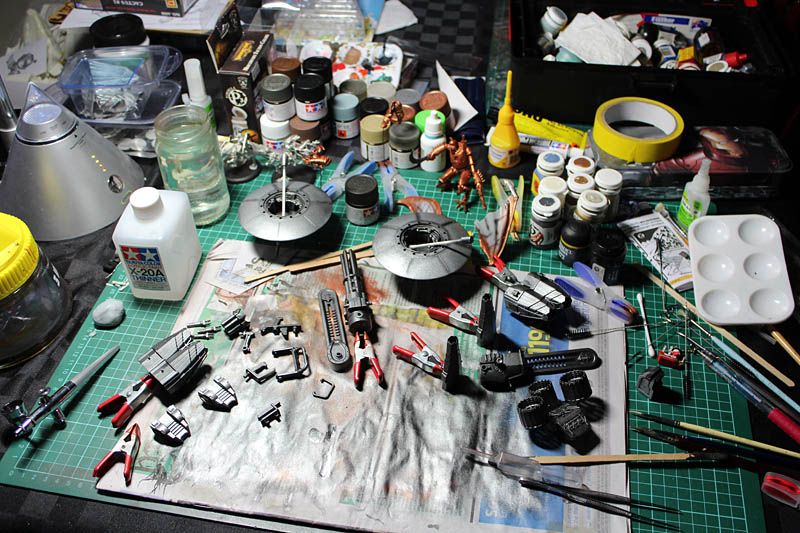
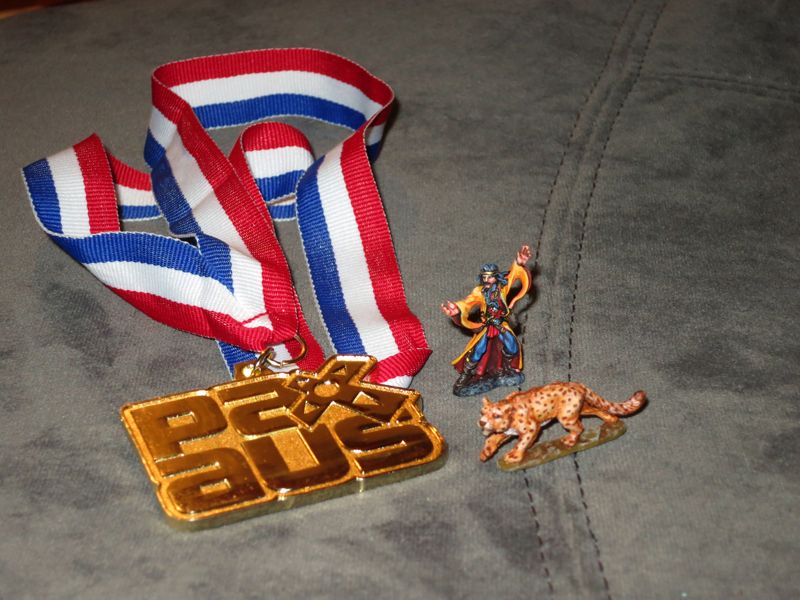
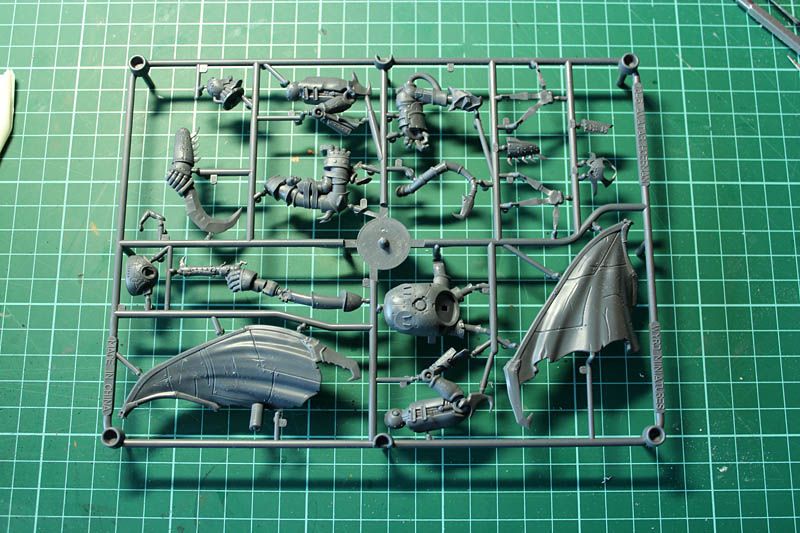
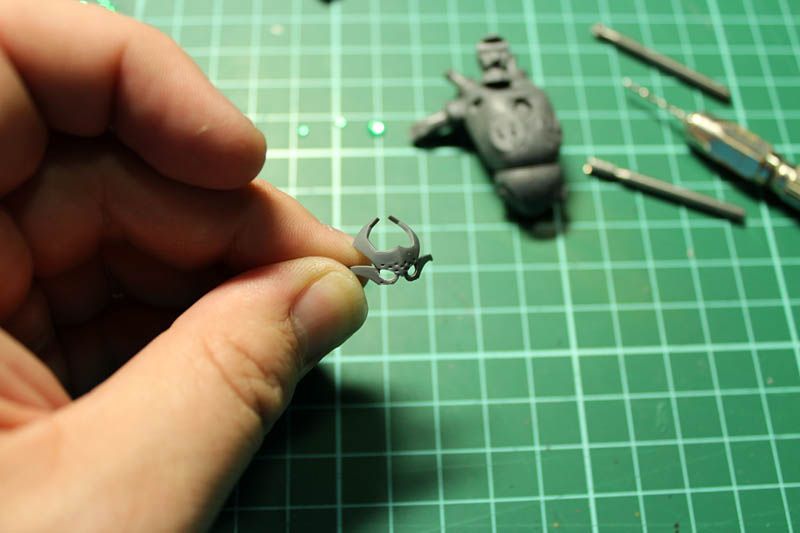
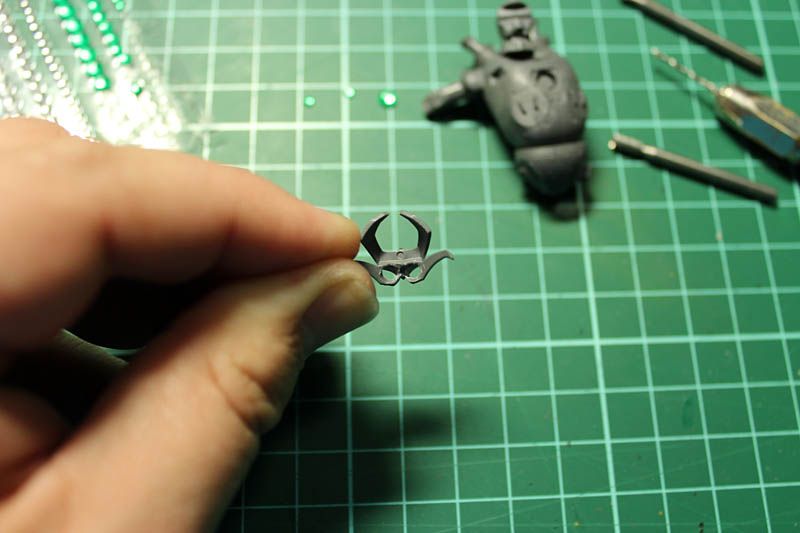
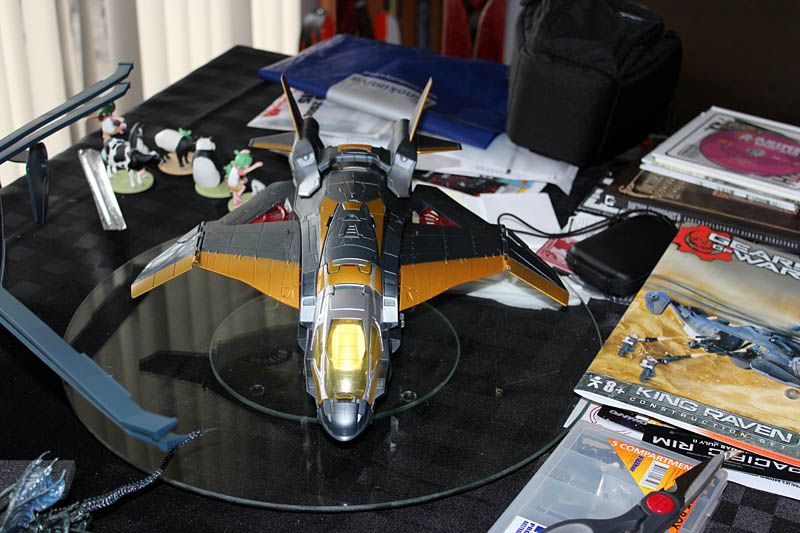
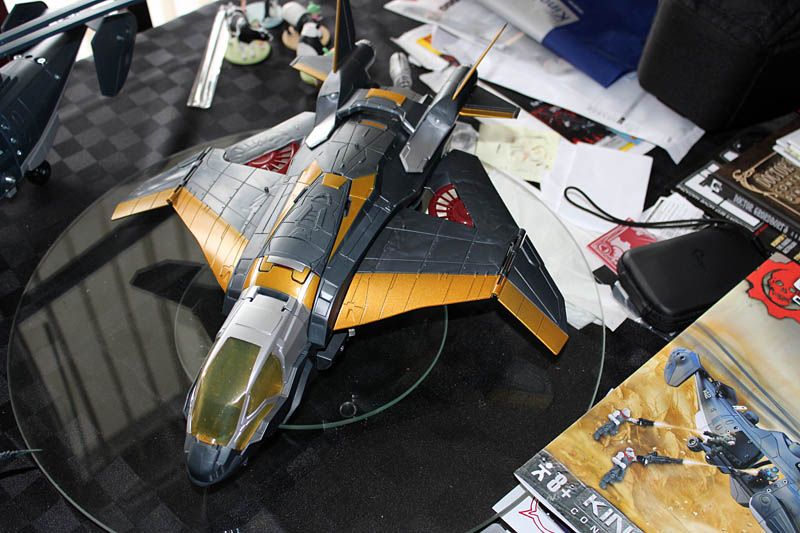
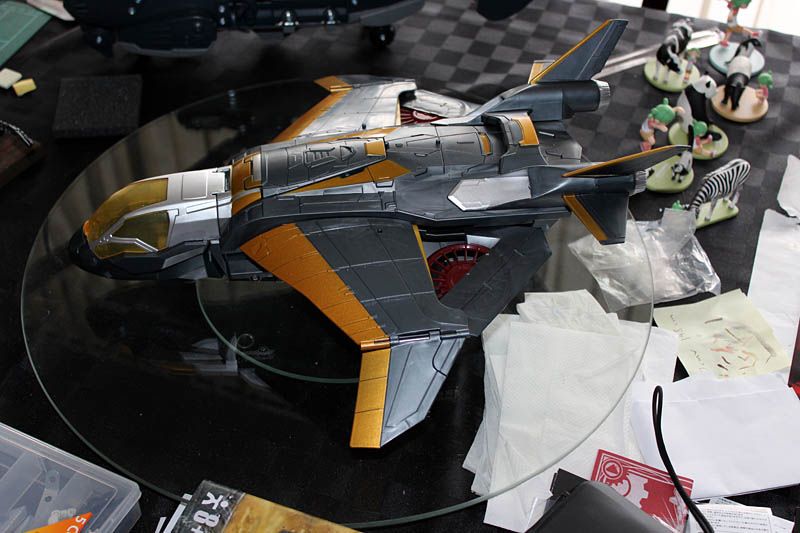
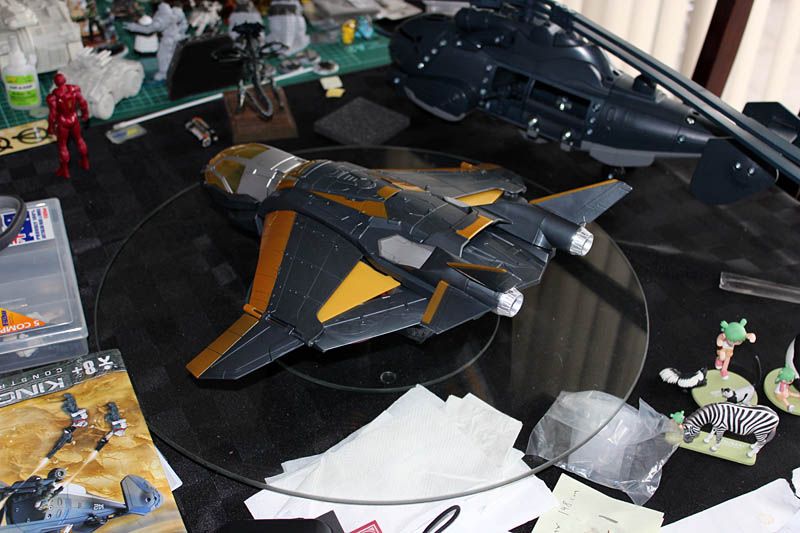
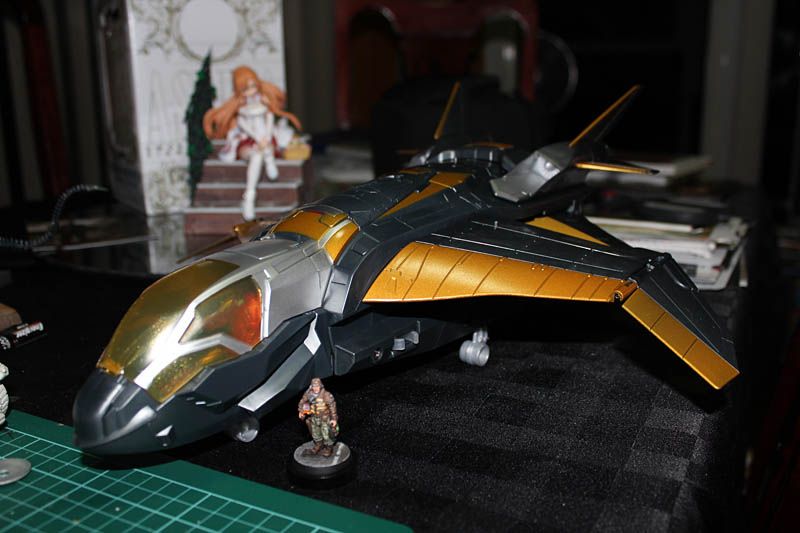
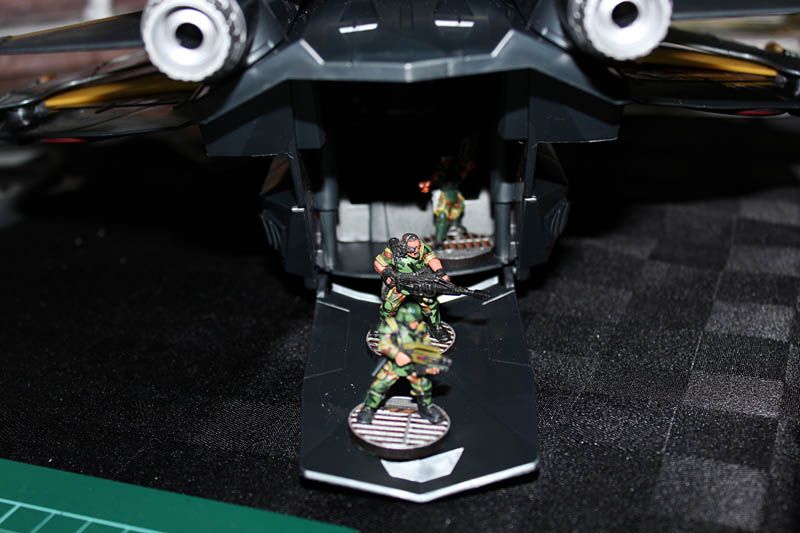
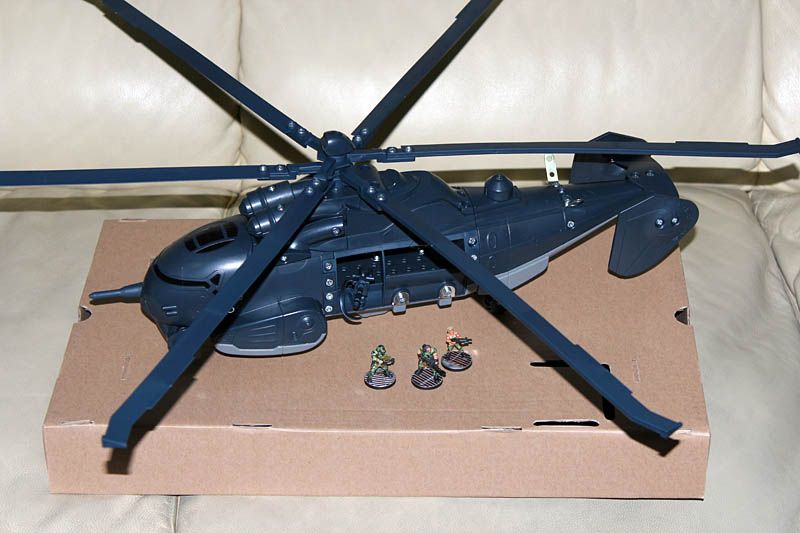
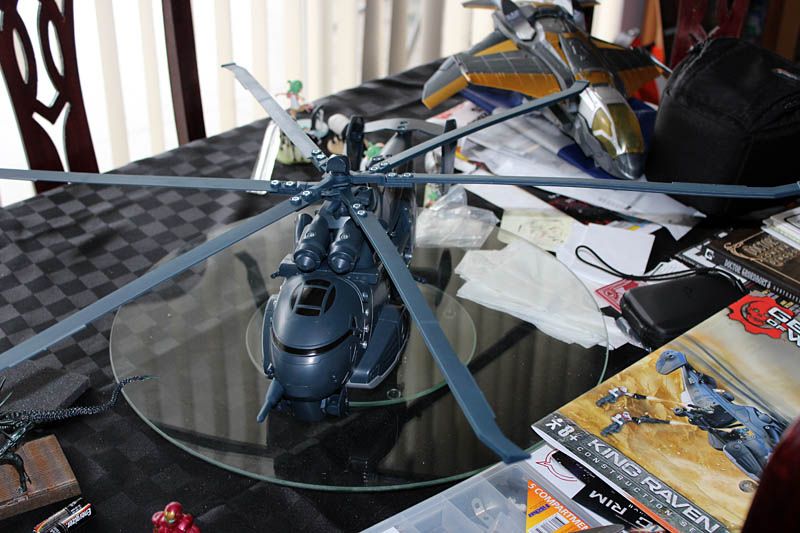
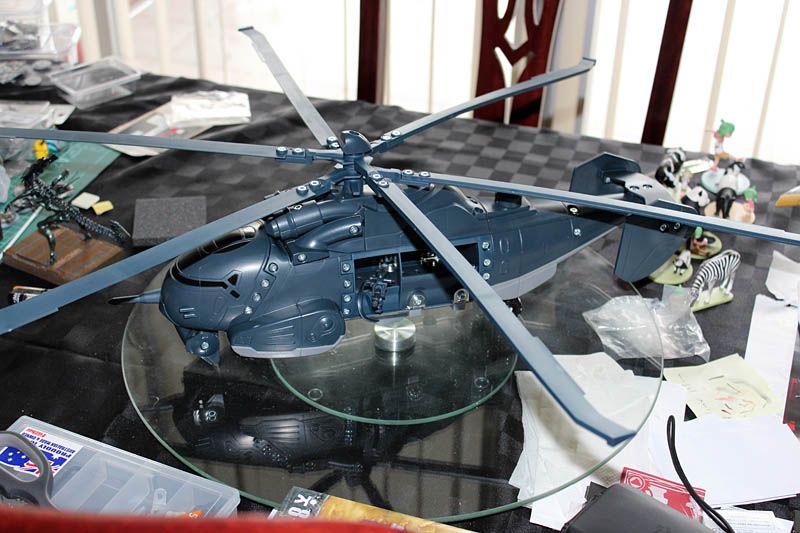
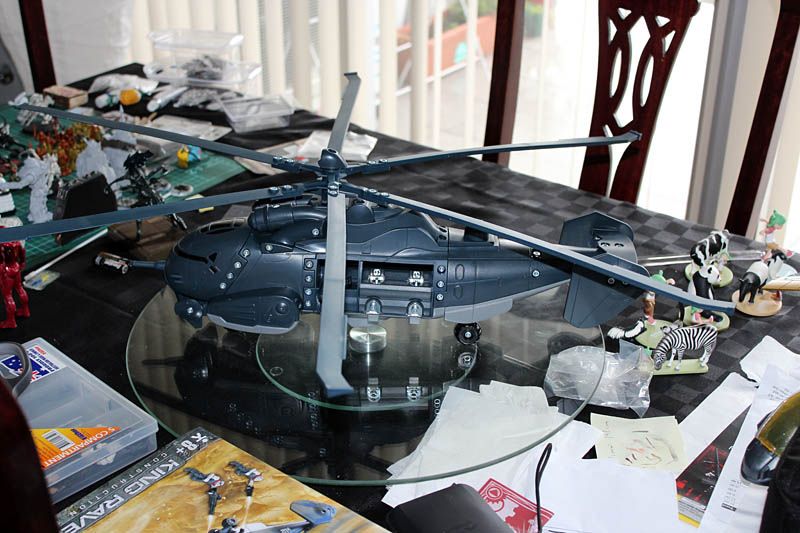
try and guess what all this random stuff is ;)
   photo IMG_3734_zpsb3561fb2.jpg
 photo IMG_3736_zps501afc59.jpg

July 23, 2013

Back from PAX AUS 2013

Just got back from the very first PAX in Australia down in Melbourne. I braved the cheap flights, the rain and cold and had a great time at the con and then copped excess baggage charges on the way back :(

 photo 1079091_10151472840685951_1493695108_o_zps334a7d27.jpg

On the Sunday I decided to have a crack at the Speed Painting competition since my friend Andrew had snuck into the Saturday night one and scored himself a medal. I made sure I got there early for the Sunday event. With a bit of warm up painting: a leopard from the paint and take.

 photo IMG_5249_zps992285ef.jpg

 photo IMG_5247_zps2620bec2.jpg

 photo 1001810_10151490780347217_1333246791_n_zps15646665.jpg

Here's a shot by Andrew of me putting way more stress and focus into one hour than I really should on a holiday XD

 photo IMG_5252_zps6de43f8b.jpg

 photo IMG_5250_zpsad448423.jpg

 photo IMG_5251_zps58de9ff2.jpg

Here's my mini. They had good paints and primed models, the brushes though had been through 3 days of paint and take abuse. Also Model Color Orange does not cover over grey primer.

 photo IMG_5132_zps9970c63b.jpg

 photo IMG_5135_zps40a2dc84.jpg

 photo IMG_5134_zps7ec9088d.jpg

 photo IMG_5133_zps2096adc6.jpg

 photo 557270_10151490797937217_1412425152_n_zps59cc57ca.jpg

the stress did not end with brushes down as we hit the one hour mark, then I had to watch the intense judging as the models were slowly eliminated and it finally came down to mine and one other painter.

 photo 998410_10151490799297217_1878307630_n_zps561a0ee0.jpg

 photo IMG_5230_zpsbb144a84.jpg

SHINY :D :D :D

I figured it'd be a nice gift for my Niece since I was staying at her place to give her both minis hope she likes them.

July 17, 2013

Hoffman Avatar Progress

It becomes pretty obvious as you try and work out how to base Hoffman's Avatar that he was designed to fit a flat 60mm disc instead of a round lipped base. He'll quite happily even stand without a base with those big feet of his. Problem then was how to base him. I was toying with the idea of him standing on big cogs or maybe another wagon wheel poking off the side of the base. Instead I decided to make a raised deck from coffee stirrers. I split one part to make the raisers filled between them with sand and texture paste and then glued down planks on top. I left a gap just for interest so some grass could poke through and added an animal skull at the front from the bits box. Also added in a small cactus at the back so it matches the rest of my bases.

 photo IMG_3706_zpsef86d45a.jpg

 photo IMG_3707_zpsbe40348b.jpg

I also decided to rework his feet a bit. I wanted them to look more like talons so I clipped off the spiky bits from the front of his toes and glued them to the knuckle. For the foot overhanging the side I cut it off a bit further back and pinned it back on bending down over the side. Gives a nice feeling that he's digging his claws into the ground as he walks.

 photo IMG_3709_zpsaafaff86.jpg

 photo IMG_3708_zps20a8c3fb.jpg

After priming all the parts over the weekend I didn't have enough time to start airbrushing on the copper but I did have enough time to paint up the base. Lots of drybrushing and washes same as the other ones.

 photo IMG_3710_zps4fc84e27.jpg

 photo IMG_3711_zps30bd2253.jpg

 photo IMG_3713_zpsfb0f2e86.jpg

 photo IMG_3712_zps2e0d3e43.jpg


July 16, 2013

Eucalyptus Bowl Score Board - WIP

My friend Jose did some special CAD work and did up a custom Scoreboard for the folks running Eucalyptus Bowl 2013 (which I believe was 2 weekends ago). I got passed a sample from Andrew at Aetherworks to paint up.

 photo scoreboard_zpsc56ac3df.jpg

 photo IMG_3716_zpsc5ab4d6c.jpg

Here's the progress so far following the artwork for the shield from this

 photo EucBowlLogo_zps1a6c4e31.jpg

If you want your own scoreboard go HERE, I think they have a free shipping deal on them at the moment.


July 9, 2013

Bandwidth exceeded :(

Seems my blog has been hammered a bit this month so I've run out of bandwidth, don't worry everything should be back up on the 14th.

July 8, 2013

Hoffman Avatar of Voltron... I mean Amalgamation WIP

I finally got my hands on the crazy Avatar version of C. Hoffman on Saturday :)

 photo IMG_3673_zps7d76d21e.jpg

Here he is all on one well packed sprue. I clipped off all the parts and got to sanding off mold lines.

 photo IMG_3681_zpsdee0f5d0.jpg

to match the rest of my crew I had to work out where to put in some gems. 1st obvious spot was to drill the eyes out of the face.

 photo IMG_3679_zps3d43e009.jpg

I used a round rotary bit on the back of the mask to open up the eyes area to fit in the smallest of my green gems.

 photo 666a4d4f-f83a-4e6d-a2b7-156461fc4330_zps2528b27a.jpg

They fit in nicely. I'll glue them in place after painting the mask.

 photo IMG_3678_zps63e0ae09.jpg

The chest of the robot already had a sculpted gem in the middle of it's chest continuing the Iron Man look of the other robots. I drilled this out then used rotary bits and a knife blade to expand the hole big enough to fit the largest of gems I have. I went a bit deep drilling though so had to fill it back up a bit with a cut off bit of sprue.

 photo IMG_3683_zps36fe8a4a.jpg

There it fits in just right.

After the converting I kept cleaning parts and glued him into his stock pose.

 photo IMG_3698_zpsf3cdda55.jpg

 photo IMG_3700_zps39d266cd.jpg

 photo IMG_3695_zps449891e6.jpg

 photo IMG_3701_zps28d4ae4b.jpg

 photo IMG_3702_zps82504460.jpg

He really is quite a beast. Nice presence on the table. The only dissapointments I have is the plastic version of C.Hoffman seems less defined and a bit weedy compared to his metal version. Not that keen on him just being kinda strapped to the robot's arm either. Lastly The design of the feet is a bit weird, and more importantly, doesn't really fit on the top of the base. Surely the sculpter knew what size base this would be going on, yet the very fragile claw tipped feet look destined to get hooked on stuff in carry cases and break off. They also seem very flat which I don't like very much. Maybe I will think of something that extends over the lip of the base for him to stand on or I will redesign his feet.


July 4, 2013

Flyers get ya flyers here

Here's a couple toys that could be used as drop ships or objectives in a sci fi game.

 photo IMG_3616_zpsf0e5cc5b.jpg

 photo IMG_3617_zps6d8a853f.jpg

I have to say I loved the design of the Quin Jet in the Avengers and have wanted to pick up a toy of it since the movie but due some oddaity it was never released in Australia. You can buy the much bigger Helicarrier and you can get the Quin Jet in LEGO but none of the toys. This was the 1st version released which I picked up on ebay from the UK for about $44 including postage. There's a later version with slightly different colours and red canopy and another smaller one that is a remote controll vehicle that drives around or something. I went with this one since I'd seen several gamers mod it a bit and repaint it as a drop ship. I liked the idea so grabbed my own.

 photo IMG_3641_zps01d033d1.jpg

 photo IMG_3640_zps802bb9aa.jpg

 photo IMG_3639_zpsdf6be9cb.jpg

 photo IMG_3638_zpse82c37fb.jpg

 photo IMG_3629_zps06334e54.jpg

with some minis for scale

 photo IMG_3626_zpsccc5f554.jpg

 photo IMG_3623_zps6dd5253c.jpg

and ramp lowered.

To mod it properly you'd either want to paint over the canopy or mod the interior to have a couple pilots in place of the one big seat. The canopy isn't very transparent though so it may be easier to just change the frames on the outside so it seems smaller and give some coats of Tamiya smoke over it to be super dark.

For the back transort area I think you need to unscrew the body and do some interior work removing the seat that is in there and maybe putting a couple rows of benches on the sides.

Some missiles or something under the wings wouldn't hurt either. In anycase it's a very nice chunky looking yet sleak flyer.

 photo IMG_3619_zps469bcab9.jpg

 photo IMG_3620_zps4e9a6b90.jpg

This bird on the other hand is a clunky looking giant helicopter. I saw someone post about this being on sale at Big W for $38 and it's possibility as a vehicle for Infinity, problem is we both assumed the figures it was scaled to were LEGO sized (which is pretty much the same size as a space marine) but the figures are actually nearly double that size. So in scale this thing would be a beast of a heavy lift carrier. Though I could totally see this thing dropping off an entire squad of TAGs (the big Landmate style things)

 photo IMG_3631_zps635bd6d3.jpg

 photo IMG_3632_zpsa075ed5e.jpg

Note you'll be putting this baby together for a few hours.

 photo IMG_3634_zps269d4897.jpg

She is big.

 photo IMG_3642_zps7373d819.jpg

 photo IMG_3643_zpsfa1546b0.jpg

 photo IMG_3644_zpsc2f5880b.jpg

 photo IMG_3645_zps34f7a946.jpg

Looking at it, it is kinda huge compared to say a BlackHawk but compared to a Sikorsky (which I think it's based on)  it's a pretty good match. Problem is more that 40K and most other SciFi games seriously undersize it's aircraft.