Showing posts with label Space Marines. Show all posts

August 29, 2010

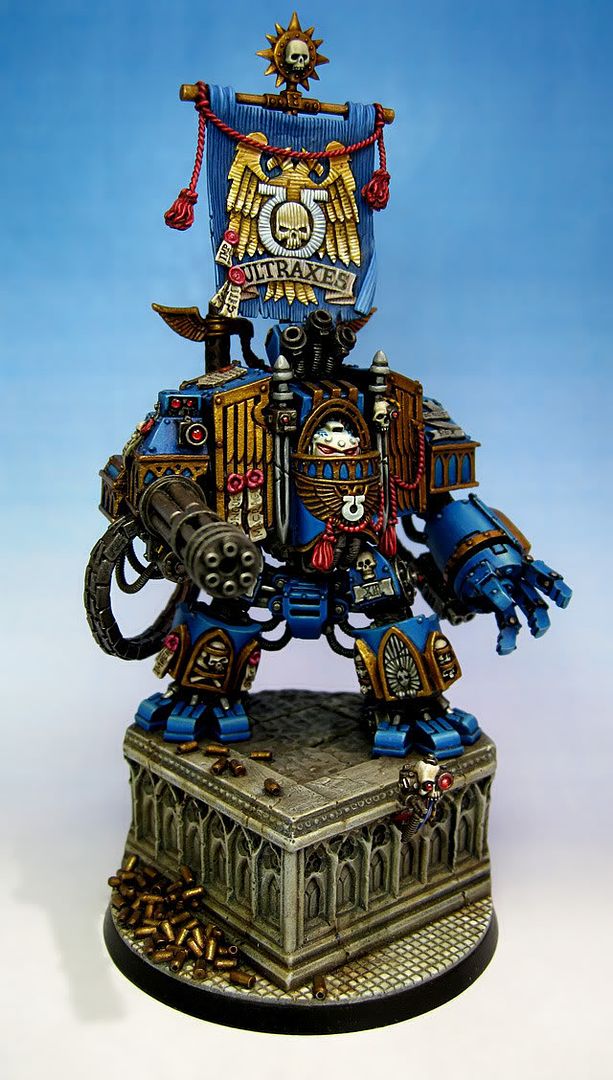
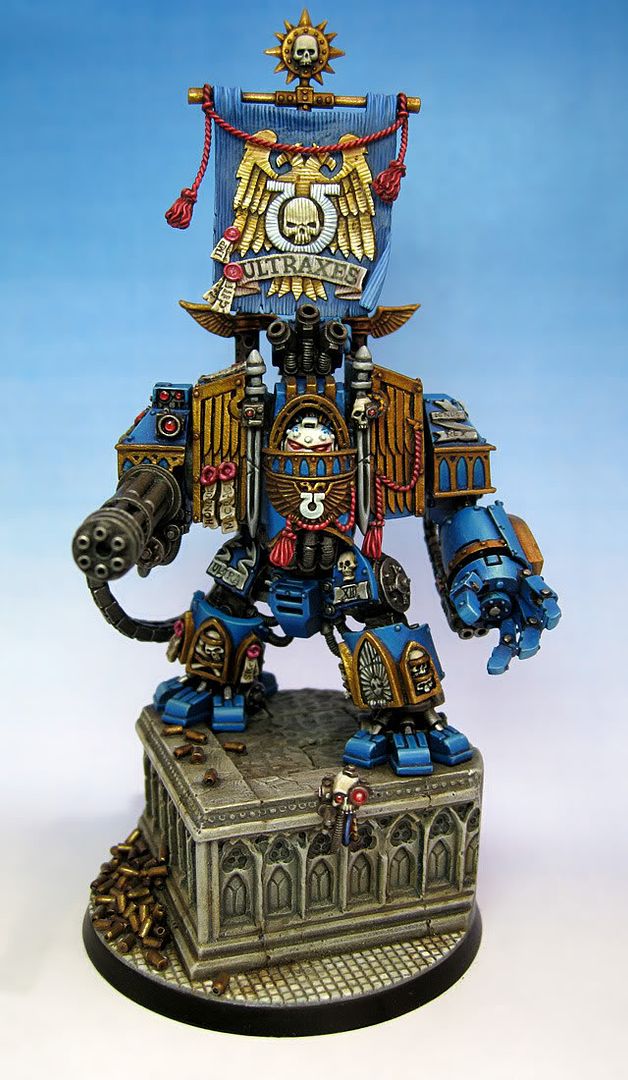
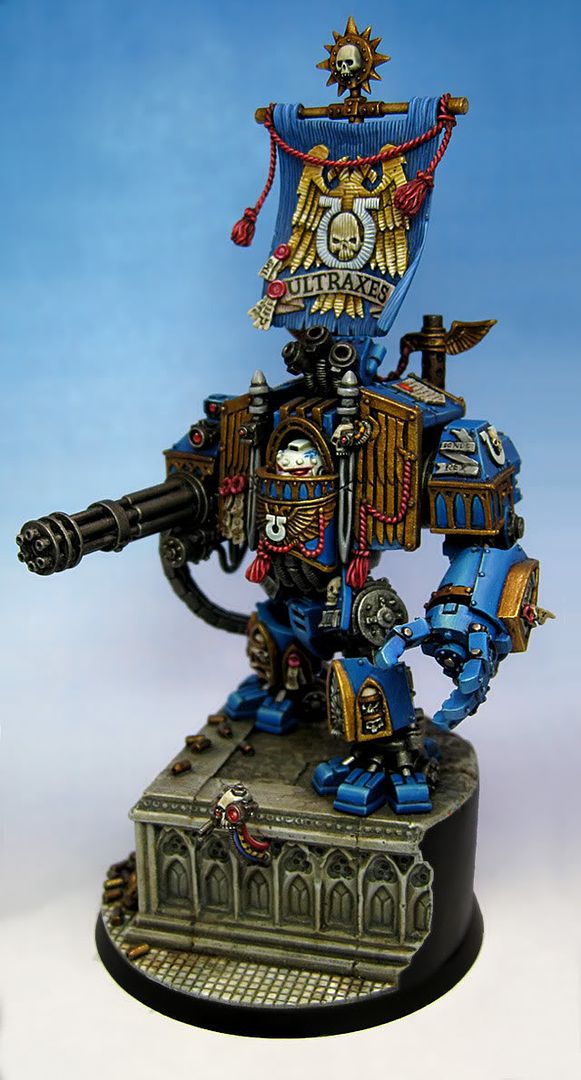
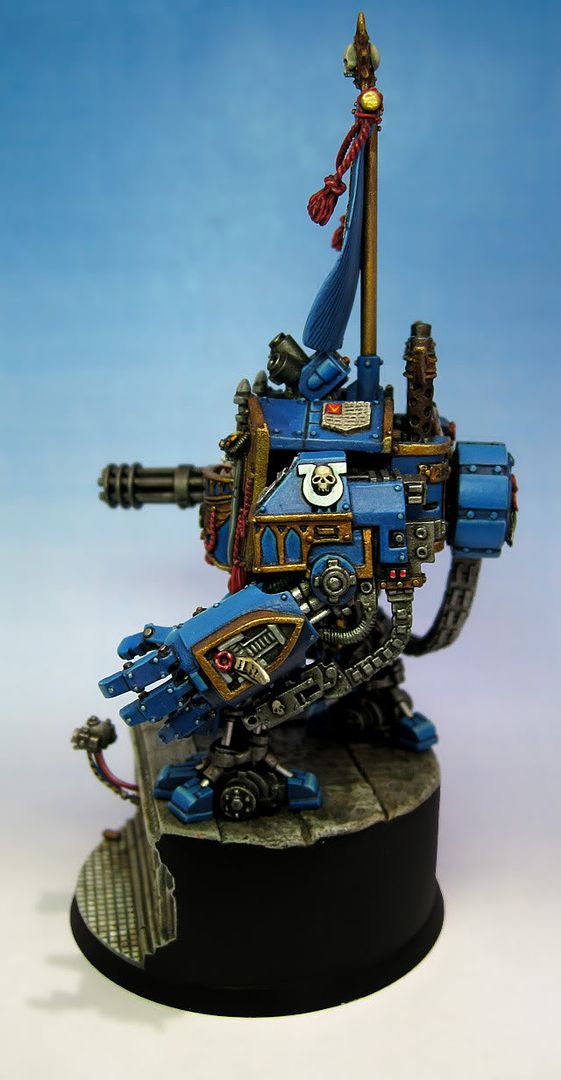
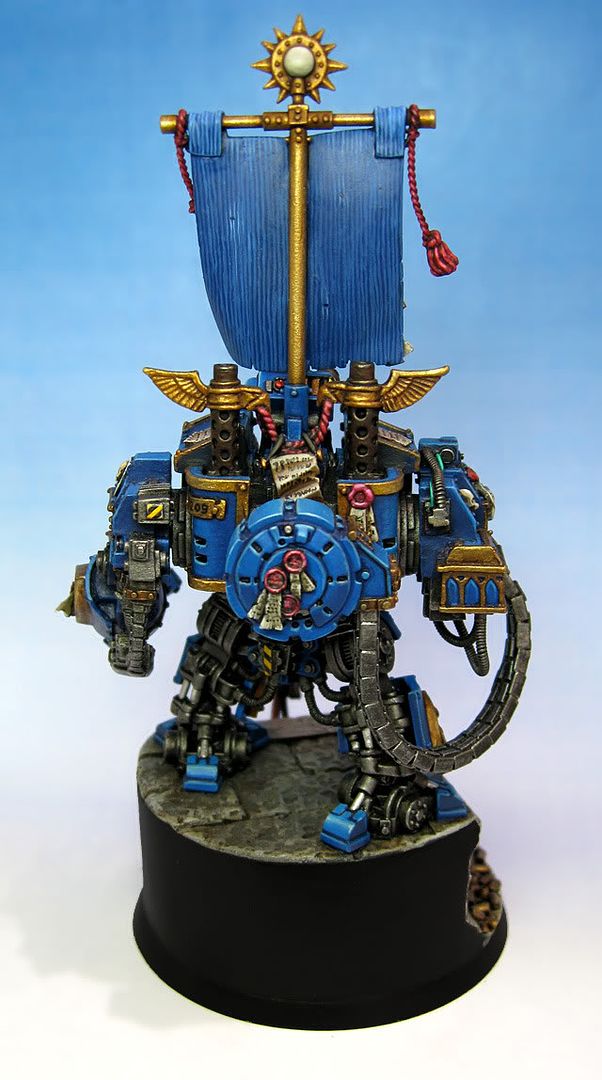
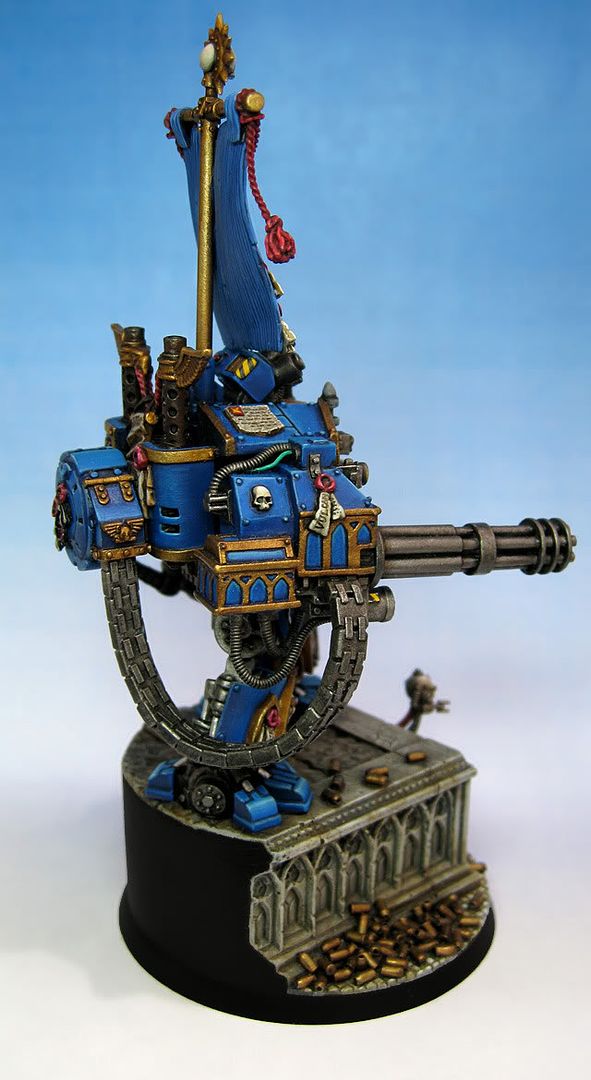
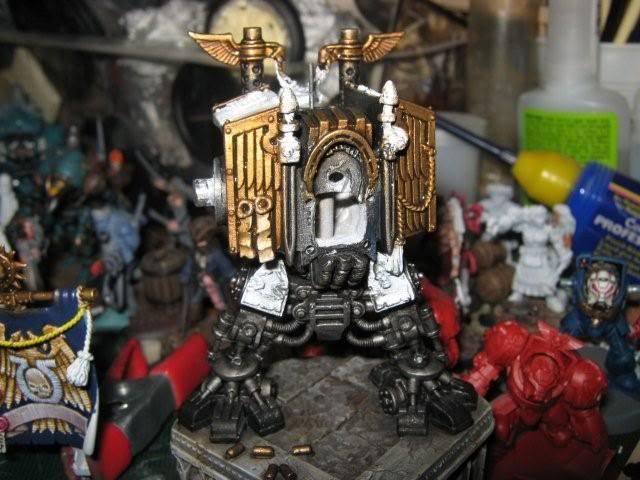
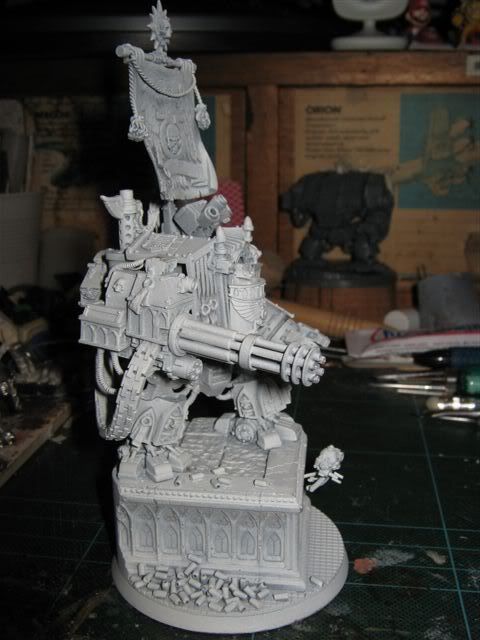
ULTRAXES Bling Ultramarines Dreadnaught - Finished

Sorry dear readers for the stupidly long delay but I kept forgetting to clean up the photos of the finished Dreadnought.


September 22, 2009

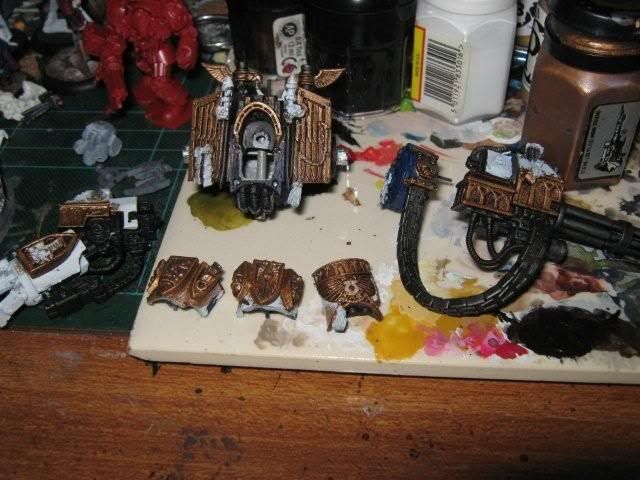
Dreadnought progress - WIP

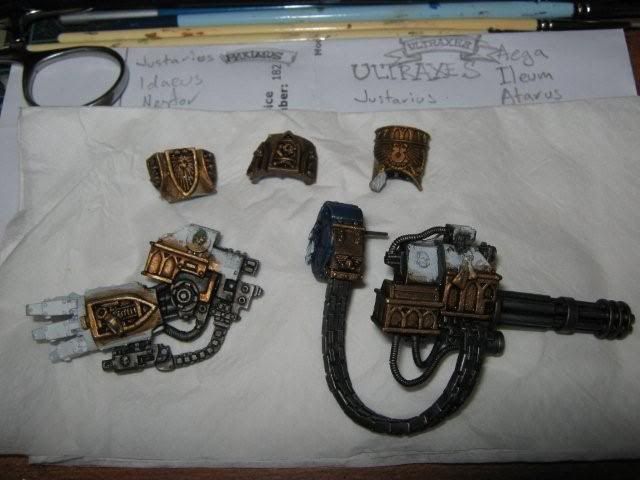
Been working on the metal areas of the dread since they required a lot of drybrushing layers and layers plus lots of washes.


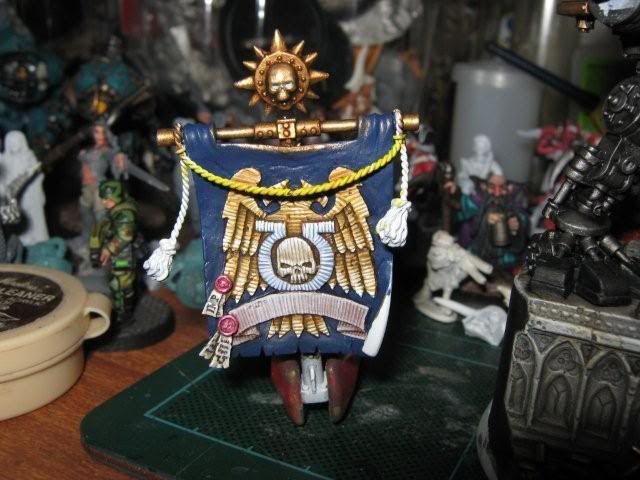
Pretty happy with the banner so far. Still needs a name on there and the blue to be made to look like cloth. Still undecided what to paint on the back. Should it be blue as well or cream?


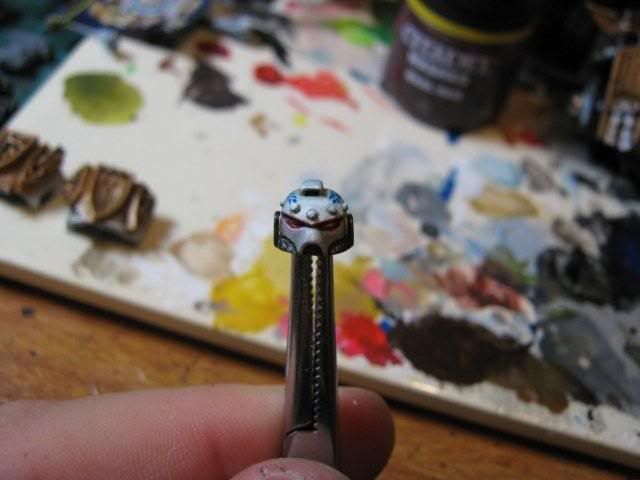
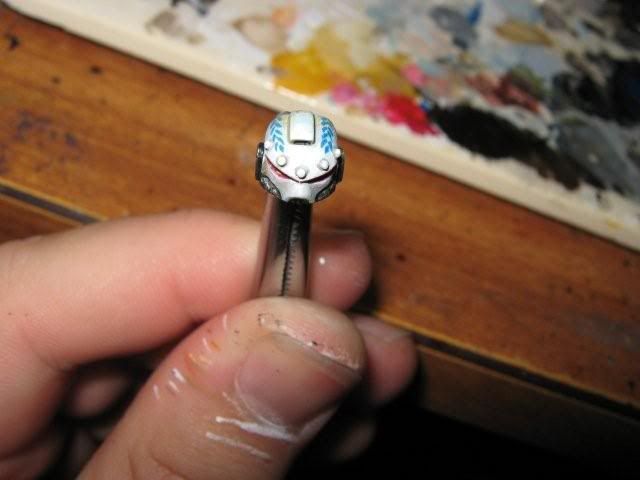
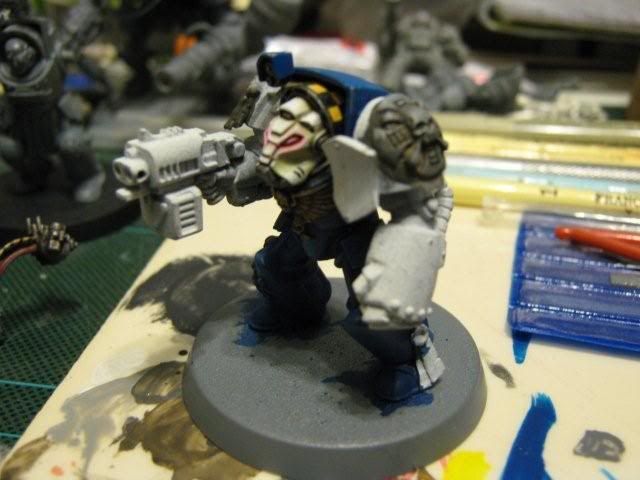
I needed a break from metals so did most of this guy quickly, he still needs his skin done.

September 17, 2009

Dreadnought Banner - WIP

Worked on the banner last night, I'm trying to get the look of the heraldry being embroidered onto the banner. Not sure if the effect is too large to work properly. Seems to work at a short distance away.
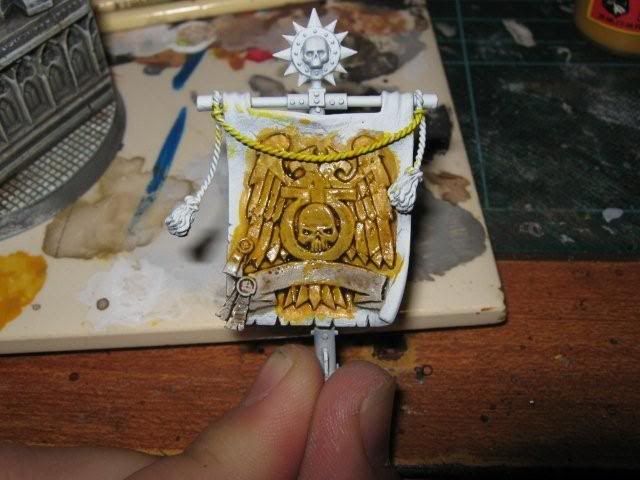


The desert yellow base is given a wash of devlin mud for initial shading.


I start adding the embroidery lines on the eagle with yellow then white mixed with yellow then straight white.


Now I've done the skull and Ultra symbols. The Ultra starting from Space Wolf Grey and working up to white, the skull from a light coffee brown up to white.


A few layers of shading is added to the eagle give more of a gold look using several washes.

That's it for now, lots more to go.

September 11, 2009

Dreadnought Base - WIP

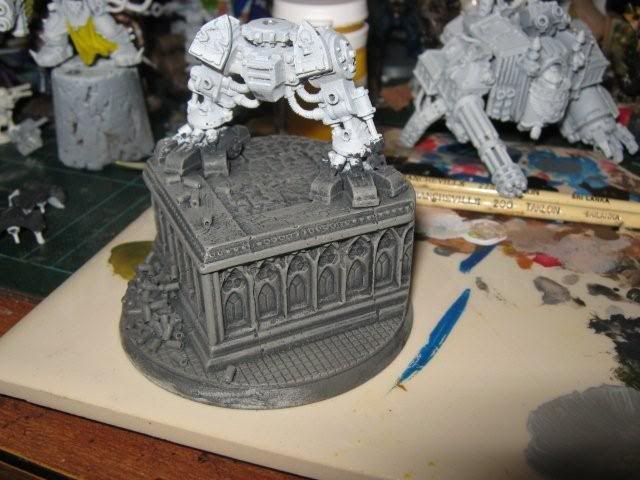
Got to work on the dreadnought finally. Messy stuff always needs to be done 1st so I started with the base which involved a fair bit of drybrushing and washes, and individually painting all those tiles.


I'm pretty happy with the way the stone work has a concrete colouring to it and a good level of dirtiness to it.

edit: Here's the paints I used to paint the concrete

basically it was a series of drybrushes followed by picking up the edges carefully with white.

June 10, 2009

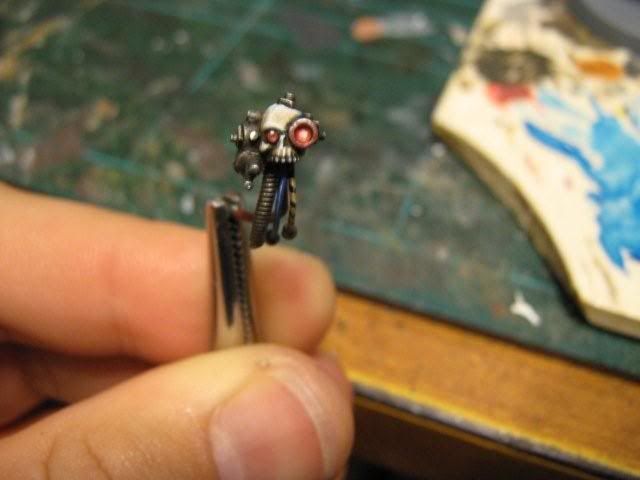
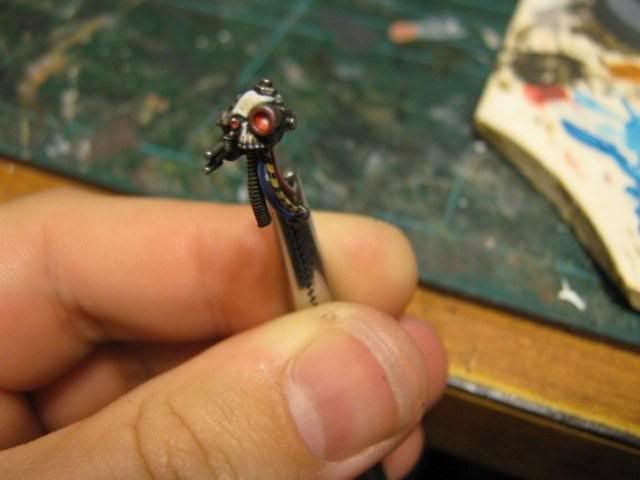
Servo Skull

Small (well very small) spoiler


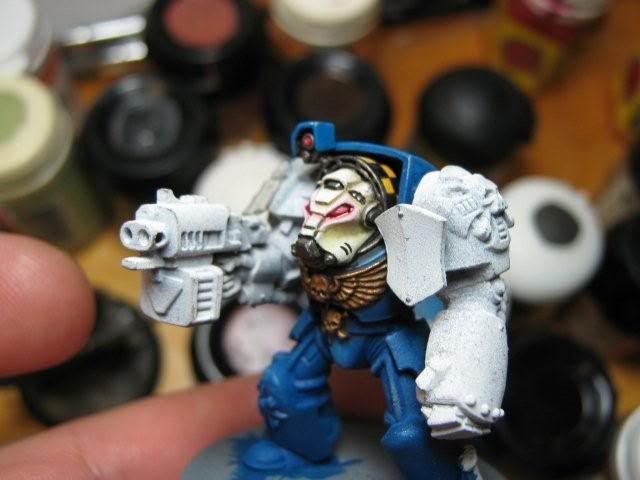
still working on how to approach the blue.

May 24, 2009

E.G.G. Painting Day

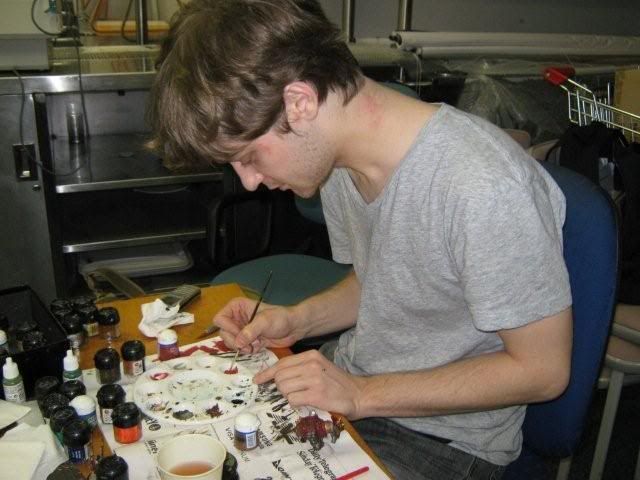
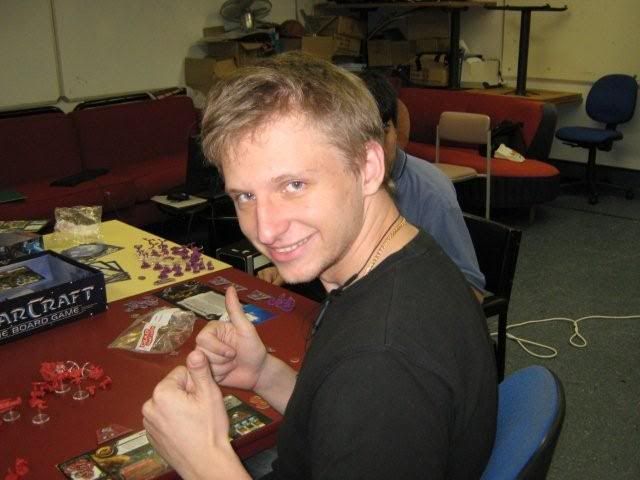
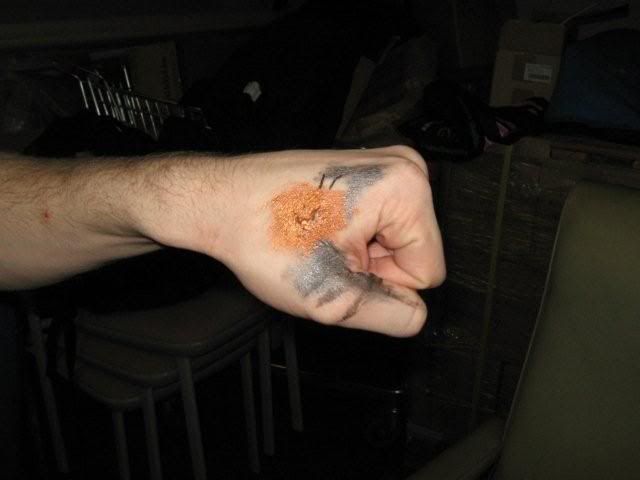
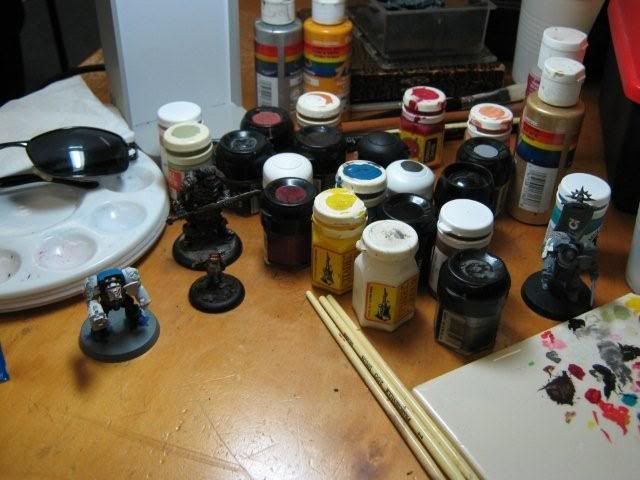
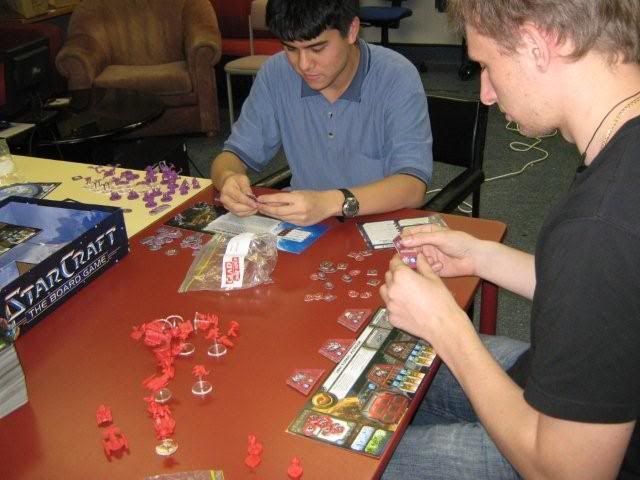
I'm a member of the gaming club at the local University, every now and then they try and drum up some effort towards mini painting. Here's a few pics from the last one.

Finally got around to getting the pics off my camera from the last painting day

Image

Image

Image

Image

Image

Image

Image

Image

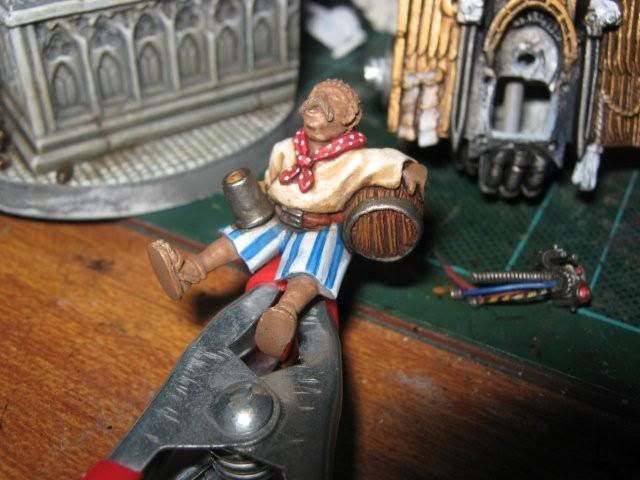
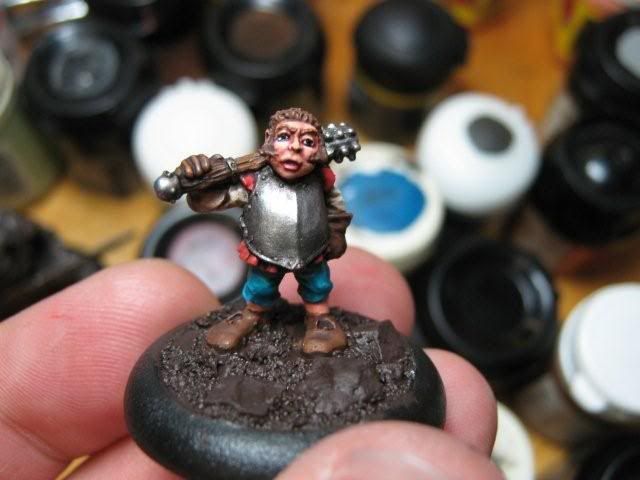
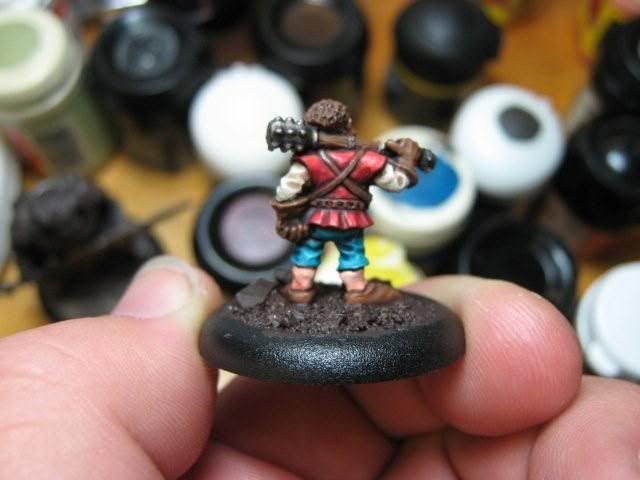
Thanks to the wonders of Devlin Mud I got that halfling done from a white prime to just needing the base drybrushed and flocked.

May 18, 2009

Bling Dreadnought, Part 17

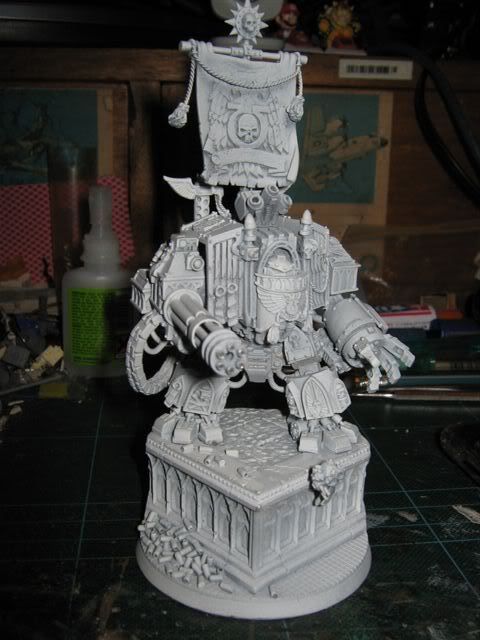
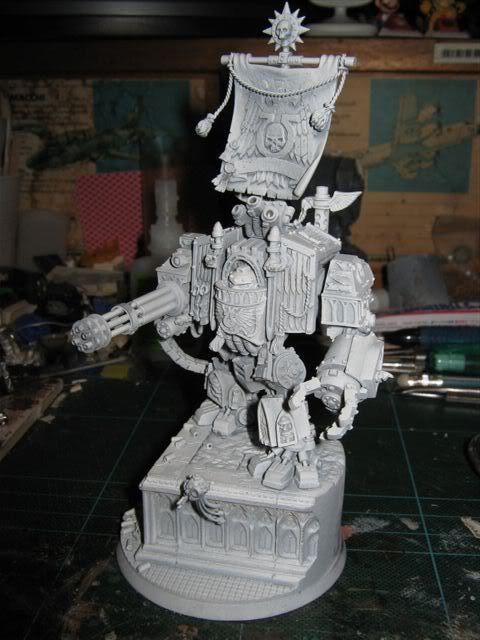
Numbat asked me to take a pic of him primed so he could make sense of how the skull and shells fit in with the whole thing, so here he is.


Won't be any updates for a while, it's down to the painting now.

May 17, 2009

Bling Dreadnought, Part 16

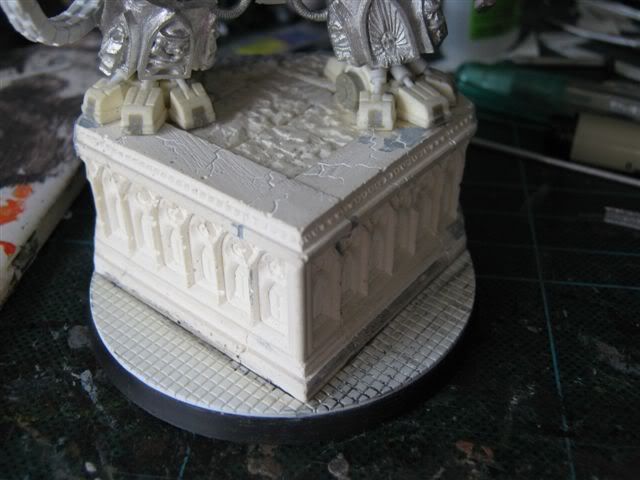
Few updates to the base


I followed the tile idea and cut and glued in some textured plasticard.


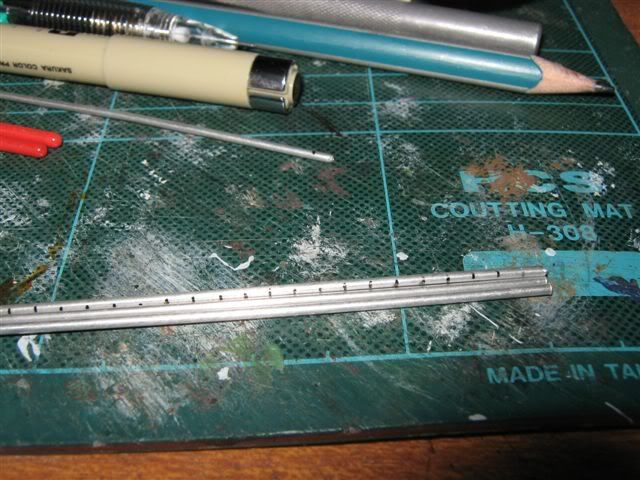
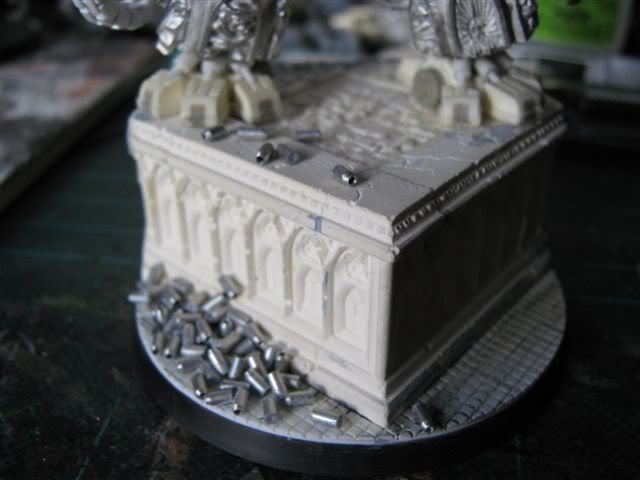
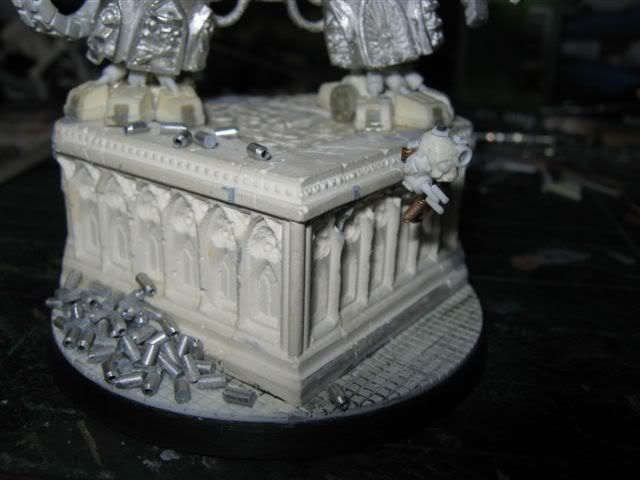
next is cutting up lots of aluminium tubing for the spent shells. I was going to use plastic rod but none of the stuff I had looked thick enough. So in the end I made my self a lot more work but I think the results were worth it.


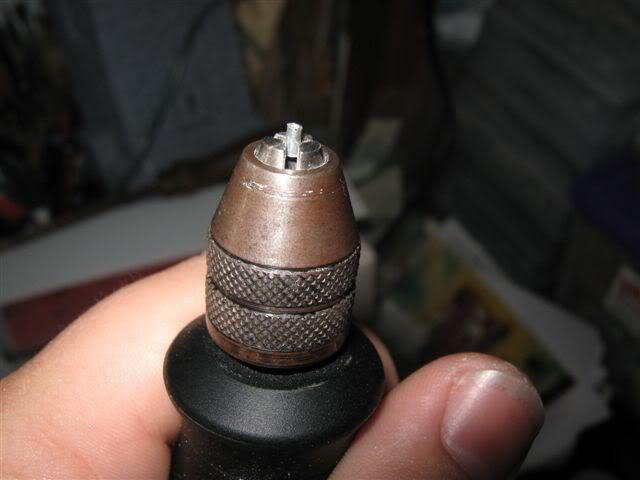
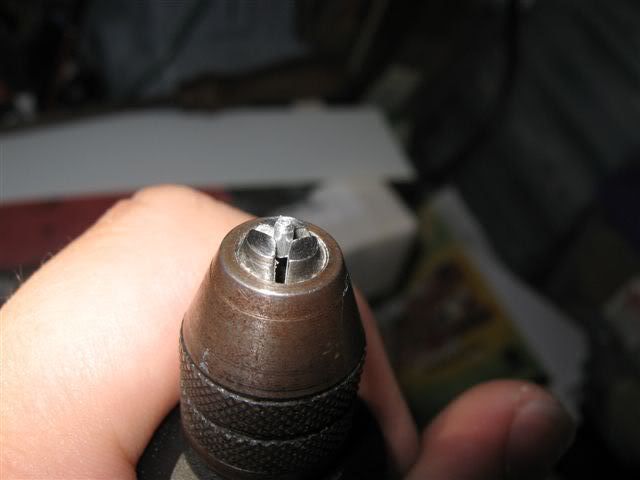
after cutting all the pieces I put them in the chuck of my dremel and bevelled the tip down


It took a while Rolling Eyes I also puttied up the flat end of each shell.


I went for a good random look by putting down a fair bit of super glue and just sprinkling them on, then placed on the ones that didn't fit bellow up top.


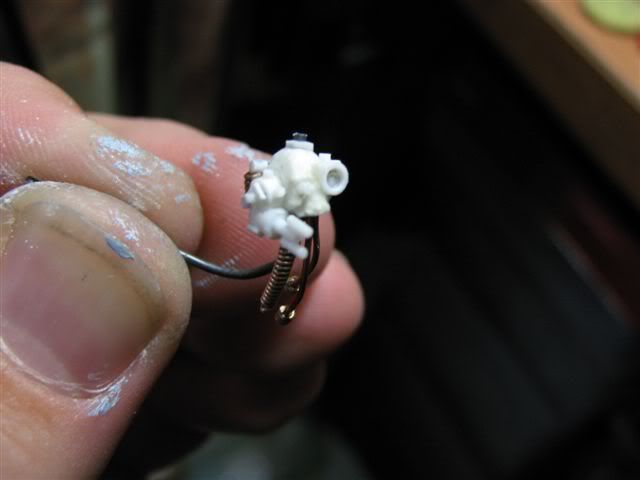
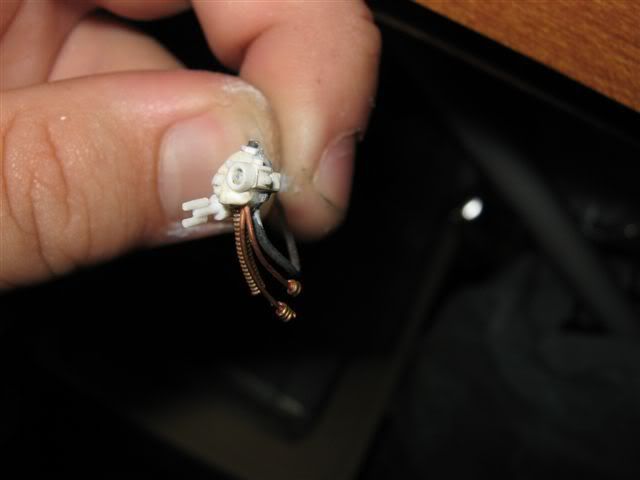
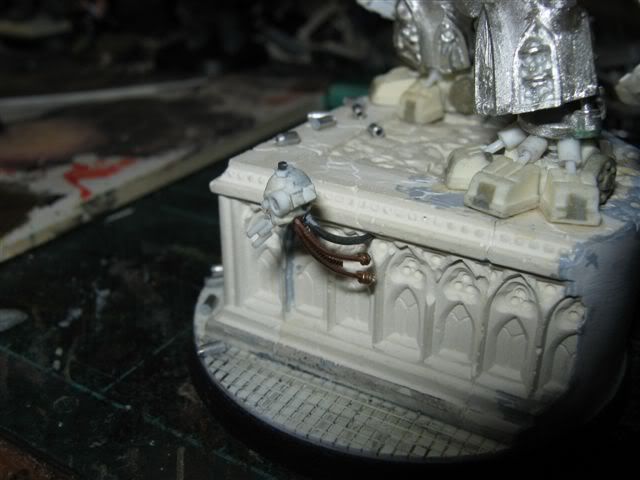
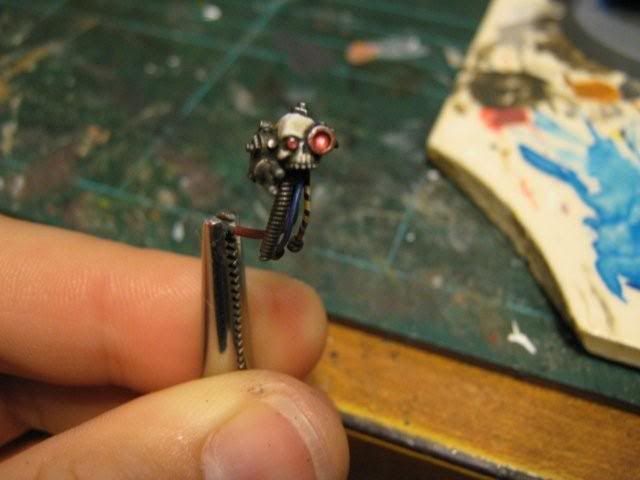
For the other side of the base I got the idea to have a servitor skull floating just off the edge.


I started with a resin skull and just went with the flow and stuck on wires and plastic rod and card and stuff.


I drilled in a hole and there it is


Well that's it modelling wise. I've primed it today.

May 13, 2009

Bling Dreadnought, Part 15

Back again. A normal person would have had this thing painted by now, but I keep adding stuff.


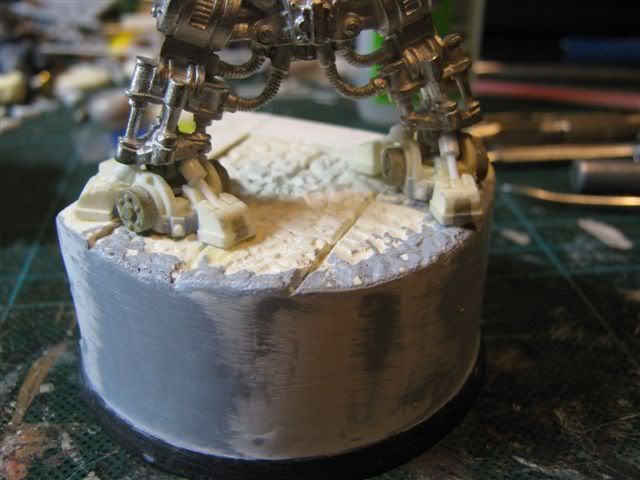
I took advice from you guys and glued on some plastic card to the back of the base to get a smooth finish. Then had to putty it up a fair bit and file back since the curve wasn't quite the smoothest due to the bricks behind it.

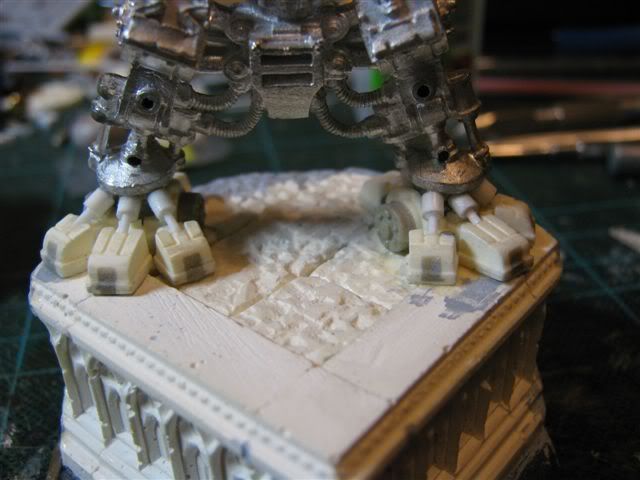
So after a few days of putty it, wait to dry, sand back, putty it again, etc. I'm happy with the finish now. So decided to get it over with and glue down the legs.


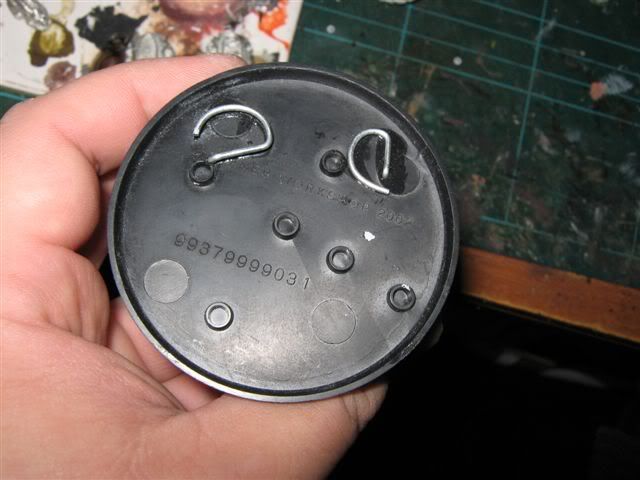
Figured it was best to be extra secure so used some thick floral wire and drilled all the way through to the bottom of the base rather than risk only being glued to the plaster. I glue the feet down 1st then put some green stuff in the sockets and then superglued on the legs so I got a very secure feeling bond.


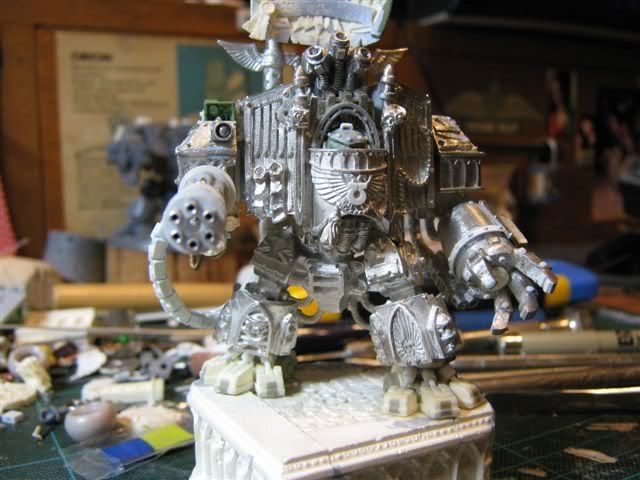
After that I finally got around to adding the actuators I mentioned ages ago. These are all made from plastic rod and plastic tube. I had to have the legs and feet fixed in position 1st to get these right.


and here's what it looks like with the leg armour back on.


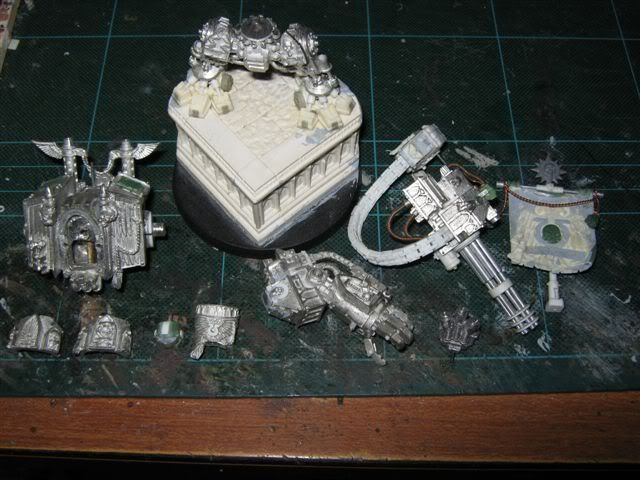
Finally all the parts pulled apart into subsections ready to get primed.


And yes I still don't know what else to put on the base. The dozens of shells idea is still my current fave. The dead bullet riddled body idea though good often looks incredibly tacky and frankly there isn't that much space on the base to put a body.