

I added a detail strip with a heap of rivets around the wrist
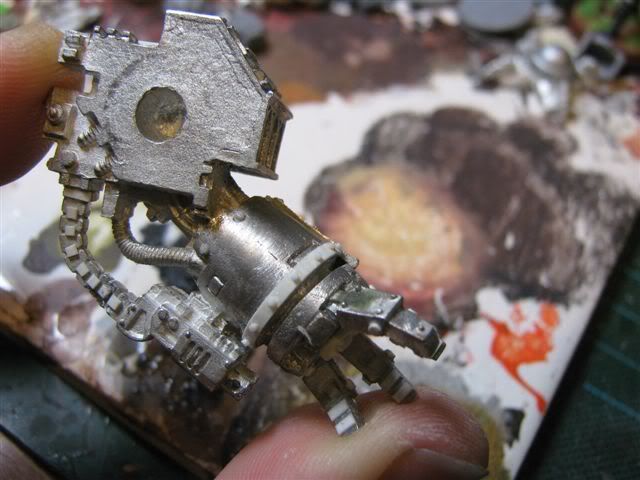
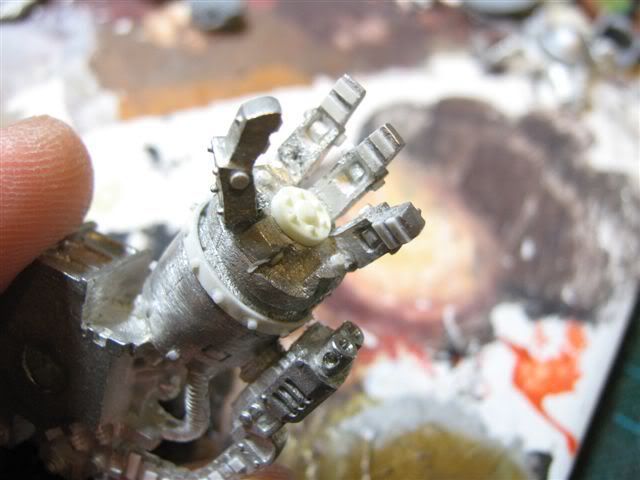
and I added grip bits to each finger and then trimmed them flush
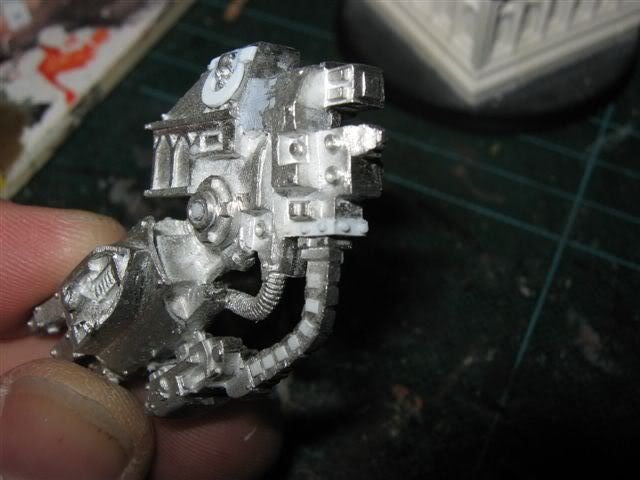
I also put some effort into adding some angle to the arms from the body. I'd been posing the left arm a certain way since I 1st put him together, but it relied on a heap of blu tac to get the arm in that position so I had to make some spacers. I could have done it by just jamming putty in there and setting the arms but I figured this was was neater.
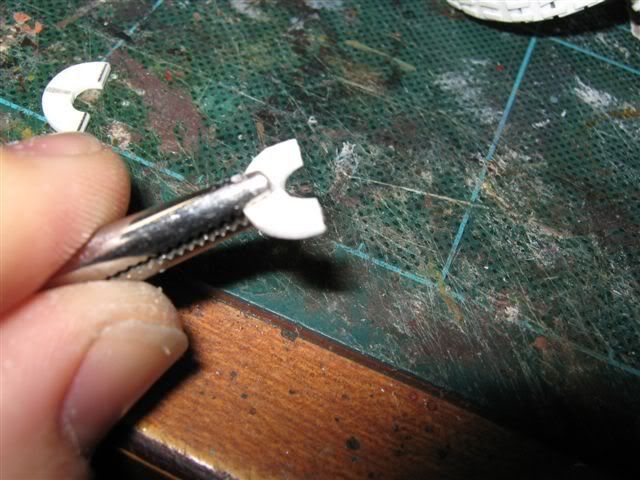
I started by cutting out a circle of plasticard roughly to size then drilled a hole in the middle essentionally making a washer that fit over the arm joint.
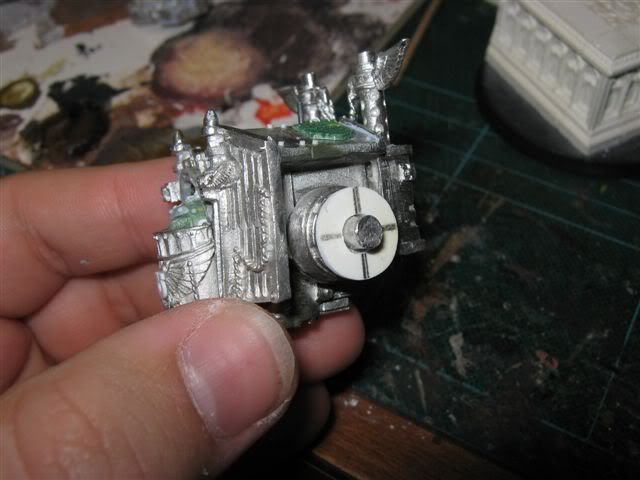
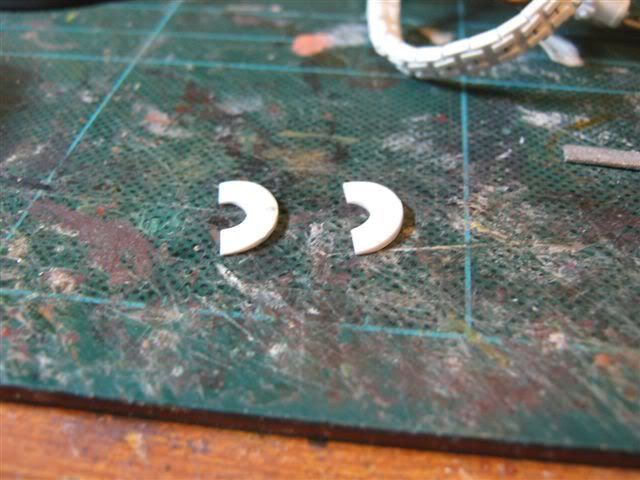
this was cut in half and then the edge ground down while holding the bits in forceps
then sanded smooth
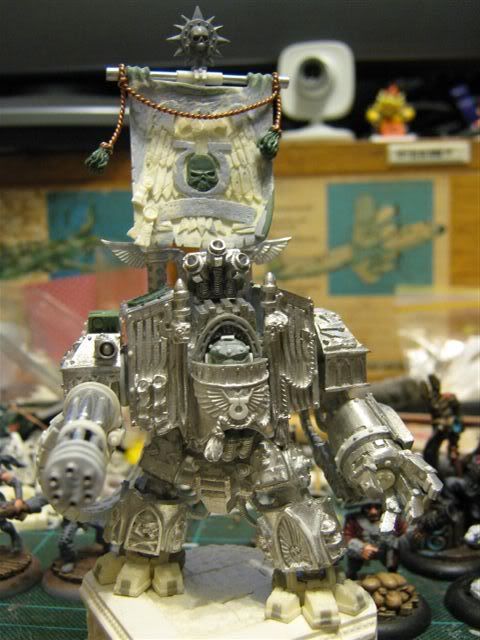
and here he is with the spacers glued in place and locating pins holding the arm in place. Just widens the pose a tiny bit but takes away that clenched in elbows look of a stock dread.
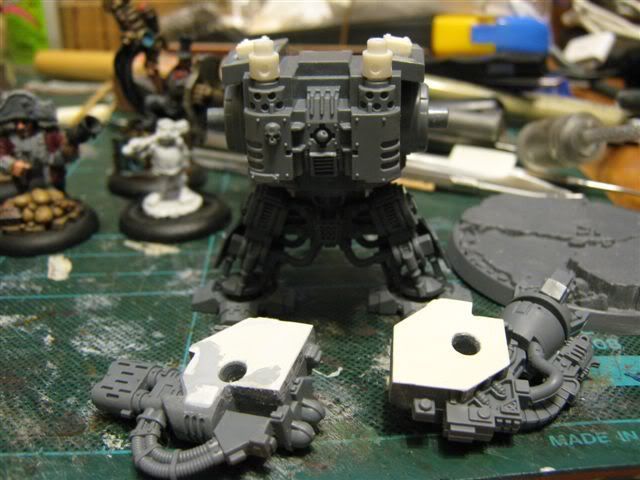
I also cut plasticard and glued them in to fill the hollow insides of the AOBR dreadnought. The one very cheap looking part of that dread.
No comments:
Post a Comment