

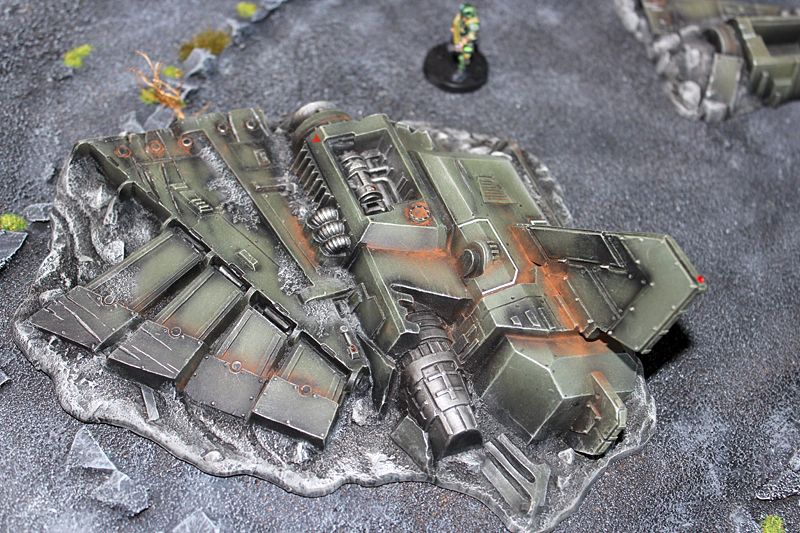
Using some Tamiya paints that I figured were suitable for the Dropship and APCs I thought I should have a practice run on something so attacked the crashed Aquila shuttle that I had picked up off ebay. If the colours look good I can go ahead on the Valkyrie and APCs if not I can buy some new colours.
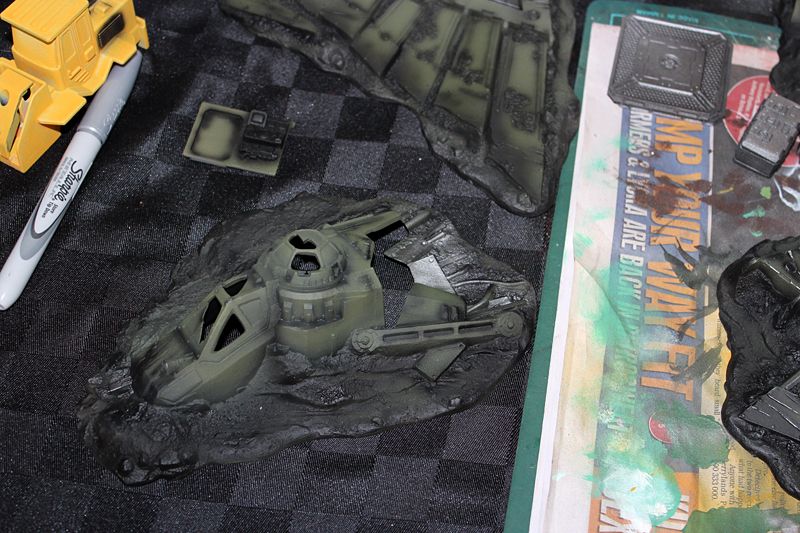
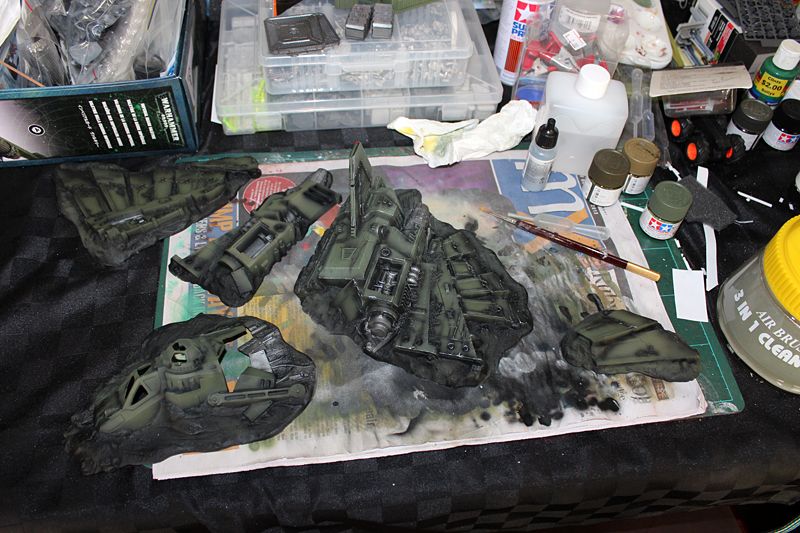
I couldn't really do any preshading since the model was already primed black when I got it so I went straight over that with XF-62 Olive Drab then lighter with XF-67 NATO Green then highlight with a mix of NATO Green and XF-49 Khaki since Khaki by itself looked too brownish. The engine bits I used Model Air Steel. Also added a bit of heavy shading with Model Air Black.
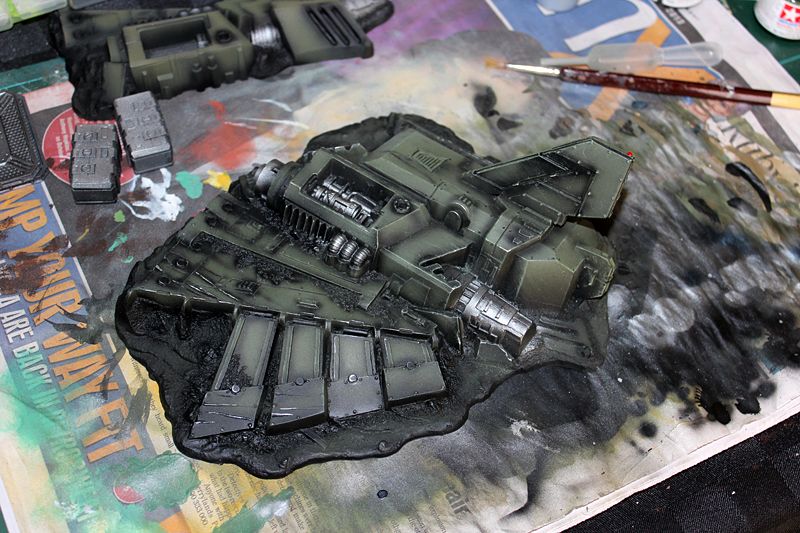
After that I went in with brushs and drybrushed everything with a lighter mix of off white mixed with a touch of NATO green and some Khaki. Then lots of lining edges with Steel and drybrushing areas I figured should be well banged up. Then drybrushed all the dirt areas with a couple different greys working up to a bit of whitish grey then lots of Army Painter Dark Wash wherever needed to bring the shapes out and to give some good depth to the Steel areas.
The windows got painted a very dark brown then edged a bit with white then had several coats of gloss and Tamiya Smoke painted over them to make them look shiny and a bit translucent even if they aren't.
Oh and lastly I had a mess around with some Secret Weapon brown weathering powder I picked up along with the airbrush. Never tried the stuff before so messed a round a bit making some areas look very rusty.
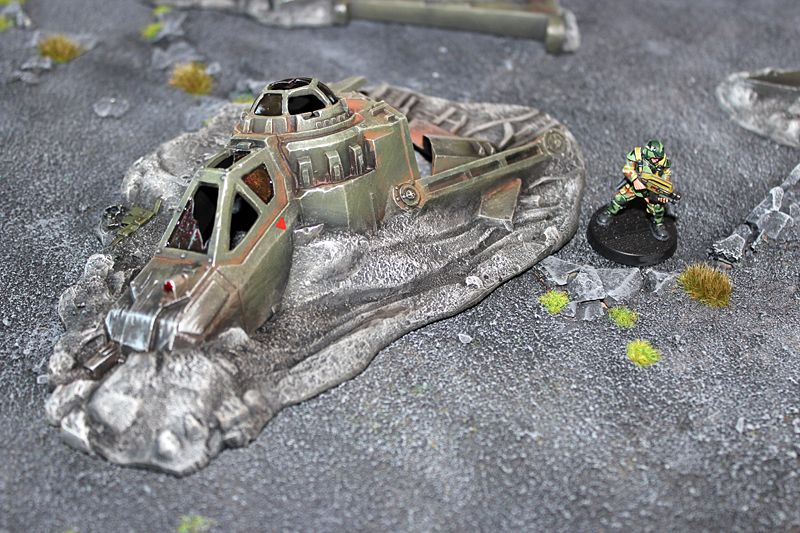
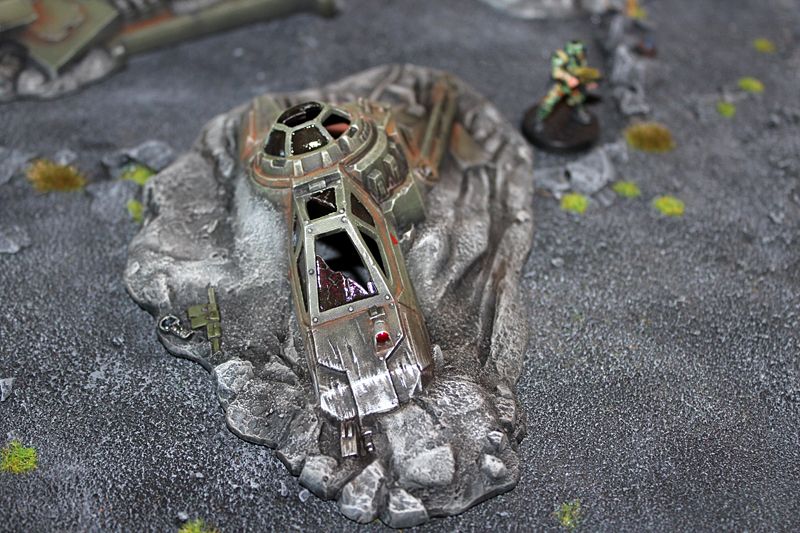
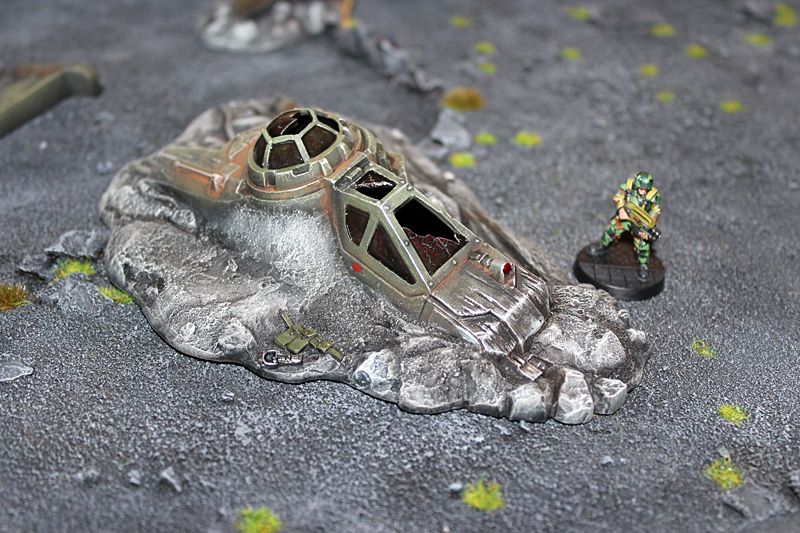
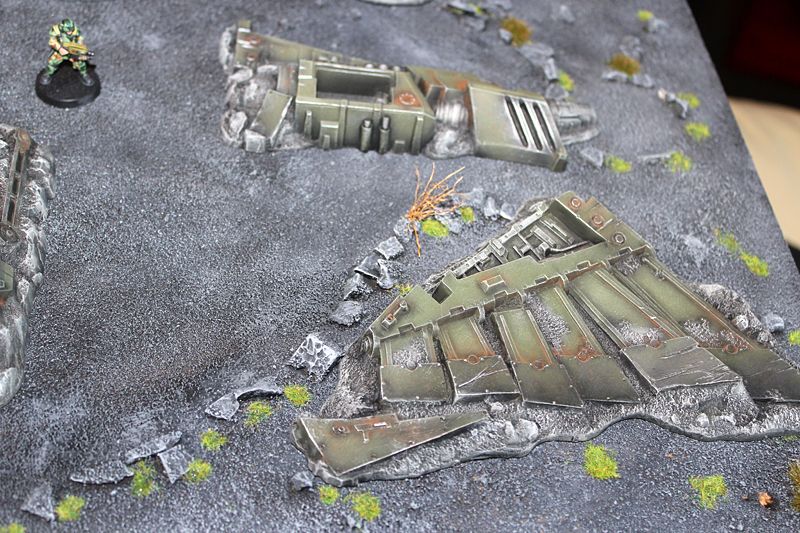

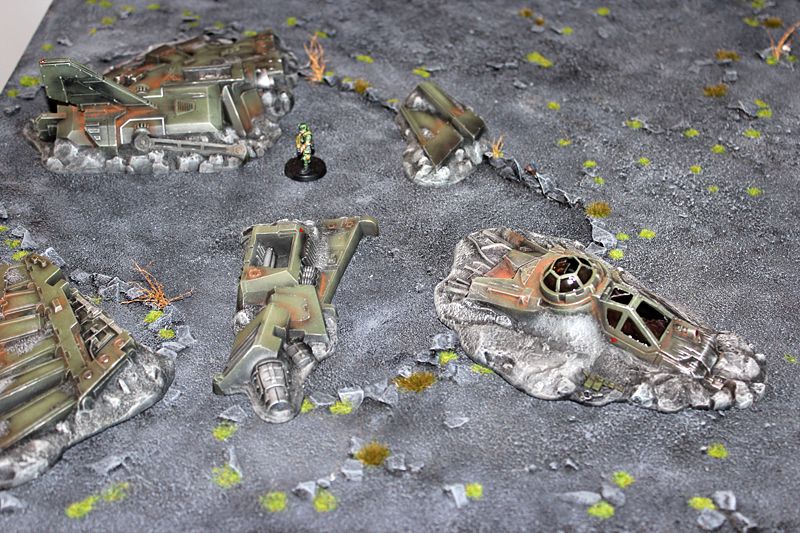
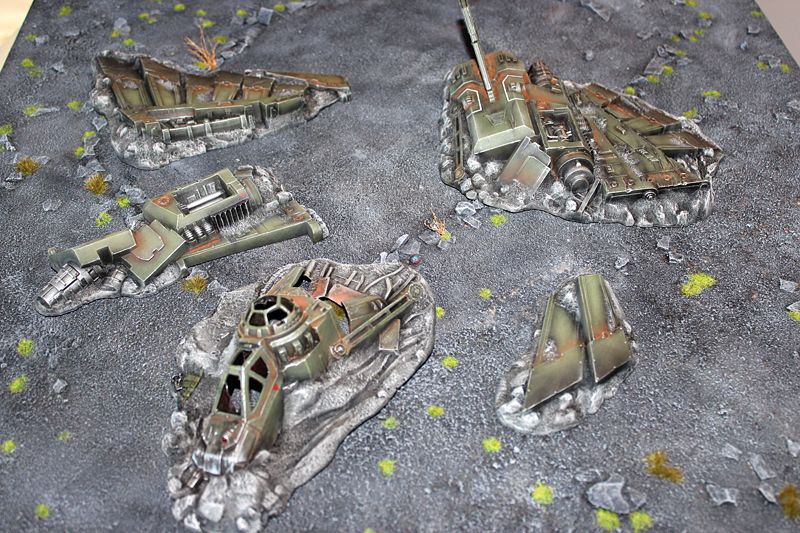
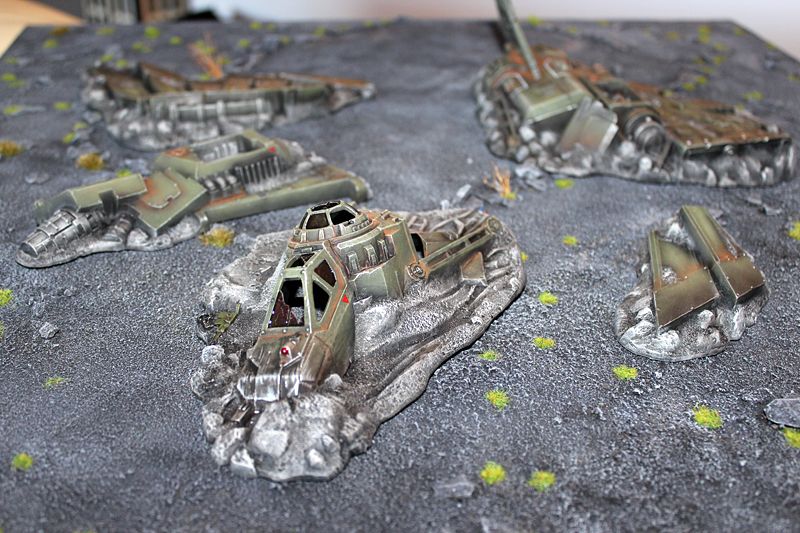
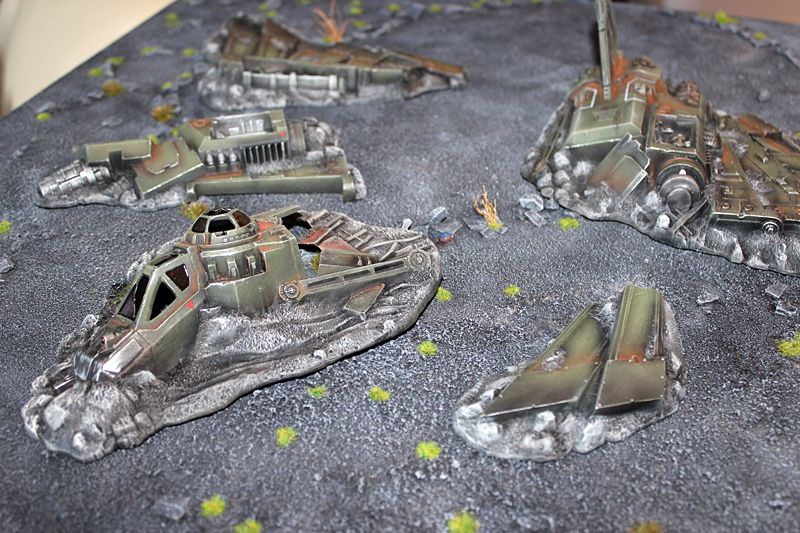
Think it turned out alright. The flash made it look a bit lighter than in real life though but brought out the shading nicely. Now I really need to get the interior to the valkyrie painted so I can assemble the damn thing.
AWESOME! I have that model in my stash, this might give me the motivation to paint mine!
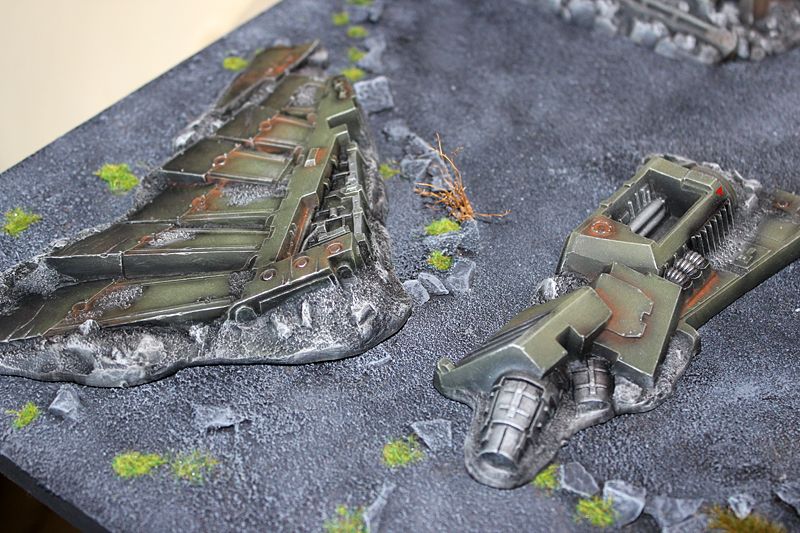
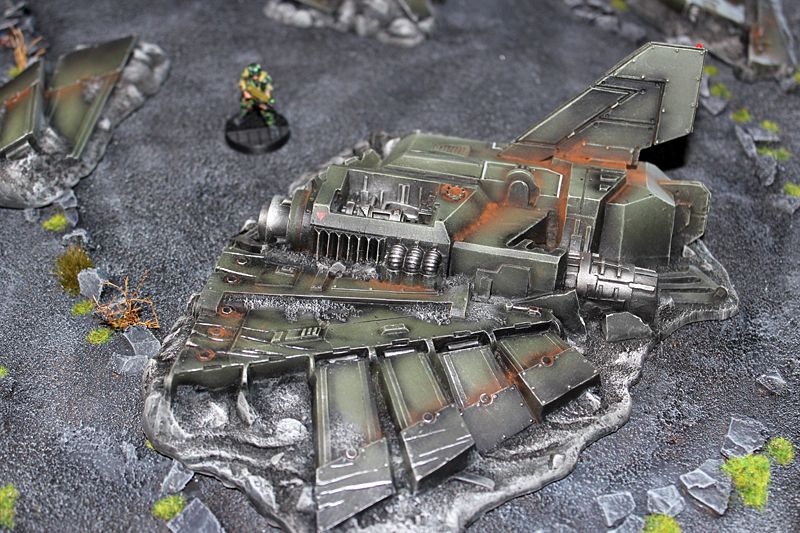
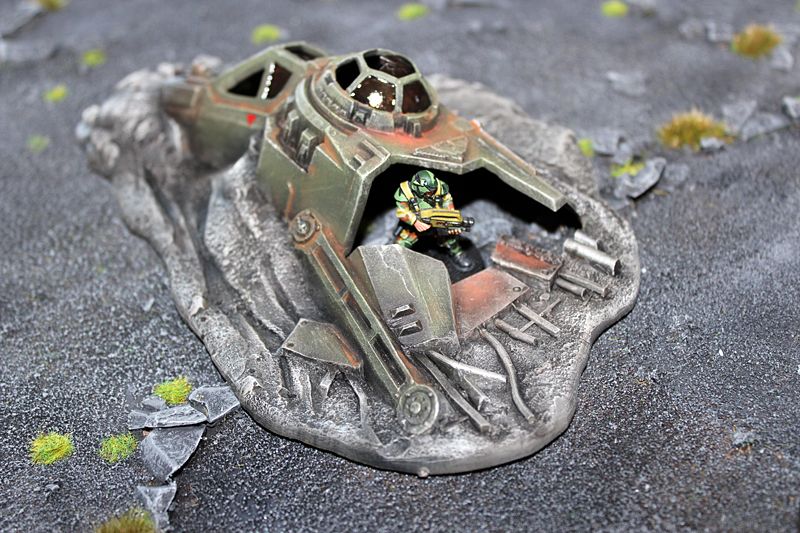
ReplyDeleteThanks. Oh I forgot to mention in the writeup that I flipped the tail around and added some extra detail to it's edge. I may still add a floor to the cockpit and hull and add some interior detail. But it can wait I think.
ReplyDeleteHey what a brilliant post I have come across and believe me I have been searching out for this similar kind of post for past a week and hardly came across this. Thank you very much and will look for more postings from you. airbrush compressor
ReplyDelete