

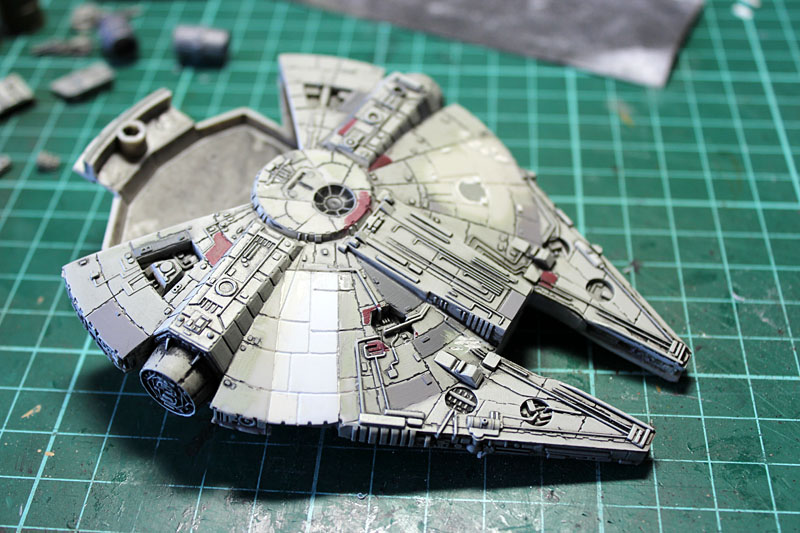
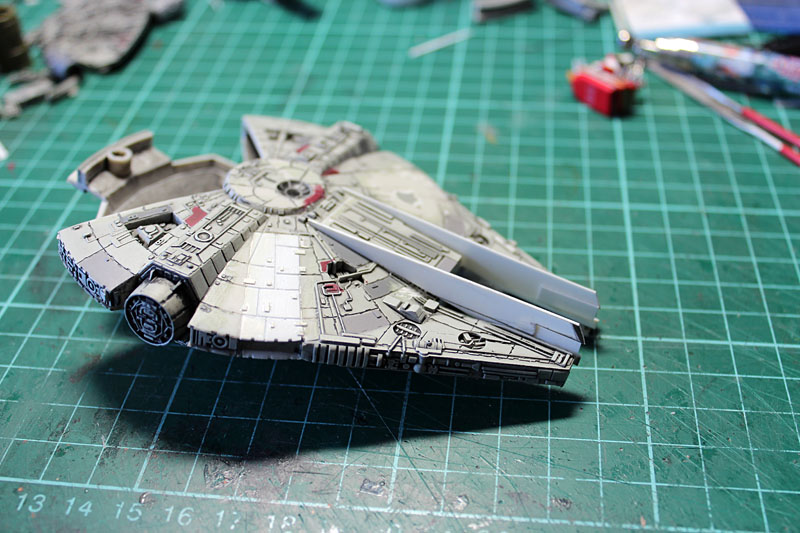
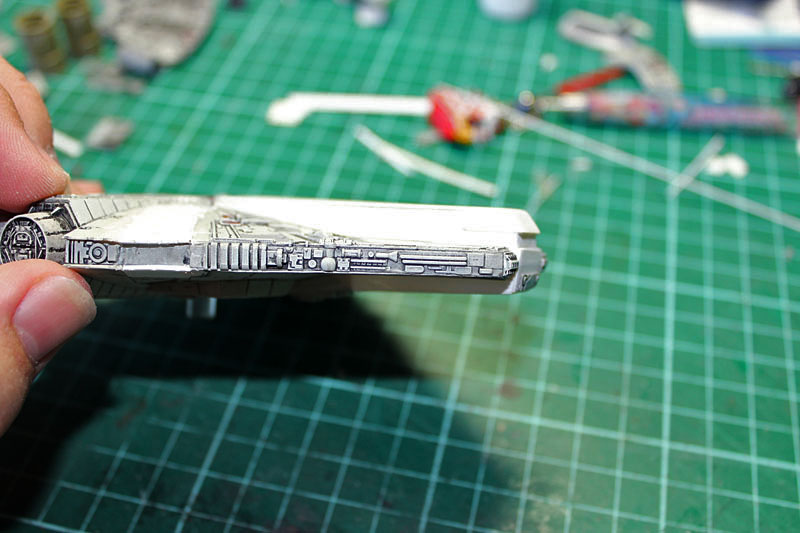
Back again with a new conversion I mentioned at the start of my centered cockpit YT-1300 custom that it was kind of a practise run before I took on the armored hull YT I found in the Haynes Millenium Falcon Owner's Workshop Manual:

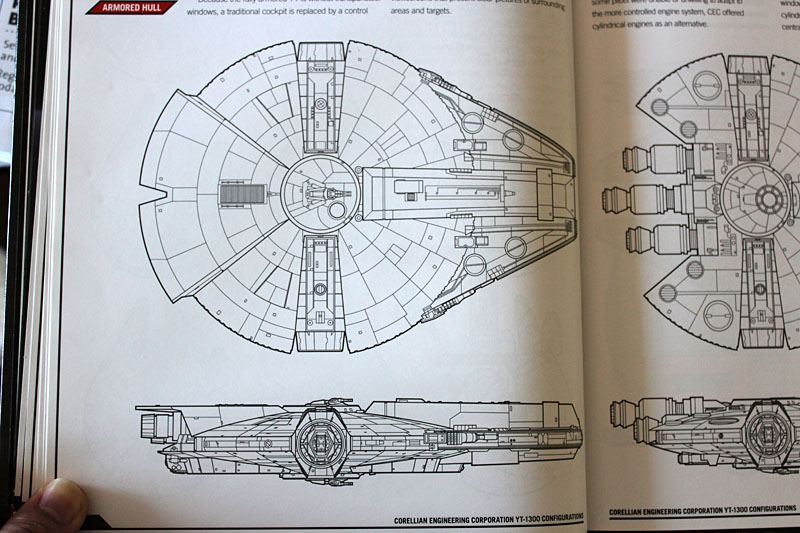
This design which looks more like a Gozanti freighter from the side really caught my eye so I wanted to have a go at it, much like ZombieHedgehog's YT-1200 and Oota Goota this will involve scratchbuilding a whole new engine area and new prow.
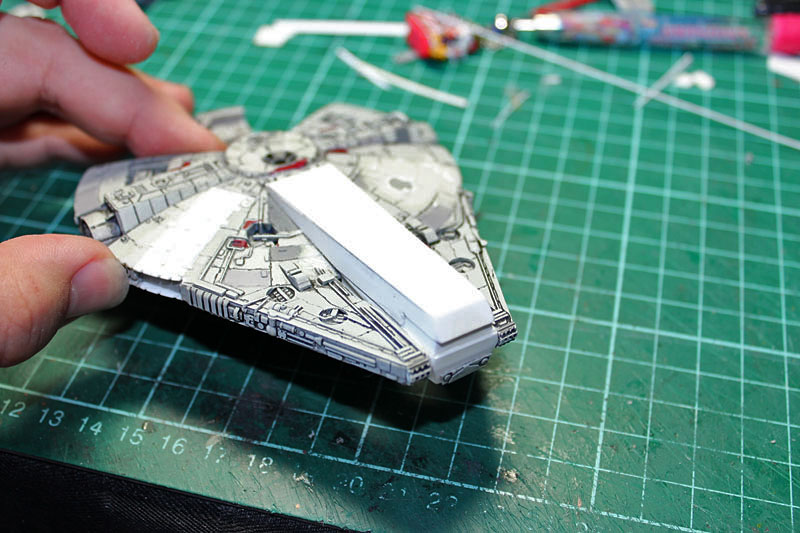
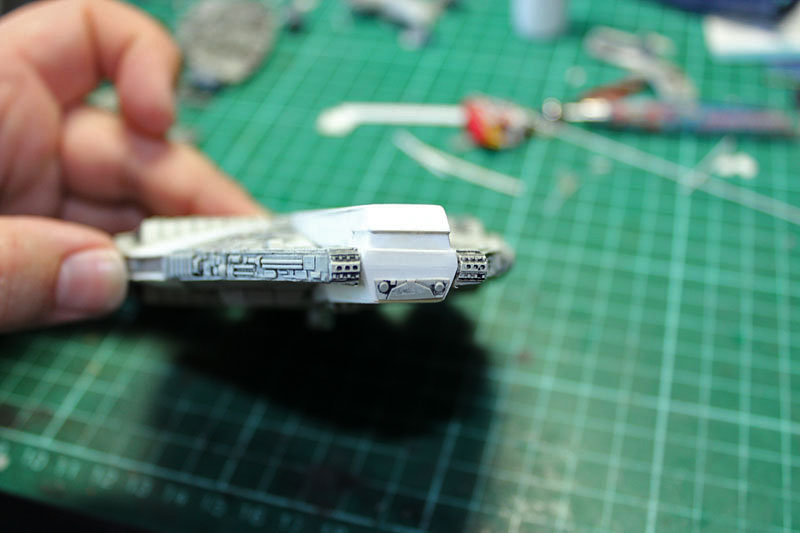
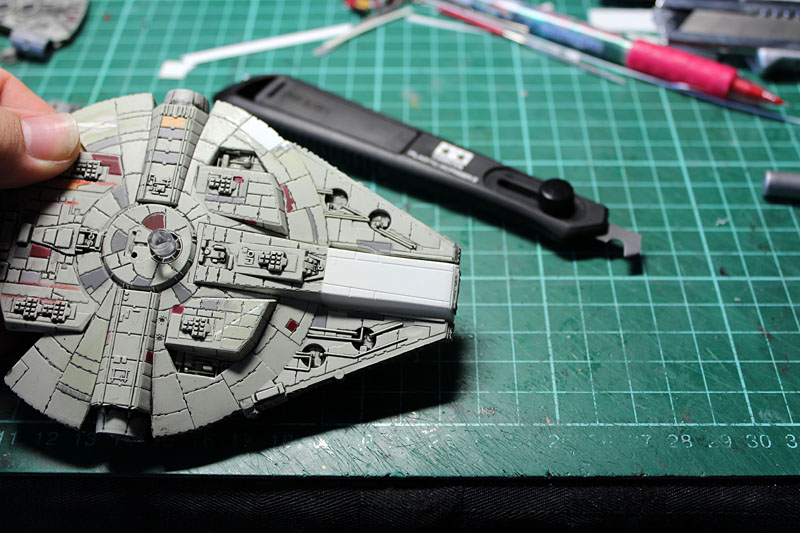
Step one cutting off lots of Falcon. This time I used a razor saw instead of a knife since I value my thumb. Also assembling some tank barrels and wheels to use in the engine bay.
Filling in the holes and puttying up the joins.
sketching in panel lines before scribing
and scribed.
This is where I have to thank TRamsey's Gozanti scratchbuild thread for a bit of an idea on how to build the prow.
I started with the sides with precut out window areas then the glass glued in behind them.
Then I clearly forgot to take photos for an hour or so as I put a roof on the box and a front before building the bottom of the box in the same way. Waste not want not I glued on a bit of the original detail on the front.

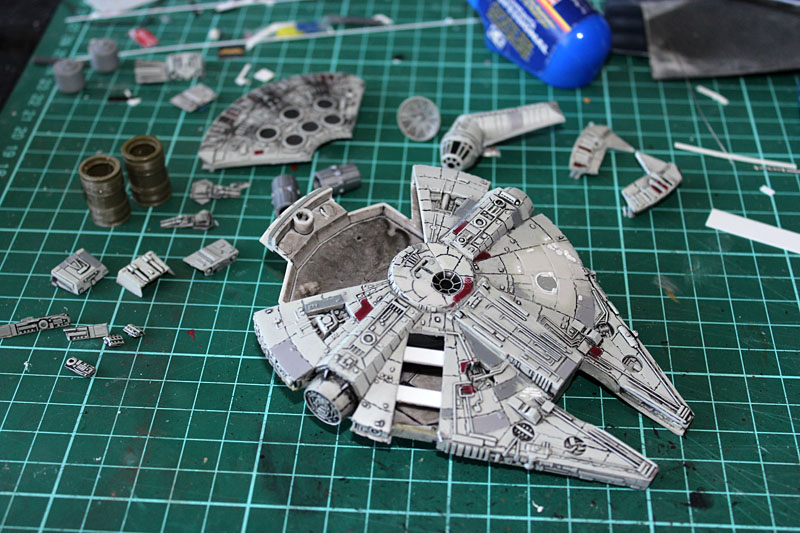
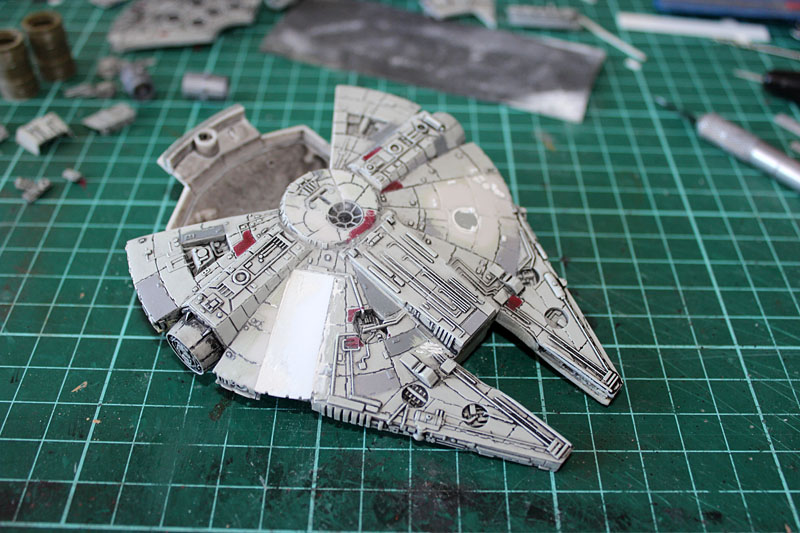
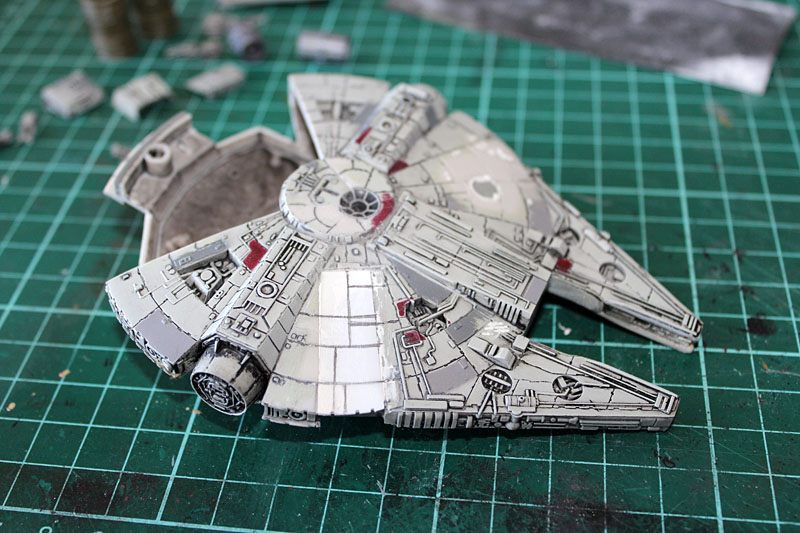
Here it's starting to look like something as I have fun with my Tamiya scriber making lots of panel lines. Really can't recommend this gadget enough if you are going to work a bit with plastic card.
No comments:
Post a Comment