

So 1st up was to remove the radar dish and it's mounting. I hacked at the side of the round part till it popped off then squared off the hole with some filing. I wanted to put some detail under there.
Then the arduos task of cutting away the cockpit and and access tube. The actual cockpit front comes off the tube quite easilly with a bit of back and forth action with a heavy blade. Getting the tube off though is a bunch of work scoring along the edges repeatedly until you cut into your thumb
 but it eventually comes away cleanly.
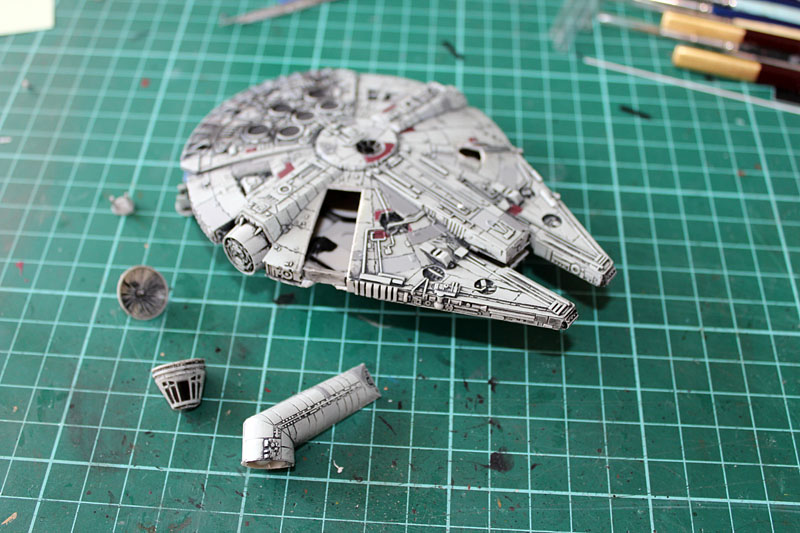
next part to cut away is the front of the middle mandible section which comes off surprisingly easilly. Turns out those front parts are hollow and made of 3 parts each so you just need to cut the topmost part and it will come off cleanly.
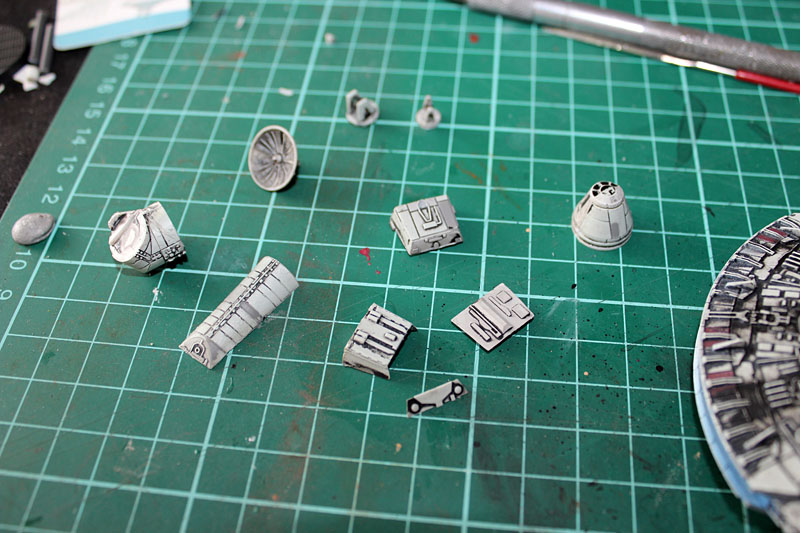
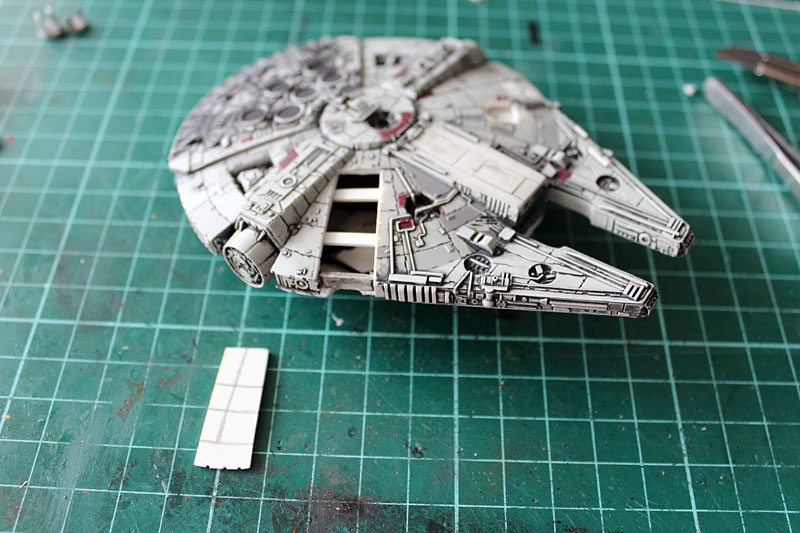
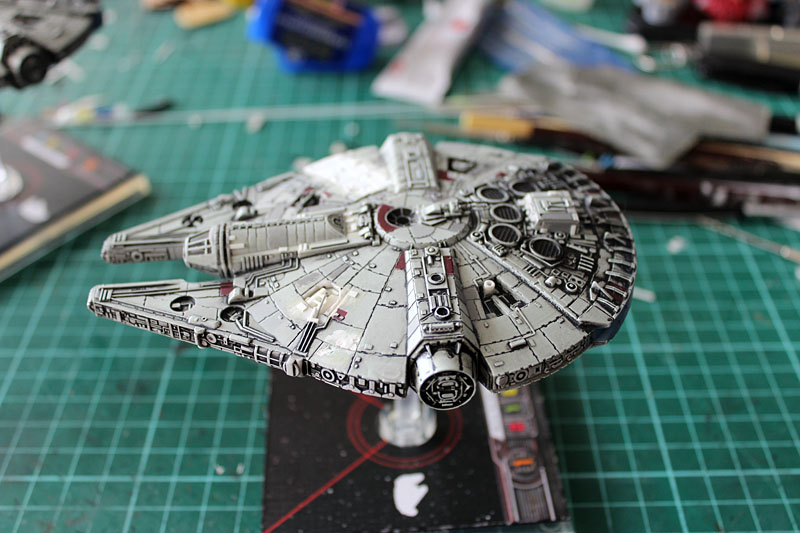
I got this funny idea for how to put a plate into where the radar dish was without being forced to split open the ship to get to the back of the hole. I cut a bit of plastic card bigger than the hole but that could fit in through the hole then drilled 2 holes through it and threaded then put in and pulled it tight against the hull while I glued it in.
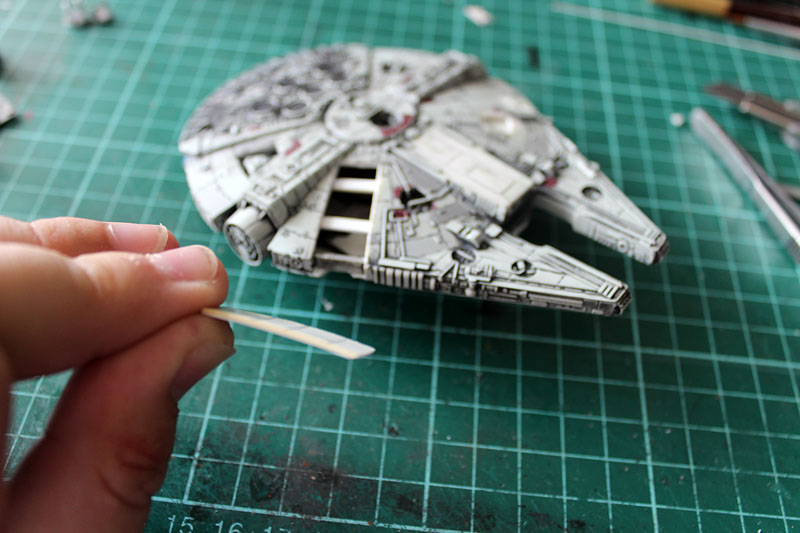
For the big hole where the tube was I measured against some thick plastic card and cut out a matching panel. Then glue some ribs under the hole to support it.
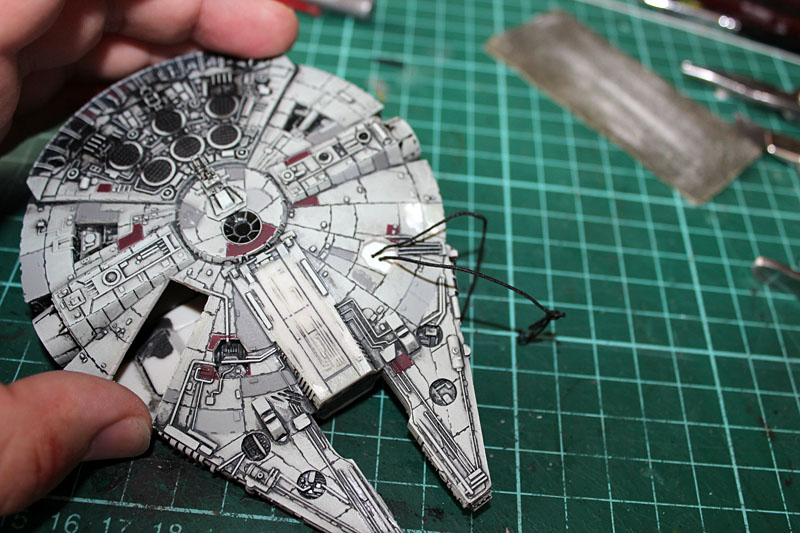
I bent the plastic a bit to match the hull curve and sanded the underside to give it an edge that matches the rest of the hull. I also puttied up the join between my new panels and the original hull. I found it so obvious on everyone else's rebuilds where the cockpit was as you see the obvious rectangle cutout shape.
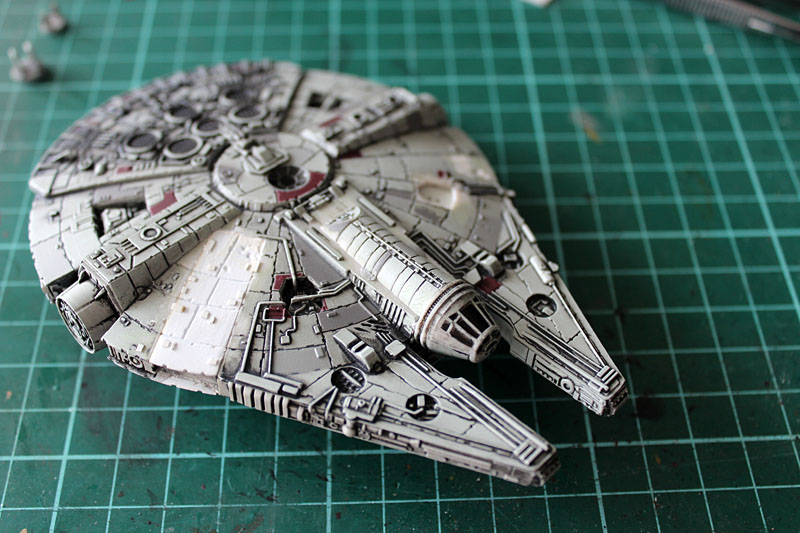
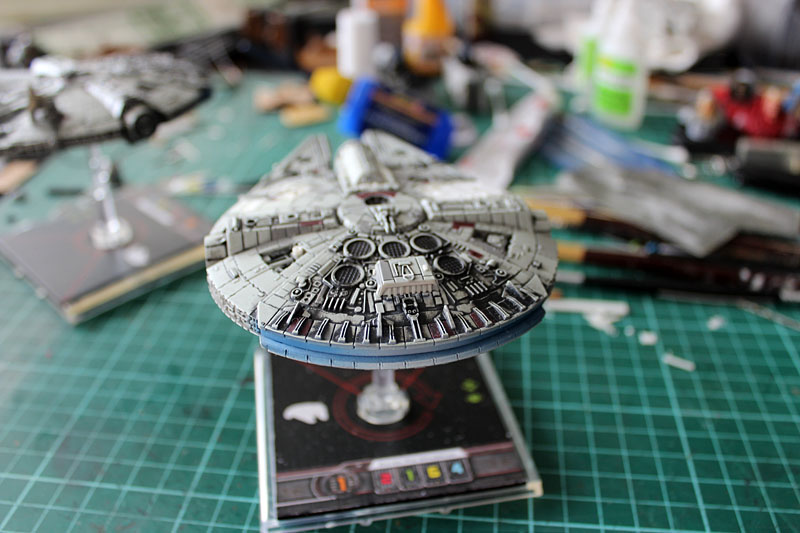
I used a small bit of plastic card to fill in the bottom edge as well then after scribing some lines radiating out from the center to match the other side of the hull then started adding small rectangles all over the place. I see most people that do this use too large panels so I was careful to use tiny pieces to match the rest of the detail.

next detailing to fill in the rim
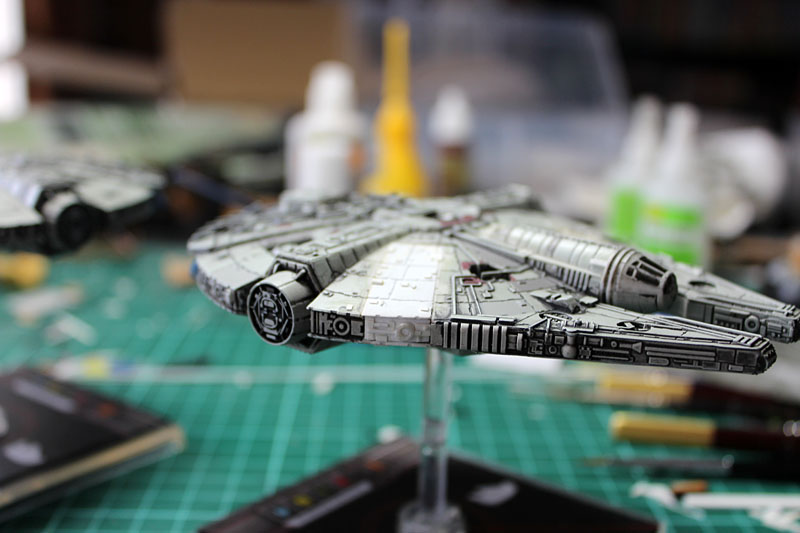
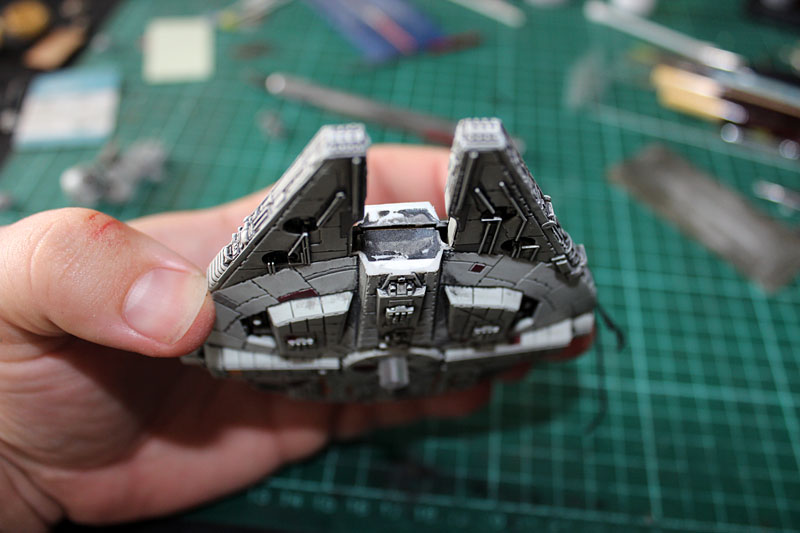
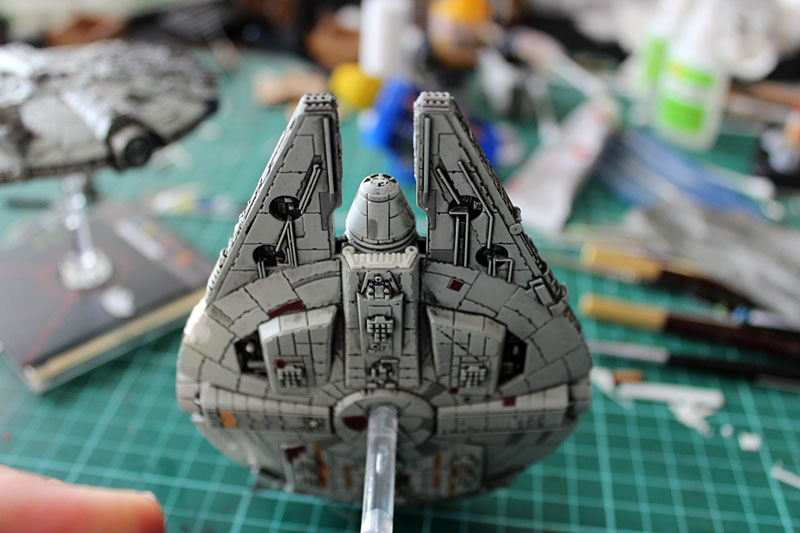
To make room for the new cockpit access tunnel you need to cut off the tubing detail on the front middle mandible then sand it smooth with a flat need file. Then taking the tube section use side cutter to clip down the sides then sand lots till you have a flat bottomed section that has the detail section along the top nicely centered. This was then glued in position so it's flush with the front of the cut of section. The cockpit is then glued on the front of that. Then more tiny bits of detail rectangles glued on again.
With a blank space under the cockpit I was tempted to stick on the front plate of one of the cut off sections but instead decided to make my own detail bit from a couple layers of plasticard to make a nice grill section and a couple tubes for the missile tubes.

I then filled in the detail pit where the radar dish had been. I also puttied up the blast holes just under where the dish was.
At the back I added one of the front cut off parts to make the engine deck look a bit different. I made another grill at the back of it.
Next post : paint
No comments:
Post a Comment